 |
|||
|
|
|||
|
Page Title:
Section IV. OPERATOR'S MAINTENANCE |
|
||
| ||||||||||
|
|
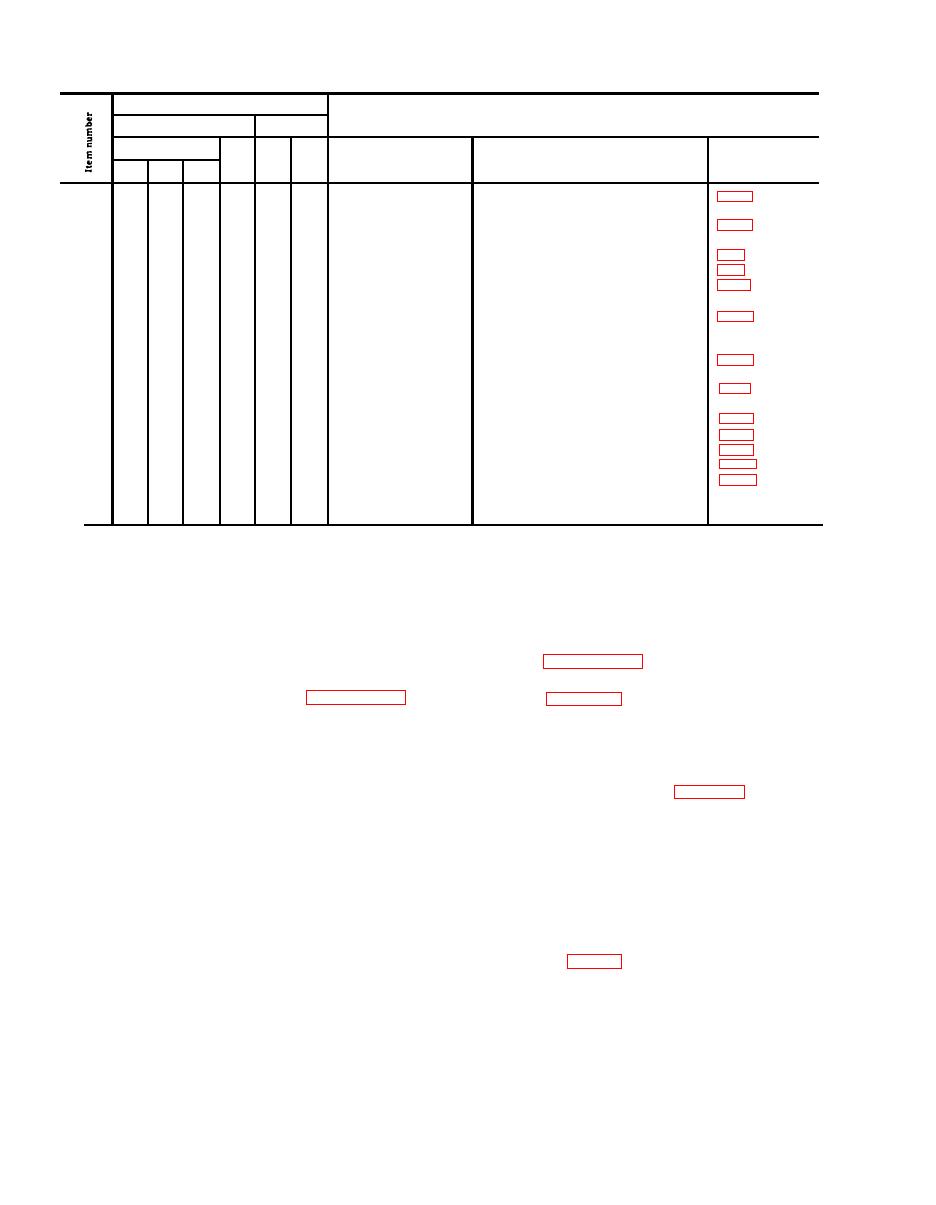
 Table 3-1. Preventive Maintenance Checks and Services - Continued
Interval
B - Before operation
A - After operation
M - Monthly
D - During operation
W - Weekly
Q - Quarterly
Org.
Operator
Daily
W
M
Q
Item to be inspected
Procedure
Reference
A
D
B
Inspect for leaks, clean fill plug vent,
Brake master cylinder
X
20
add fluid as required.
Adjust if brake pedal does not have
Brake pedal
X
21
inch free travel.
Check operation. Inspect for leaks.
Steering gear
X
22
Check for proper pedal operation.
Inching pedal and valve
X
23
Remove and clean vent valve with an
Crankcase vent valve
X
24
approved cleaning solvent.
(PCV)
Inspect for insecure mounting and leaks.
Fuel pump
X
25
Clean bowl and screen. Replace bowl
gasket.
Correct deficiencies if brake application
Brakes
X
26
is spongy, or ineffective.
Check engine compression, vacuum and
Engine tune up and
X
27
timing.
test
Check and adjust electrical components
Electrical system
X
28
including alternator, voltage regulator
and starter.
Check brake lining. If lining is worn to
Service brake lining
X
29
less than 1/16 inch thickness, replace
brake shoes.
Section IV. OPERATOR'S MAINTENANCE
3-10. Air Cleaner Service
3-8. General
This section contains information on maintenance of
a. Refer to paragraph 3-9 and remove the seat from
truck.
the fork lift truck which is the responsibility of the
operator and which is not covered in paragraph 3-7.
b. Refer to figure 3-2 to service or remove the air
cleaner.
3-9. Operator's Seat Removal
Caution: Do not remove the air cleaner when
the engine is running. Do not run the engine unless
a. The operator's seat is mounted over the engine
the air cleaner is in place.
compartment forward of the counterweight. For ease
c. Remove the cup as shown in figure 3-2 and serv-
of access to the engine compartment and its com-
ponents the seat is readily removable.
ice as follows:
b. To remove the seat, lift rear of seat to clear pins
(1) Pour out the old oil from the cup. Scrape away
accumulated dirt from bottom of cup.
and slide the seat forward to clear rear seat mount
(2) Clean the cover, oil cup, and base assembly
flange.
c. Tilt seat forward and lift seat and mount from
inside and out with cleaning compound, solvent
truck by sliding forward flange of mount from frame.
(Spec. P-S-661) and dry thoroughly.
d. To install seat, lift into position and slide front
(3) Refill oil cup (1 pint capacity) with engine
flange under frame. Lower seat into position and
oil (OE) of grade and weight presently used in engine.
slide seat to rear to engage rear flange and pins.
d. Install cup (fig. 3-2).
3-4
|
|
Privacy Statement - Press Release - Copyright Information. - Contact Us |