 |
|||
|
|
|||
|
Page Title:
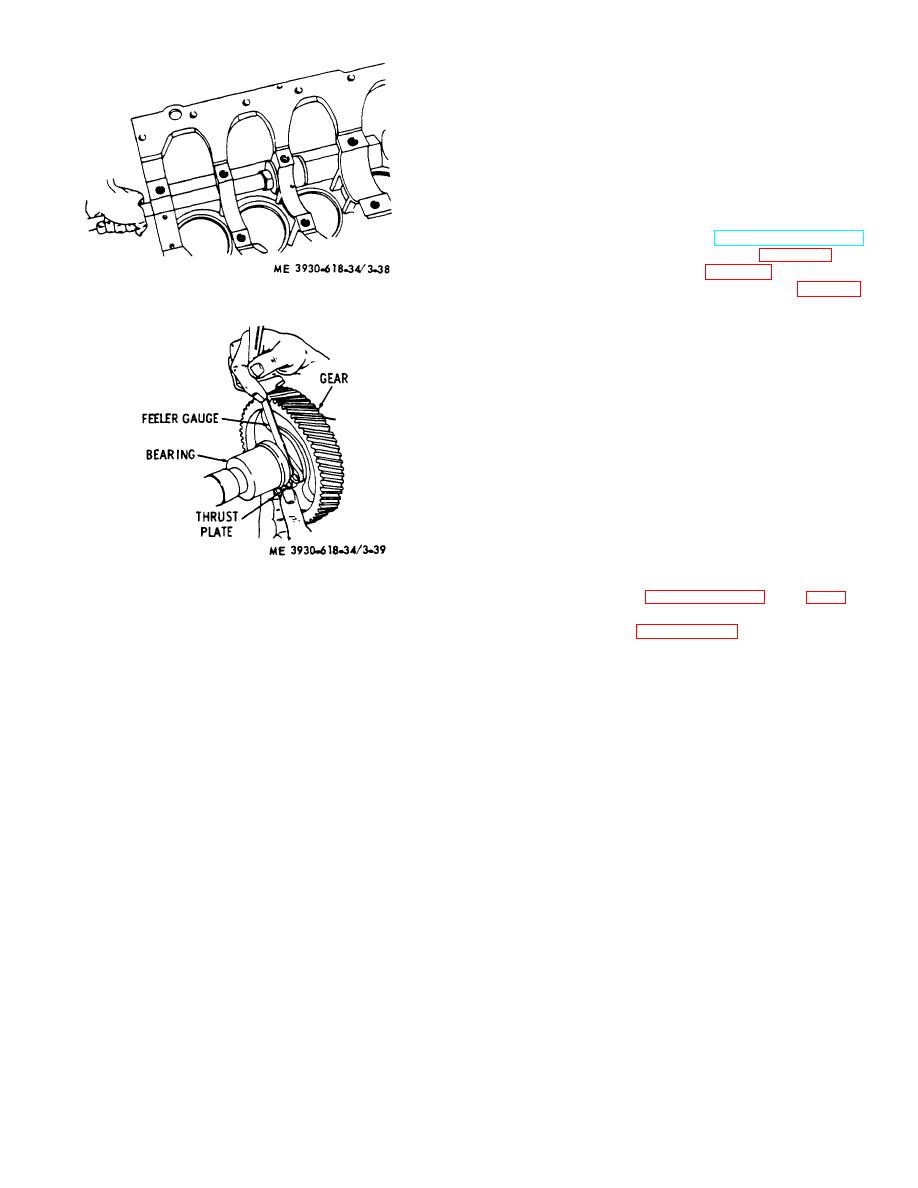
Figure 3-38. Camshaft bearing installation. |
|
||
| ||||||||||
|
|
 mount is located in the lower portion of the timing gear
cover casting.
a. Removal and Installation of Timing Gear Cover.
NOTE
The following procedures apply to
removal of cover with engine
mounted in truck. if engine is out of
truck, disregard (1) and (5) below.
(1) Remove radiator (TM 10-3930-618-201.
(2) Remove cooling fan (TM 10-3930-618-20).
(3) Remove crankshaft pulley (para 3-21).
(4) Remove governor (para 3-9).
(5) Remove support capscrews (9, fig. 3-40)
Figure 3-38. Camshaft bearing installation.
and raise rear end of engine approximately 2.0 inches,
and block the engine in this position. This takes weight
of engine off mounting pad on timing gear cover.
(6) Remove capscrews (18, 20, and 22) nuts
(1) and lockwashers (17, 19, and 21) attaching timing
gear cover (4) to front plate (6) and oil pan.
Do not attempt to pry cover off. Tap cover lightly with
wood or plastic mallet to remove.
(7) To install, reverse removal instructions
above.
b. Inspection and Repair.
(1) Inspect timing gear cover for cracks,
dents, breaks, or other damage which could prevent a
secure seal of the timing gear cover.
(2) Replace gaskets.
(3) Replace defective parts.
Figure 3-39. Checking camshaft thrust clearance.
c. Timing Gears.
(1) Refer to paragraphs 3-21 and 3-24 for
3-25. Timing Gears and Cover
crankshaft and camshaft timing gears.
(2) Refer to paragraph 3-9 for governor timing
The timing gear housing at the rear end of the engine
gear.
contains a train of three helical gears; a crankshaft gear
(3) Check backlash of timing gears with a dial
which is pressed and keyed on the crankshaft, a
indicator. One or more of the mating gears should be
camshaft gear, and a governor gear driven by the
replaced if backlash exceeds 0.007 inch.
camshaft gear. Gear train is splash lubricated by excess
oil from engine oil system relief valve. The rear engine
3-50
|
|
Privacy Statement - Press Release - Copyright Information. - Contact Us |