 |
|||
|
|
|||
|
|
|||
| ||||||||||
|
|
 (20) and remove the oil pump from the stud (19).
c. Inspection.
(3) Remove the screen-attaching wire and
(1) Inspect oil pan and filler blocks for cracks and
remove oil screen (18) from the pump base. When
deep dents. Straighten or weld pan as necessary. If
reassembling the screen to the pump base be certain
filler blocks are damaged they must be replaced, as they
that the plate in the screen is over the end of the pick-up
are machine fits.
pipe in the oil pump.
(2) Inspect drain plug threads. Also check oil
drain threaded insert for security. If it is loose, braze it
in position.
(3) Place oil pan on a surface plate in inverted
position, and inspect for warp that might cause leaks.
Smooth uneven surfaces by hammering, grinding or
filing.
d. Installation. (Use all new gaskets and seals).
(1) Remove any nicks and burrs from oil guard
and lubricate it for ease of installation.
(2) Install seal half (12) in oil guard.
(a) New crankshaft seal is approximately
one-third larger in diameter than width of groove in filler
block and oil guard. Seal must be flattened enough to
allow it to be pressed into groove.
(b) After installing seals in grooves, use
rounded, smooth tool to iron packing into grooves so
that it seats firmly.
(c) Use sharp knife or razor blade to trim
protruding ends of packing to approximately 1/32 inch,
making cuts parallel to surface of castings.
(3) Other half of seal is installed in rear filler
block in same manner.
(4) Install oil guard by placing on crankshaft and
pushing into groove. (Rotating crankshaft will aid in
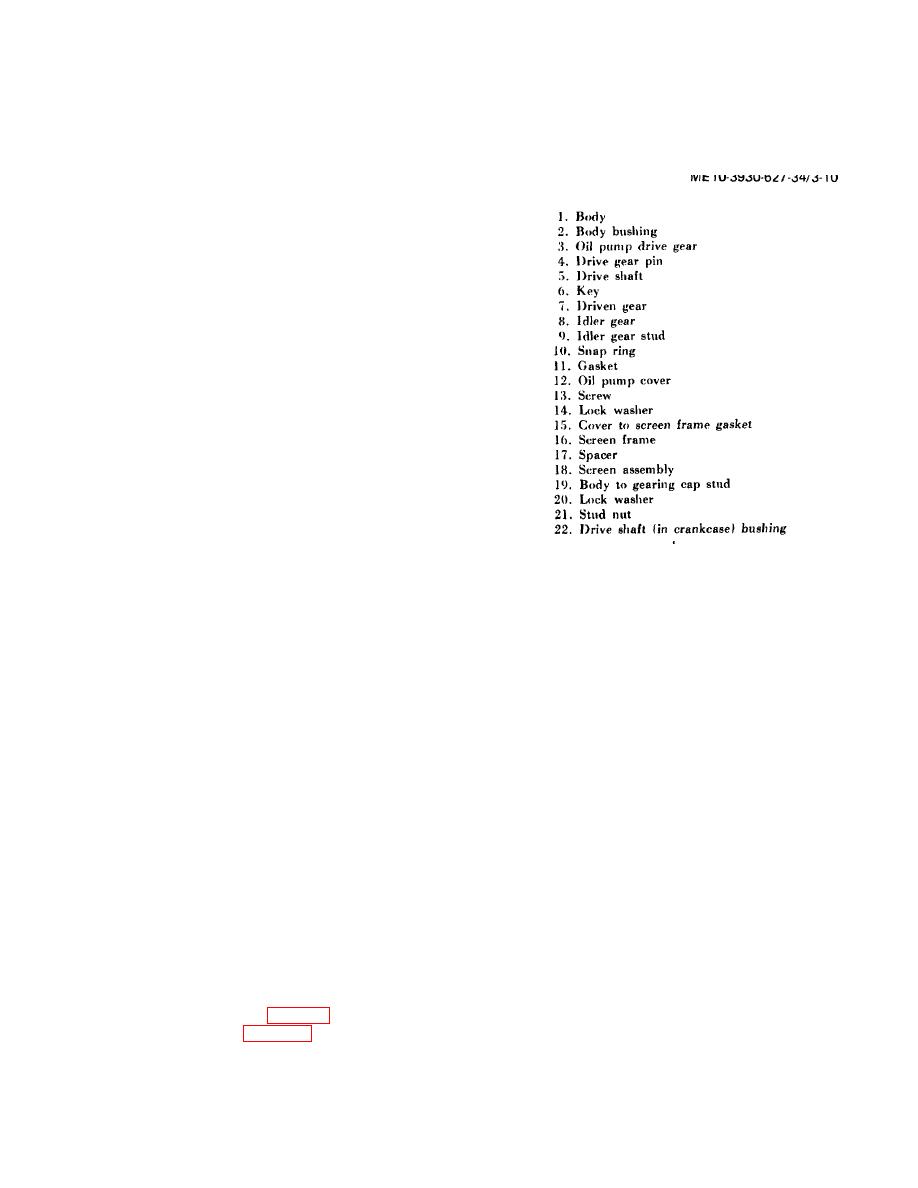
1.
Body
positioning seal).
2.
Body bushing
(5) Install timing gear cover plate, camshaft gear,
3.
Oil pump drive gear
and timing gear cover.
4.
Drive gear pin
(6) Place oil pan gaskets in position.
5.
Drive shaft
(7) Install front filler block. Tighten filler block to
6.
Key
engine crankcase first, then tighten to timing gear cover.
7.
Driven gear
Be sure timing cover mounting screws are correct length
8.
Idler gear
for hole in which installed.
9.
Idler gear stud
(8) Install rear filler block; tighten to crankcase
10.
Snap ring
first, then tighten to flywheel housing.
11.
Gasket
(9) Install front and rear filler block seals.
12.
Oil pump cover
(10) Complete installation of governor and
13.
Screw
hydraulic pump.
14.
Lock washer
(11) Install oil pan gasket on pan. Cement gasket
15.
Cover to screen frame gasket
in position or tie it with fine thread at several places and
16.
Screen frame
install pan. Torque screws evenly to 12 to 16 foot-
17.
Spacer
pounds.
18.
Screen assembly
(12) Install engine by reversing the removal
19.
Body to gearing cap stud
procedure.
20.
Lock washer
3-10. Oil Pump and Screen
21.
Stud nut
a. Removal. Clearly mark position of distributor rotor
22.
Drive shaft (in crankcase) bushing
tip on housing before removing pump. Rotor must be in
this position on completion of installation of the pump so
Figure 3-10. Oil pump, exploded view.
ignition timing will not be disturbed.
(1) Remove the oil pan. (para 3-9).
(2) Remove nut (21, fig. 3-10) and lock washer
3-8
|
|
Privacy Statement - Press Release - Copyright Information. - Contact Us |