 |
|||
|
|
|||
|
|
|||
| ||||||||||
|
|
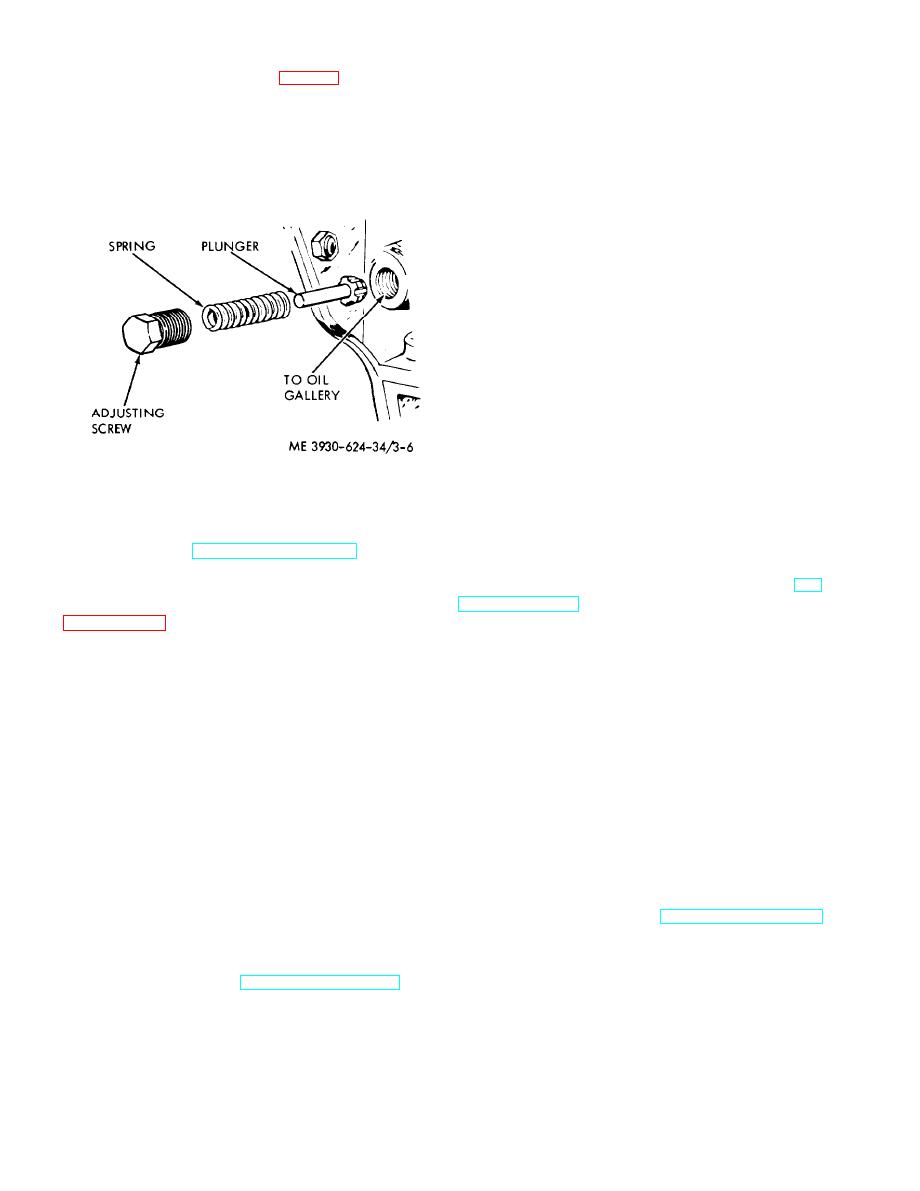
 3-7. Oil Pressure Valve Adjustment
Note. It will be necessary to work through the coun-
terweight in order to remove the front oiI pan capscrews.
a. Start the engine and operate at half throttle.
Observe the engine oil pressure gage.
(4) Remove the rapscrews from the front and
side of the oil pan, and remove the oil pan.
gage reading of approximately 10 psi.
b. Installation.
c. Allow the engine to reach operating tem-
(1) Cement a new gasket to the oil pan side
perature and operate at high idle. Turn the ad-
rails.
justing screw if necessary to obtain a gage reading
(2) The oil seal at the rear of the engine
of 25 to 30 psi.
should be replaced when the engine is overhauled.
If the engine has not been overhauled. inspect the
lower portion of the seal to make certain it is in
good condition. If the seal has to be replaced, it will
be necessary to remove the flywheel housing.
(3) When the engine is overhauled. the oil pan
front gasket should be cemented to the rear of the
front plate before it is secured to the front of the
c y l i n d e r b l o c k . I f t h e engine has not been
overhauled and the oil pan portion of the gasket is
dam aged, scrape away the gasket as far as the
cylinder block rails. Cut the lower portion from the
new gasket and cement it in position on the front
plate assembly.
(4) Before installing the oil pan, place a small
quantity of a nonhardening sealing compound in
the corners formed by the flywheel housing and
cylinder block rails, and front plate assembly and
Figure 3-6. Oil pressure valve.
cylinder block rails. This will prevent oil leaks at
these points.
3-8. Oil Pan
(5) Position the oil pan on the cylinder block
a. Removal.
rails and secure with capscrews and lockwashers.
(1) Refer to TM 10-3930-624-12 and drain
Tighten the capscrews to a torque of 18 to 21 ft lbs.
the engine oil.
(6) Service the engine with oil. Refer to LO
(2) Remove the grille from the counterweight.
10-3930-624-12.
(3) Remove the steer axle assembly. Refer to
Section III. REPAIR OF THE COOLING SYSTEM
3-9. General
b. Testing.
(1) Completely drain the coolant from the
The cooling system cools the engine, torque con-
radiator before testing.
verter. and transmission. The system consists of the
(2) Plug all radiator outlets except the top
radiator. thermostat. fan. water pump, and hoses.
outlet. Immerse the radiator in water and apply 10
The water pump circulates the coolant through the
psi air pressure through the top outlet.
engine and returns it to the radiator. The coolant is
(3) Carefully check for air bubbles which
then cooled by a flow of air drawn across the
indicate a leak.
radiator by the fan. When the engine coolant is
below operating temperature, the thermostat closes,
after soldering to prevent corrosion of the metal
preventing the circulation of coolant until it reaches
tubes.
the proper temperature. Torque converter and
d. Installation. Refer to TM 10-3930-624-12.
transmission oil is transferred through hoses to the
lower part of the radiator where it is cooled.
3-10. Radiator
a. Removal. Refer to TM 10-3930-624-12.
3-8
|
|
Privacy Statement - Press Release - Copyright Information. - Contact Us |