 |
|||
|
|
|||
|
|
|||
| ||||||||||
|
|
 plunger with a 5/16 inch diameter drill and tap the hole
(2) Remove the cylinder head from the engine
with a 3/8 inch - 16 tap. Using a 3/8 inch screw of
block.
suitable length, the plunger may be pulled from the shaft.
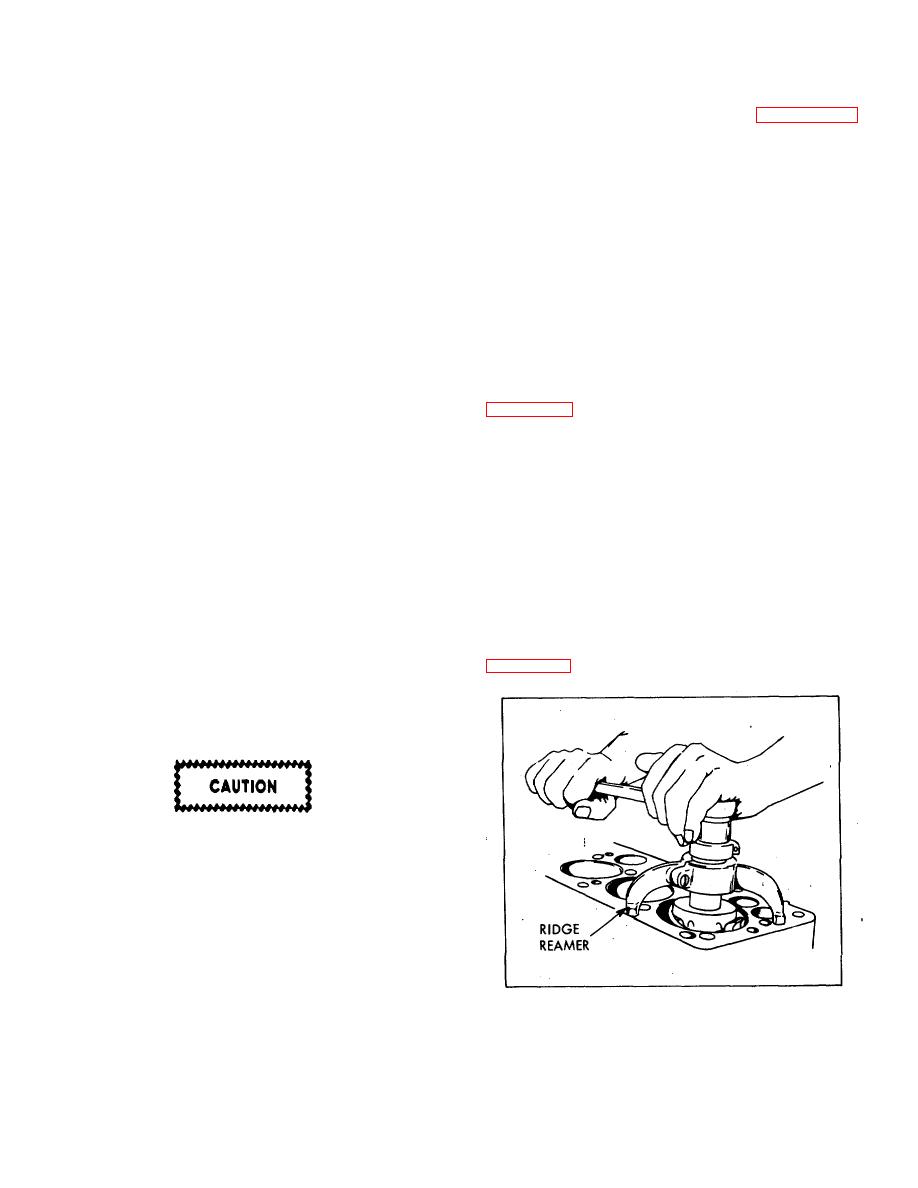
(3) Using a ridge reamer (Figure 6-32),
(6) If new camshaft bearings are needed,
remove the ridge from the top of the cylinder bore.
drive out old bearings with a suitable driver. The driver
may be used to drive in the new bearings: b. Inspection.
NOTE
With shaft installed, use narrow leaf feeler gauge to
check for 0.0025 maximum clearance at camshaft
Ridge must be completely removed
bearings.
to avoid breaking rings, and piston
c. Assembly and installation.
lands between ring grooves. Do not
(1) Insert Woodruff key in shaft.
cut into ring travel area of cylinder
(2) Press camshaft into gear.
wall.
(3) Place a small amount of grease or heavy
oil on the thrust washer and place thrust washer on gear.
(4) Turn crankshaft throws to lowest points,
(4) If thrust plug has been removed, press in
and remove cotter pins and nuts from the connecting rod
new plug.
bolts and remove the lower bearing caps and bearing
Do not damage thrust washer.
halves from the connecting rods. Tap rod with a soft
(5) Drive new bearings into place with driver.
hammer, if required, to remove caps.
These bearings are cut to allow for the press fit when the
(5) Push the connecting rods and pistons
bearings are pressed into the case; therefore, no
reaming should be necessary. Be certain to align hole in
piece of wood.
each bearing with oil passage in block.
Use care that the connecting rod does not scratch the
(6) Use care when installing the camshaft that
cylinder wall. To insure against scratching, wrap lower
the cams do not damage the bearings, as this usually
part of rod with a wiping cloth.
causes tight bearings. Be certain to align punch mark on
(6) Temporarily install the connecting rod
camshaft gear with punch mark on crankshaft gear to
bearing caps on the connecting rods from which they
time valves to' crankshaft.
were removed.
(7) Complete installation by installing gear
(7) Using a ring spreader, remove the piston
cover, gasket and oil seal.
rings from the pistons, or simply break rings off, if they
(8) Install any removed external parts and
will not be reused.
install engine in vehicle.
(8) Remove the piston pin retainers and
6-80. PISTONS, CONNECTING RODS AND
remove the pins from the pistons, separating the
BEARINGS.
connecting rods from the pistons. Press the sleeve
a. Description. Each piston has two compression
bearings from the connecting rods, using new bearings
rings and two oil rings. The full floating piston pins are
held in place by retaining rings. The connecting rods use
in one operation.
copper-lead lined sleeve bearing pairs. The connecting
rods and the connecting rod bearing caps are matched
and numbered. Numbered sides must face the camshaft
when reinstalled.
Keep each bearing cap with rod from
which it was removed. Caps are not
interchangeable.
b. Removal.
(1) Remove the oil pan.
Figure 6-32. Using Ridge Reamer
106
|
|
Privacy Statement - Press Release - Copyright Information. - Contact Us |