 |
|||
|
|
|||
|
|
|||
| ||||||||||
|
|
 ENGINE
5. If clearance is equal to or greater than the
amount indicated under wear limits, check the diameter
2. Check the outside diameter with a micrometer
of the camshaft journals to determine the next step.
to determine if replacement is necessary.
Exessive wear at these positions requires replacement
of the shaft.
3. Tappet guides or guide bushings may be
checked for wear with a plug gauge or preferably with a
NOTE
telescope gauge and micrometers.
If wear is found to be in the bushings
instead, these must be replaced
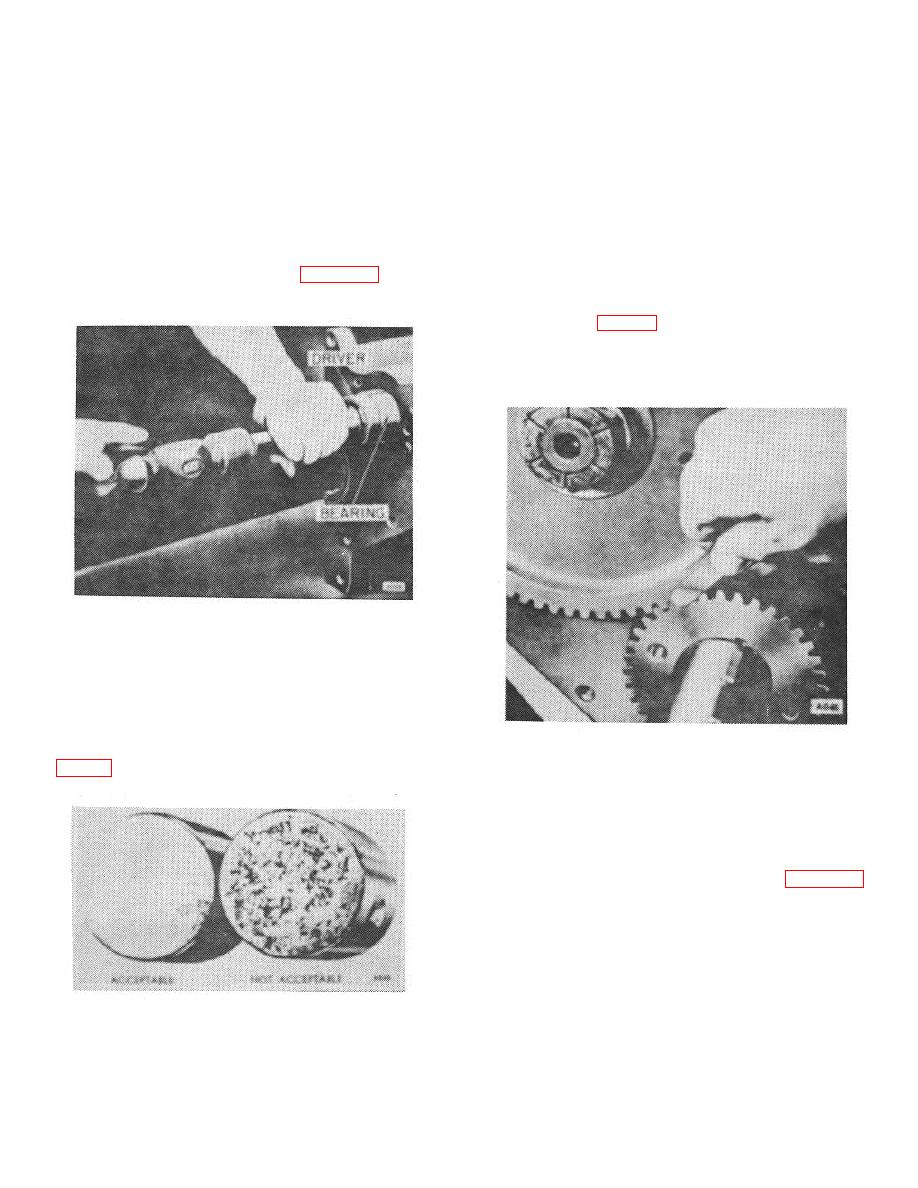
4. Timing gears and timing gear fits must be
using precision service bushings
checked carefully while the engine is being overhauled.
which require no reaming. Figure 43
To check the fit, use a screw driver to force the mating
illustrates bushing installation.
teeth as far apart as possible. Check the clearance with
a feeler gauge. (Fig. 45) If the clearance is .002" or
greater, or if the gear teeth are badly scuffed and worn,
the gear must be replaced. Timing gears must be
replaced in pairs.
Figure 43.
B. INSPECTION AND ASSEMBLY
1. Tappets must be inspected visually for scores or
damage to the contact face. Two or three small pits in
the latter is acceptable.
More than that calls for replacement of the tappets.
Figure 45.
5. Crankshaft gears and camshaft gears are
furnished in standard, undersize, and oversize. Gears
marked "S" are standard; if they are marked with figures
"1" or "2" in a letter "U", they are undersize. If they are
marked with figures in the letter "O" they are oversize.
6. Examine the camshaft thrust plate Figure 46,
carefully for scoring and wear.
Figure 44.
B-15
|
|
Privacy Statement - Press Release - Copyright Information. - Contact Us |