 |
|||
|
|
|||
|
|
|||
| ||||||||||
|
|
 TM 10-3930-660-24-2
STARTER ASSEMBLY MAINTENANCE (152 HP) - CONTINUED
0286 00
CLEANING
NOTE
For general cleaning instructions, see WP 0316 00.
CAUTION
Do not clean starter parts in solvent cleaning compound, which may damage certain electrical parts.
WARNING
Particles blown by compressed air are hazardous. DO NOT exceed 15 psi (103 kPa) nozzle pressure when
drying parts with compressed air. Use a maximum of 30 psi (207 kPa) when cleaning components. DO NOT
direct compressed air against human skin. Failure to follow this warning may cause injury or death. Make
sure air stream is directed away from user and other personnel in the area. To prevent injury, user must wear
protective goggles or face shield.
Clean starter parts in mineral spirits and dry using low pressure compressed air or clean lint-free cloth.
INSPECTION
1.
Check brush (19) lengths against length of new brush. Brushes that are less than two-thirds the length of a new brush
must be replaced.
NOTE
An oil-soaked brush must be replaced.
2.
Check to ensure that brushes fit well in holders (13 and 14), but without binding.
3.
Inspect brush springs (15) for distortion or discoloration.
CAUTION
Do not turn commutator nor undercut insulation between commutator bars. Replace armature if commutator
cannot be restored satisfactorily.
NOTE
Check condition of commutator, and clean, if necessary, using emery paper.
Check for short circuits in armature using a growler and steel strip.
4.
Rotate armature in growler.
5.
Hold steel strip (e.g., hacksaw blade) across armature slots as armature rotates. Steel strip will vibrate as slot between
shorted bars passes under steel strip.
6.
If short circuit is detected, check for build up of copper dust or other conductive material between commutator bars.
7.
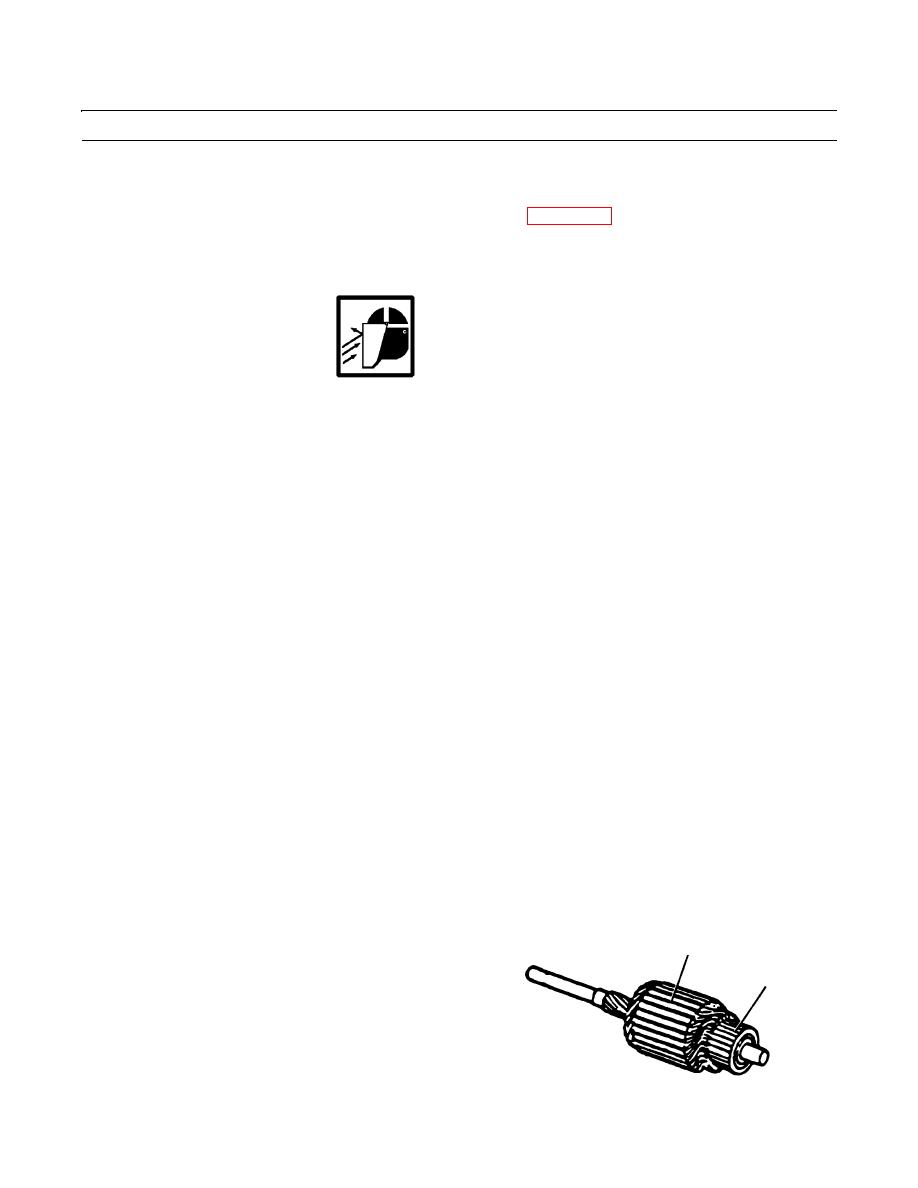
Check armature for grounds or open circuits, by mea-
B
suring resistance between commutator (A) and one
armature bar (B). Set ohmmeter on highest scale when
A
taking measurement.
8.
Switch ohmmeter to lowest scale, and place ohmmeter
leads against two adjacent commutator bars (A) and
observe ohmmeter. Ohmmeter needle should swing to
409-1110
zero and remain.
0286 00-3
|
|
Privacy Statement - Press Release - Copyright Information. - Contact Us |