 |
|||
|
|
|||
|
|
|||
| ||||||||||
|
|
 TM 10-3930-660-24-2
PISTON PUMP MAINTENANCE - CONTINUED
0256 00
ASSEMBLY - CONTINUED
WARNING
Spring can cause severe personal injury if retaining ring is not properly installed. Use capscrew and flat-
washers as required and nut to temporarily relieve pressure of spring when installing retaining ring.
NOTE
Use care when assembling parts in cylinder block to prevent burrs from forming.
35.
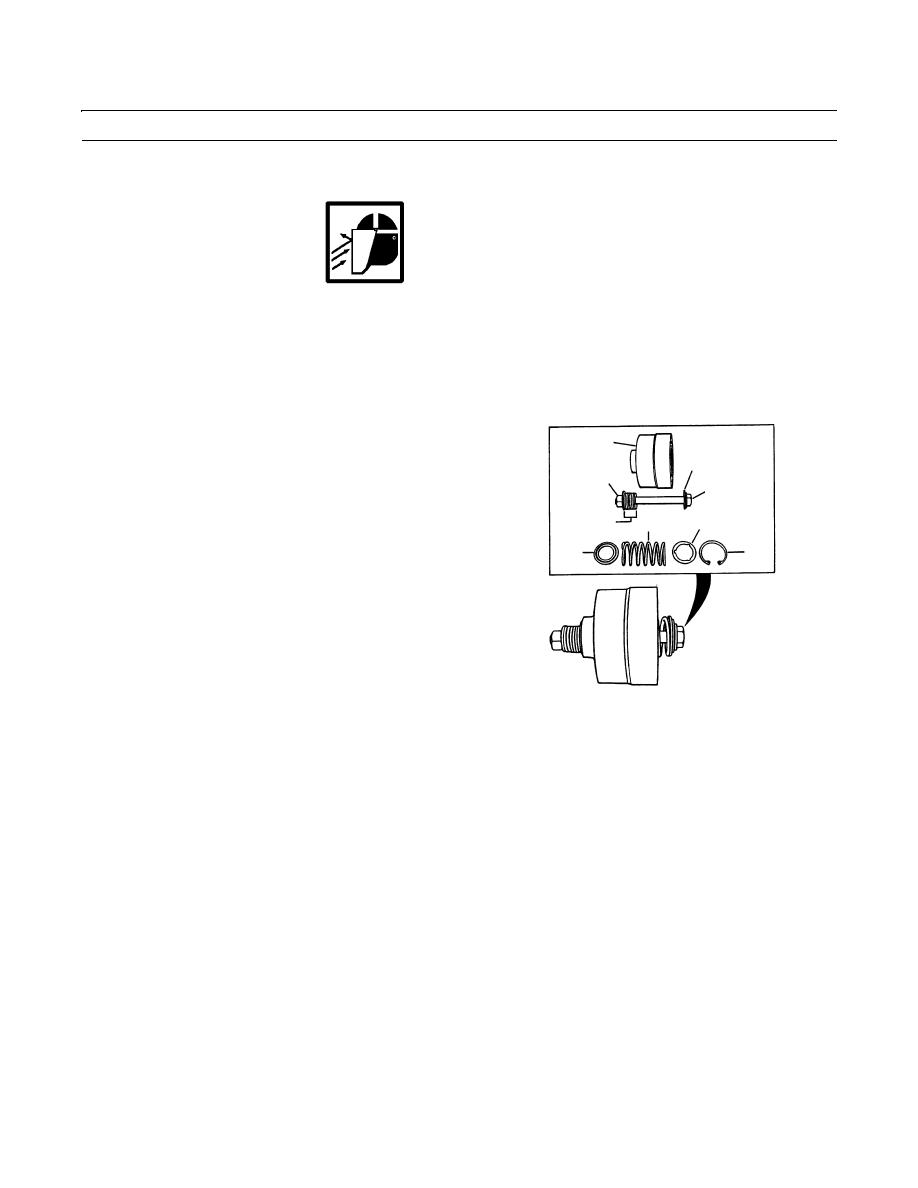
Install spring (20), spring washer (23) and spring
17
washer (22) in cylinder block (17).
A
C
36.
Place flatwashers (A), as required, on hex end of cap-
B
screw (B). Insert capscrew (B) through spring (20)
until threaded end of capscrew is visible through hole
22
A
20
on other side of cylinder block (17).
23
21
37.
Place additional flatwashers (A), as required, and nut
(C) on threaded end of capscrew (B).
38.
Carefully tighten nut (C) and capscrew (B) and install
retaining ring (21).
39.
Slowly and carefully loosen nut (C) and capscrew (B)
until pressure of spring (20) is on retaining ring (21).
409-1474
Remove capscrew (B), flatwashers (A) and nut (C)
from cylinder block (17).
40.
Install pin retainer (24) into cylinder block (17) with the open end of retainer facing away from the large spline open-
ings. Position pin retainer (24) so that it is approximately 1/4 in. (6.35 mm) below the surface of the cylinder block.
41.
Install three pins (16) into cylinder block (17) until they bottom against spring washer (23) already installed in cylinder
block.
42.
Place spherical washer (24) on top of the three pins (16). Install shoe plate (19) and nine piston and shoe assemblies (23)
over spherical washer (24) and into cylinder block (17). Move shoe plate (19) in a side to side and up and down motion
to make sure each piston moves freely in its bore.
43.
Place housing (6) on its side and hold shaft (15) horizontal. Install rotating group parts (18) into housing (6). Turn shaft
(15) to match splines in cylinder block (17) and spherical washer (24).
44.
Place new gasket (10) over pins (49) and put housing (6) aside for final assembly.
NOTE
Lubricate all moving parts of piston pump with hydraulic oil to facilitate assembly and provide initial lubri-
cation. Pour hydraulic oil liberally over rotating group parts and wafer plate as these components are without
lubrication until the pump primes.
45.
If removed, install locating pin (12) in valve block (3).
0256 00-11
|
|
Privacy Statement - Press Release - Copyright Information. - Contact Us |