 |
|||
|
|
|||
|
|
|||
| ||||||||||
|
|
 TM 10-3930-660-24-1
TRANSMISSION SHIFTER MAINTENANCE - CONTINUED
0114 00
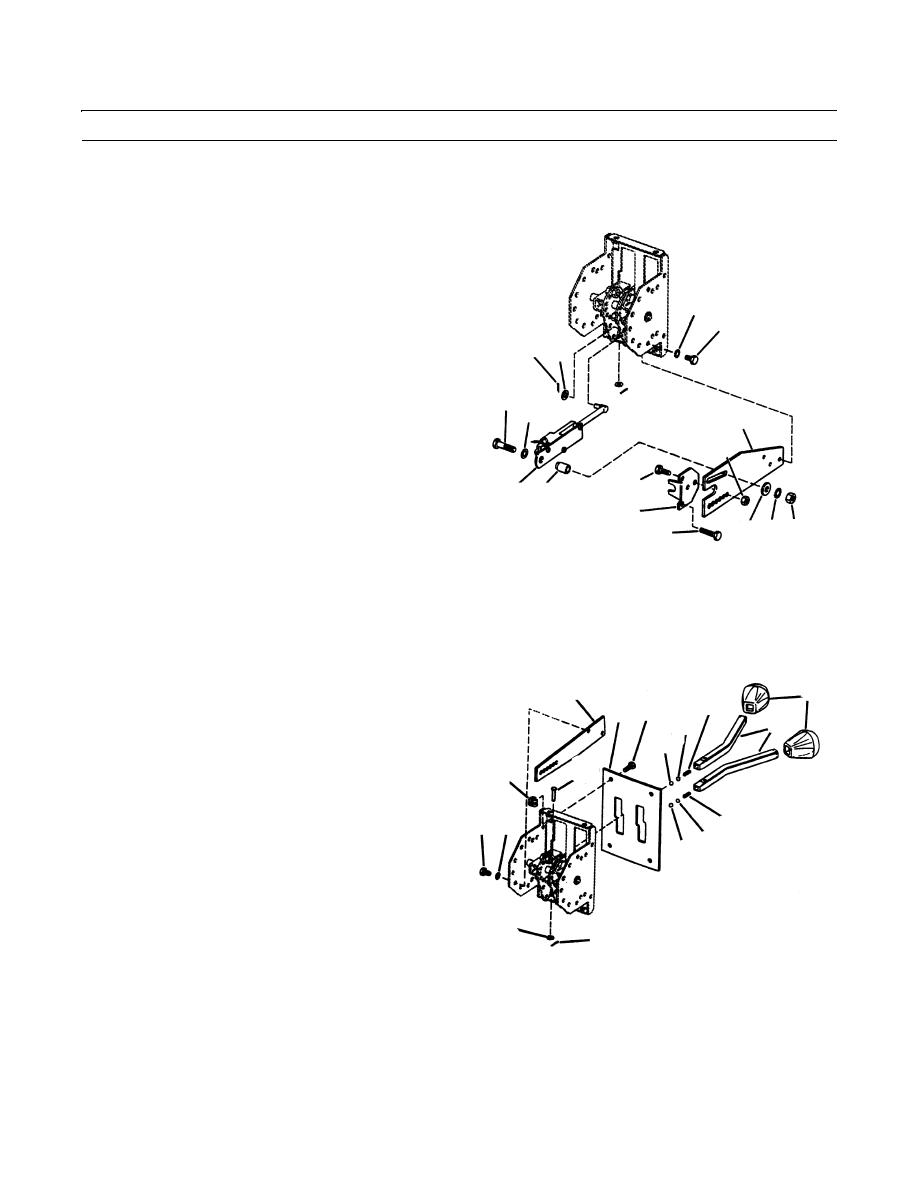
REMOVAL - CONTINUED
7.
Remove cotter pin (13) and washer (14). Discard cotter pin.
8.
Remove capscrew (15), washer (16), back-up alarm
switch (17), spacer (18), washer (19), lockwasher (20)
and nut (21). Discard lockwasher.
9.
Remove two capscrews (22), two capscrews (23), two
27
locknuts (24) and bracket (25). Discard locknuts.
26
10.
Repeat step 9 for other side of shifter.
13
14
11.
Remove two capscrews (26), two lockwashers (27)
and bracket (28). Discard lockwashers.
15
16
28
12.
Remove two capscrews (29), two lockwashers (30)
and bracket (31). Discard lockwashers.
24
13.
Remove two pins (32), two washers (33) and two cot-
23
17 18
ter pins (34). Discard cotter pins.
25
14.
Remove two levers (35), two springs (36), two disks
19 20 21
22
(37) and two bearings (38).
409-448
15.
Remove knobs (39) from levers (35).
16.
Remove four capscrews (40), four retainers (41) and plate (42).
INSTALLATION
1.
Secure plate (42) with four capscrews (40) and four
39
retainers (41).
31
36
42 40
2.
Install knobs (39) to levers (35).
35
37
38
NOTE
32
41
Apply grease to items as installed.
3.
Install two bearings (38), two disks (37), two springs
29 30
36
(36) and two levers (35). Secure with two pins (32),
38 37
two washers (33) and two new cotter pins (34).
4.
Secure bracket (31) with two capscrews (29) and two
new lockwashers (30).
5.
Secure bracket (28) with two capscrews (26) and two
33
new lockwashers (27).
34
6.
Secure bracket (25) with two capscrews (23) and two
409-449
new locknuts (24). Install two capscrews (22).
7.
Repeat step 6 for other side of shifter.
8.
Position back-up alarm switch (17) on shifter. Secure with capscrew (15), washer (16), spacer (18), washer (19), new
lockwasher (20) and nut (21).
9.
Install washer (14) and new cotter pin (13).
0114 00-2
|
|
Privacy Statement - Press Release - Copyright Information. - Contact Us |