 |
|||
|
|
|||
|
Page Title:
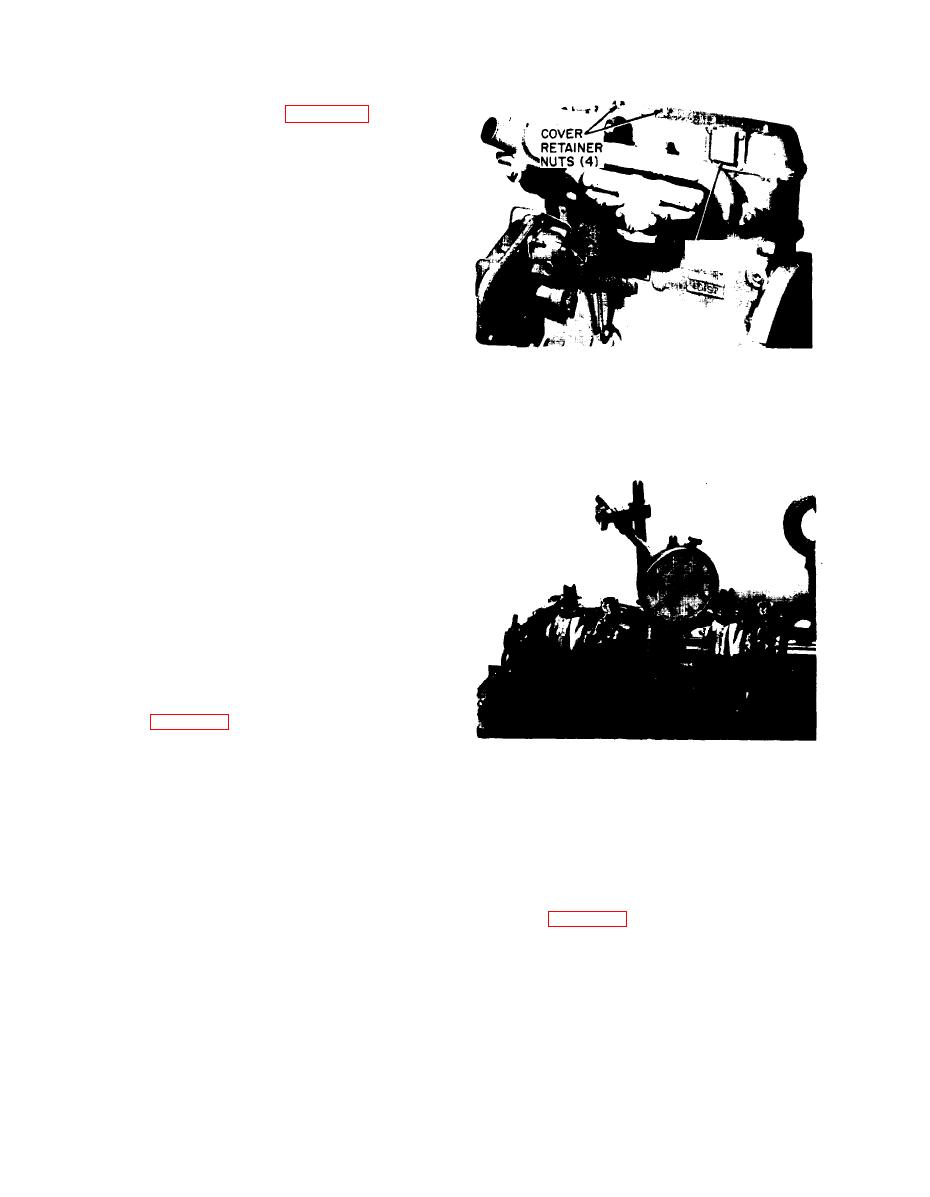
Figure 5-9. Checking Camshaft Lift |
|
||
| ||||||||||
|
|
 hood and seat support, floor plate and side door
hoods. These parts are shown in figure 5-6.
a . After removal of sheet metal parts, tag and
disconnect all electrical wiring and hydraulic hoses
at the engine and pumps.
b. Disconnect fuel line at the fuel filter on the
left side of the engine.
c. Drain the cooling system and disconnect the
radiator hoses at the water pump inlet and
thermostat housing.
d. Drain the oil pan, and disconnect accelerator
linkage.
Figure 5-8. Rocker Arm Cover
e. Through the openings in the converter
housing, remove the 5/16 inch bolts securing the
torque converter driving disc to the engine
flywheel.
NOTE
It will be necessary to rotate the engine
flywheel to make all these bolts accessible
for removal.
f. Remove counterweight and radiator and hoses
t o gain additional forward clearance for engine
removal.
g . Remove mounting bolts at torque converter
housing and flywheel housing flange.
h. Refer to figure 5-7 and remove mounting bolts
from left and right engine mounts.
i. Hook up a suitable hoist and sling arrangement
Figure 5-9. Checking Camshaft Lift
for engine removal. Move engine forward to
disengage s t a t o r s u p p o r t s h a f t f r o m t o r q u e
converter.
HEAD.
5-27. CYLINDER
The
following
preliminary procedures should be performed prior
j. Lift engine from truck and place in repair
to removal of the cylinder head.
stand.
REPAIR.
a. Refer to figure 5-8 and remove the rocker arm
5 - 2 6 . ENGINE
repair
Engine
cover retainer nuts and the rocker arm cover.
instructions are given below under functional
component headings (CYLINDER HEAD, etc.).
b. Scrape away all old gasket material from
Refer to the table of contents for location of
rocker arm cover and cylinder head surfaces.
functional group headings for each component.
5-16
|
|
Privacy Statement - Press Release - Copyright Information. - Contact Us |