 |
|||
|
|
|||
|
|
|||
| ||||||||||
|
|
 TM 10-3930-644-14&P
i. Ensure that bearings have been properly
packed with grease, then tighten locknut
so there is a slight drag on the bearings.
Lock the nut m position by bending prongs
of lockwasher over.
j. To reinstall the jackshaft. place in position
in the drive housing. Then, using a soft
mallet, drive the shaft in place, and at the
same time align the holes in the retaining
cap with the holes in housing. Install and
tighten capscrews.
k. Replace wheel.
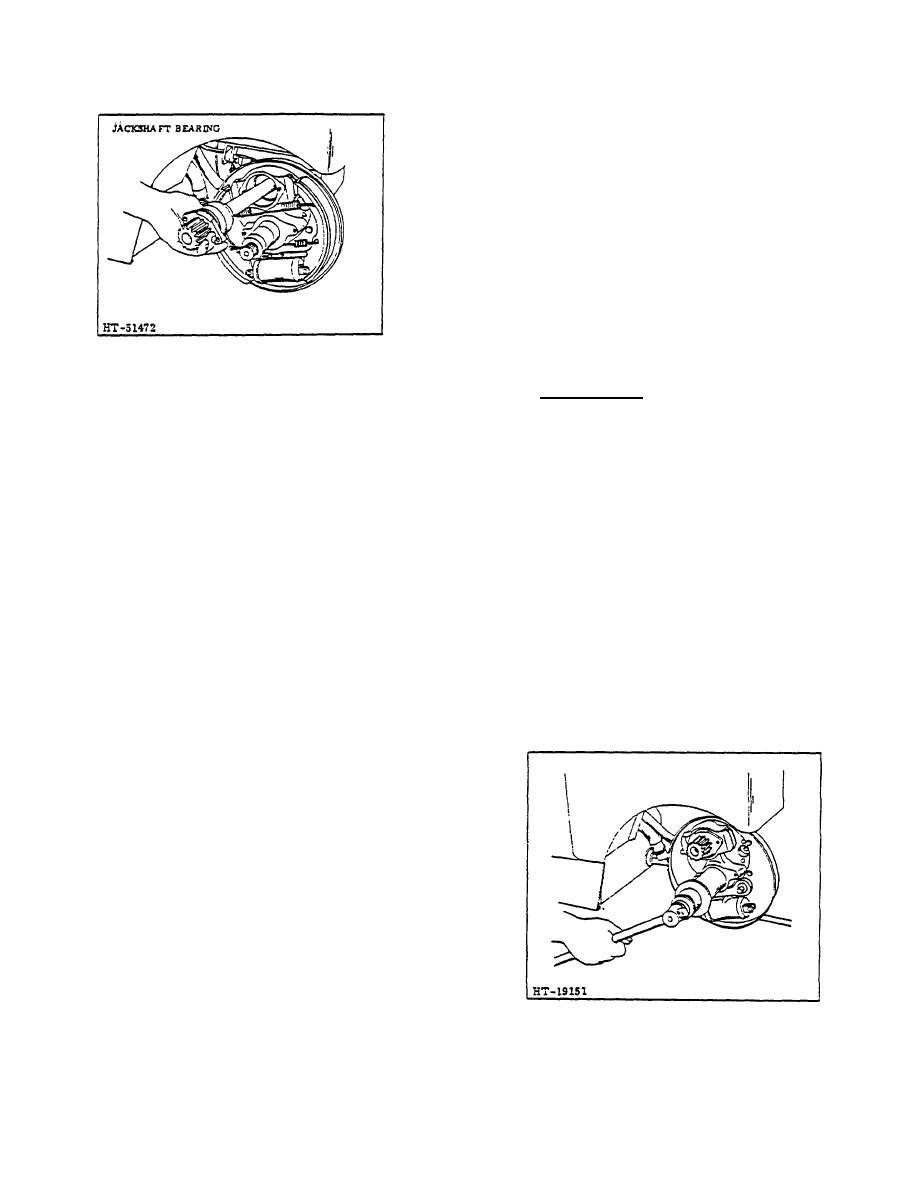
Figure 12. Jackshaft Removed
4. Spindle Service
c. Install a weight puller in the threaded end
of the jackshaft and exercising care,
To remove the drive wheel spindle, proceed
remove the shaft.
as follows:
NOTE
a. Remove
wheel.
(See
WHEEL
The
bearing
assembly
will-be
REMOVAL).
removed with the jackshaft.
Figure
12.
b. Remove dust cover.
d. Straighten the locking prongs of the
c. Remove the cotter pin.
Locknut and
lockwasher (Figure 10) and remove
washer from the spindle at the back side
locknut lockwasher.
of the drive housing.
e. Place the shaft in a suitable press and
d. Install a spindle puller as shown in Figure
force the bearings from the shaft.
13 and remove the spindle.
CAUTION
e. Carefully inspect the spindle for any
Exercise care to prevent damaging
evidence of uneven wear or damage.
the axle shaft cap.
Replace If worn. chipped or bent.
f. After bearings and bearing cup are
removed, slide the retainer cap from the
shaft.
NOTE
Whenever the jackshaft is removed, It
is recommended that the oil seals be
replaced.
g. Clean and inspect all parts and replace
where necessary.
h. To reassemble the jackshaft components.
slide the retainer ring and new seal on
shaft. Next, replace the bearings and
bearing cup, washer, lockwasher and
locknut.
Figure 13. Removing Spindle
3-140
|
|
Privacy Statement - Press Release - Copyright Information. - Contact Us |
