 |
|||
|
|
|||
|
|
|||
| ||||||||||
|
|
 TM 10-3930-644-14 & P
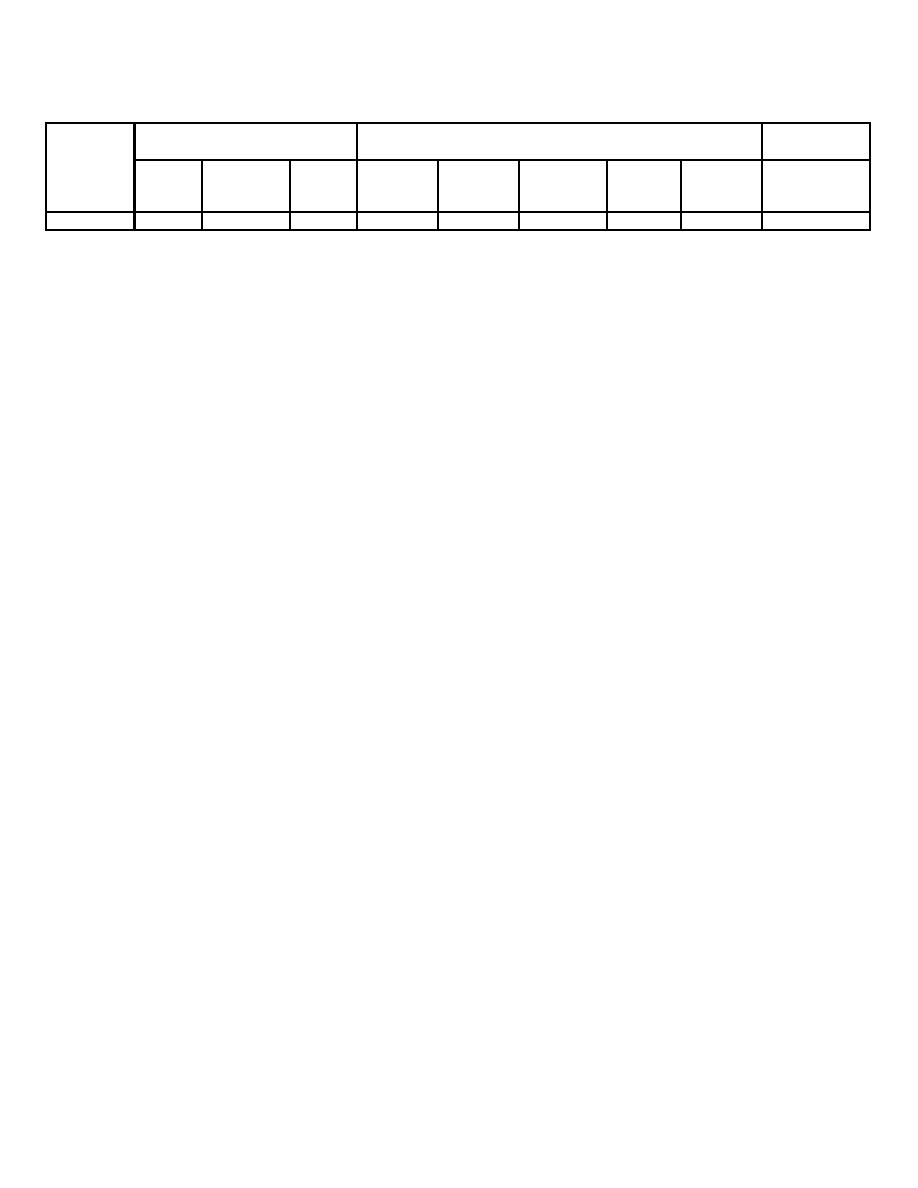
ALTERNATOR SPECIFICATIONS
Field Current
Cold Output
at Specified Voltage
(80F.)
Rotation
Rated
Viewing
Spec.
Approx.
Approx.
Hot Output
D.E.
Grd.
Amps.
Volts
Volts
Amps.
RPM
Amps.
RPM
(Amps.)
CW
Neg.
4.0 - 4.5
12
*
22
2000
33
5000
37
*Voltmeter not needed for cold output check. Load battery with carbon pile to obtain maximum output.
the voltage by the current given in alternator
specifications. Remember that the wind
CAUTION
ing resistance and ammeter readings will vary
Use pressure sensitive tape, and not
slightly with winding temperature changes. If the
friction tape which would leave a
rotor is not defective, but the generator fails to
gunny deposit on the shaft.
supply rated output, the defect is in the diode
To remove the drive end frame from the rotor,
trio, rectifier bridge, or stator.
Place the rotor in a vise and tighten only enough
3. Diode Trio Check The diode trio is identified in
to permit removal of the shaft nut.
Figure 2-6. First, connect an ohmmeter, using
lowest range scale, from diode trio long
connector to end frame as shown in Step 2,
CAUTION:
Figure 2-6; then, reverse lead connections. If
Avoid excessive vise tightening as
both readings are the same, check for grounded
this may cause distortion of the rotor.
brush lead clip caused by omission of insulating
1. Remove the shaft nut, washer, Pulley, fan, and
washer (Fig. 2-6), omission of insulating sleeve
the collar, and then separate the drive end frame
over screw, or damaged insulating sleeve.
from the rotor shaft.
Remove screw to inspect sleeve.
If screw
2. Rotor Field Winding Checks
assembly is correct, and both ohmmeter
readings are the same, replace regulator.
To check for opens, connect the test lamp or
ohmmeter to each slip ring.
To check the diode trio, remove it from the end
frame assembly by detaching the three nuts, the
If the lamp fails to light, or if the ohmmeter
attaching screw, and removing the stator
reading is high (infinite), the winding is open
assembly. Note that the insulating washer on
(Fig. 2-5).
the screw is assembled over the top of the diode
trio connector. Use the lowest range of an
Connect test lamp or ohmmeter from one slip
ohmmeter having a 1-1/2 volt cell. Connect the
ring to shaft. If lamp lights, or if reading is low,
ohmmeter to the single connector and to one of
the rotor winding is grounded (not illustrated).
the three connectors (Figure 2-8). Observe the
reading. Then, reverse the ohmmeter leads to
The winding is checked for short-circuits or
the same two connectors. If both readings are
excessive resistance by connecting a battery
the same, replace the diode trio. A good diode
and ammeter in series with the edges of the two
trio will give one high and one low reading.
slip rings. Note the ammeter reading and refer
Repeat this Same test between the single
to alternator specifications. As ammeter reading
connector and each of the other two connectors.
above the specified value indicates shorted
Also, connect the ohmmeter to each pair of the
windings; a reading below the specified value
three connectors (not illustrated). If any reading
indicates excessive resistance.
is zero, replace the diode trio.
An alternate method is to check the resistance
NOTE
of the field by connecting an ohmmeter to the
Figures 2-6 and 2-8 illustrate two
two slip rings (Fig. 2-5).
If the resistance
diode trios differing in appearance.
reading is below the specified value, the winding
Either one of these diode trios may
is shorted; if above the specified value the
be used in the alternator, since the
winding has excessive resistance. The specified
two are completely interchangeable.
resistance value can be determined by dividing
R-146-1
3-86
|
|
Privacy Statement - Press Release - Copyright Information. - Contact Us |