 |
|||
|
|
|||
|
|
|||
| ||||||||||
|
|
 TM 10-3930-638-24&P
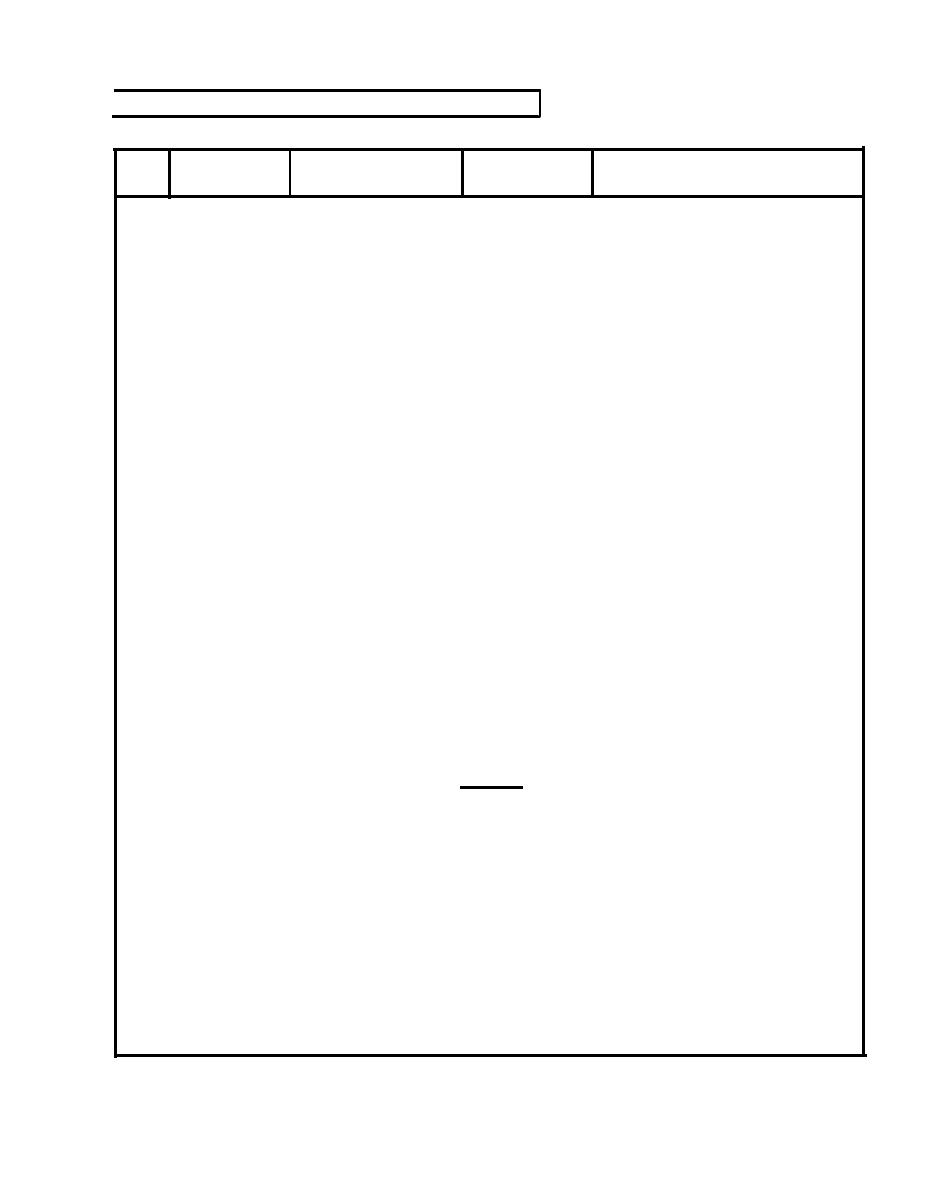
3-13. STARTER AND SOLENOID REPAIR (cont)
REMARKS
ACTION
ITEM
STEP
LOCATION
REASSEMBLY (cont)
22
g. Stop collar (13)
Install
Force stop collar over retaining ring. Place
(cont)
a suitable washer over retaining ring.
Squeeze collar and washer together using
pliers. Remove and discard washer
Install
h. Washer (12)
i. Washer (1 1)
Install
Drive hous-
a. Sleeve bearing (34)
23
Install
If removed
ing (53)
b. Pin (33)
Install
c. Armature (10)
Install
d. Two lock washers
Position
(9)
e. Two screws (8)
Install
f. Shift lever (30)
Install
Engage with drive
assembly
Position
g. Two seal washers
(29)
Install
h. Screw (28)
i. Nut (27)
Install
j. Boot (31)
Seal and
Apply sealer to drive housing frame
position
k. Plunger (32)
Position
On shift lever (30)
l. Spring pin (26)
Install
Press on plunger (32) and shift lever (30)
m. plunger spring
Position
Over plunger (32)
(25)
n. Solenoid switch (24)
Position
Against drive housing (53)
o. Two lock washers
Install and
Until solenoid (24) is securely mounted
tighten
(23) and screws
(22)
Position
p. Field frame (7)
Over armature (10)
CAUTION
Use care to not damage brushes when positioning frame over
armature.
q. Field frame (7) and
seal
Apply sealer between frame, solenoid flange
solenoid switch
and solenoid junction
(24)
3-111
|
|
Privacy Statement - Press Release - Copyright Information. - Contact Us |
