 |
|||
|
|
|||
|
|
|||
| ||||||||||
|
|
 c. Reassembly and Installation.
(1) Reinstall gages, meters, and switches that
were removed during disassembly of the instrument
panel.
(2) Install the leads that were disconnected
from the instruments, following the instructions on the
tags that were installed at the time of disassembly. If
any tags were destroyed, refer to the wiring diagram,
(3) Install the instrument panel using the
direct reversal of the removal procedure.
4-41. Lights
a. Removal
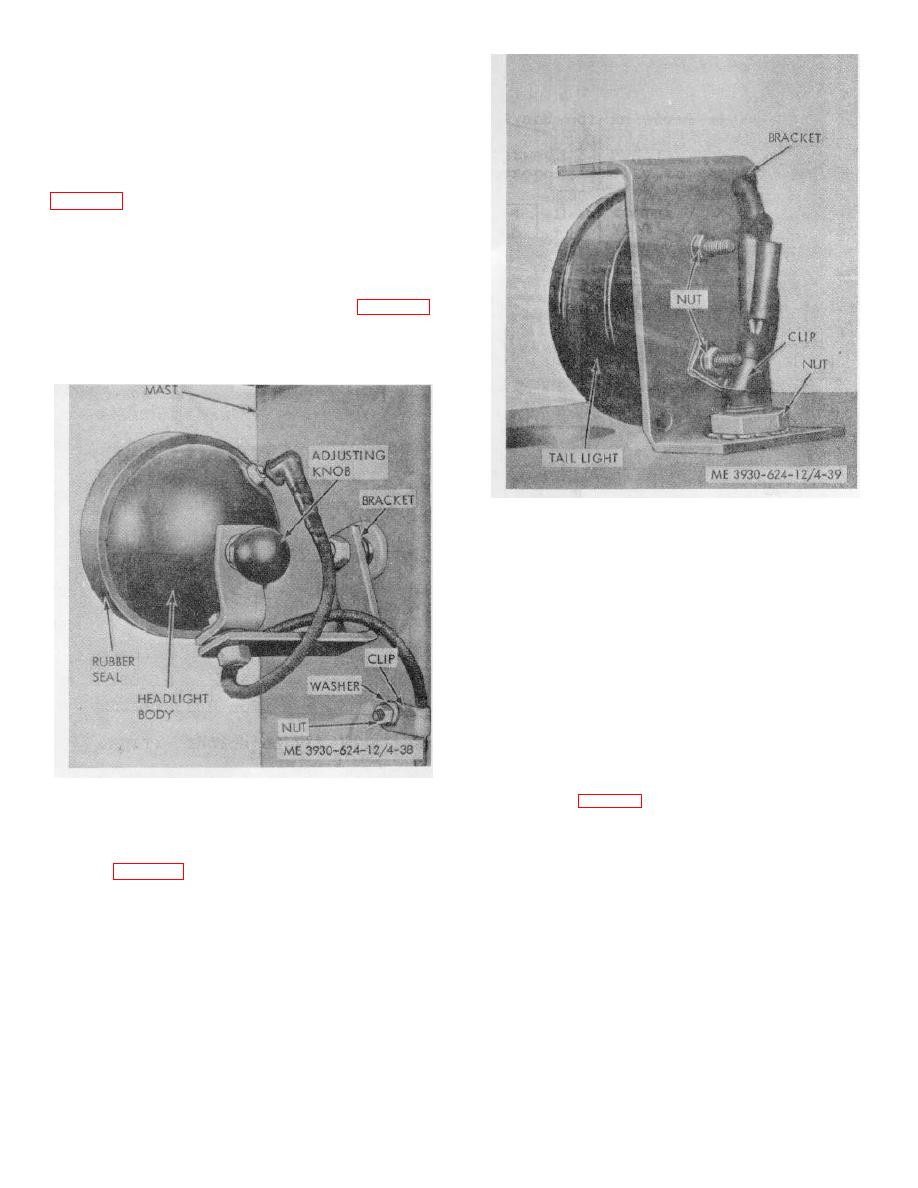
(1) To remove the headlight (fig. 4-38),
disconnect the electrical lead. Remove the knob, nut
and washer securing the headlight to the bracket.
Remove the headlight.
Figure 4-39. Taillight assembly.
b. Cleaning and Inspection.
(1) Clean all parts with a cloth dampened with
a solvent; dry thoroughly.
(2) Inspect parts for cracks, distortion,
corrosion, and other damage; replace damaged parts.
c. Installation. Install the headlight and taillight
assemblies using a direct reversal of the removal
procedures.
d. Lamp Replacement.
(1) To install the headlight lamp, remove the
rubber seal that holds the sealed lamp assembly into the
body.
Remove and disconnect the sealed lamp.
Reverse the procedure to install a new lamp.
(2) To remove the tail-lamp, remove the
retaining ring (fig. 4-39) and lens from the body. Push in
Figure 4-38. Headlight assembly.
on the lamp and give it a one-quarter turn
counterclockwise to remove it. Reverse the procedure
(2) To remove the stop and taillight, tag and
to install a new lamp.
disconnect the electrical leads. Remove the nut and
washer (fig. 4-39) securing the light to the bracket;
remove the taillight.
4-36
|
|
Privacy Statement - Press Release - Copyright Information. - Contact Us |