 |
|||
|
|
|||
|
Page Title:
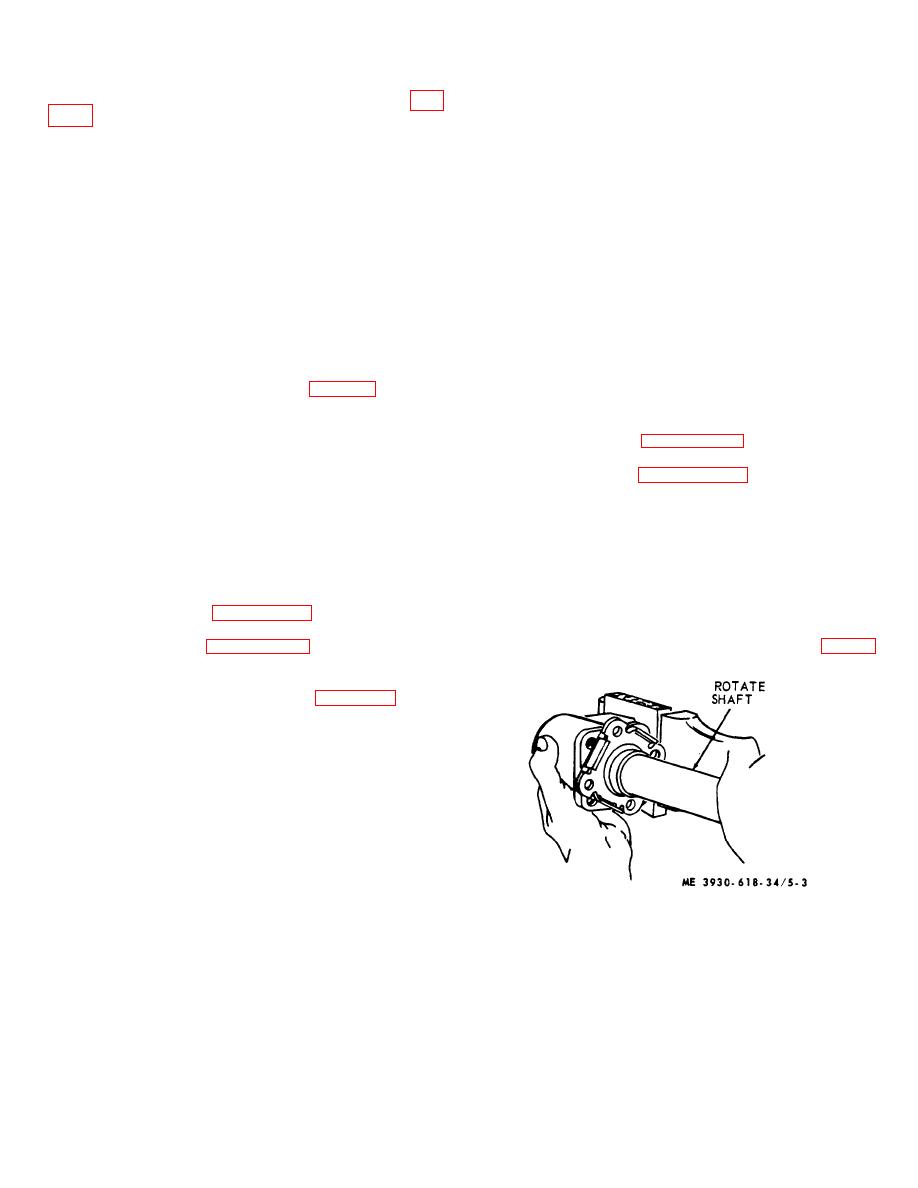
Figure 5-3. Checking control spool rotation. |
|
||
| ||||||||||
|
|
 c. Reassembly.
5-3. Horn Button and Steering Wheel
(1) Note match-marks on column (36) and
a. Removal.
secure column to mounting plate (17) with bolts (37).
(1) Push down on horn button cover (1, fig.
Torque bolts to 280 inch-pounds.
(2) Install retaining ring (31), bearing (30), and
(2) Remove horn button cover (1), button (2),
retaining ring (26) on shaft (32).
contact cup (3), spring (4), and contact cap (5).
(3) Insert horn wire (33) through washer (27),
(3) Separate horn button wire (33) from base
spring, ferrule (25), and partially through shaft (32).
plate (6).
Bring wire out from shaft and attach to contact ring (34).
(4) Remove screws (7) from base plate (6)
(4) Insert insulator (35) in contact ring (34)
and remove base plate, contact spring (8) and contact
and slide both, gradually pulling back on horn wire, on
washer (9).
shaft (32).
(5) Remove steering wheel nut (10) and
(5) Insert shaft (32) in column (36) and secure
lockwasher (11) from steering shaft (32).
with retaining ring (28). Rotate shaft to engage shaft and
(6) Using wheel puller, remove steering wheel
spool splines.
(12) from shaft (32).
(6) Install brush assembly (15) on column (36)
(7) Remove two screws (37) and lockwashers
securing with screws (14).
attaching steering gear support bracket to steering gear
(7) Install connector (13) on brush wire.
assembly.
(8) Install steering gear support bracket on
b. Installation.
steering column and secure it to steering gear with two
(1) Thread horn wire (33, fig. 5-2) through
screws (37) and lockwashers.
steering wheel (12), lockwasher (11), nut (10), washer
5-5. Steering Unit a. Removal.
(91, and spring 18) and attach wire to base plate (6).
(1) Refer to paragraph 5-2 for steering gear
(2)
Press steering wheel (12) on
assembly removal.
shaft and secure with lockwasher (11) and nut (10).
(2) Refer to paragraph 5-4 a (7) for separation
(3)
Install base plate (6) and secure
of steering unit from steering column.
with screws (7) making sure horn wire (33) is securely
b. Disassembly.
attached to plate.
(1) Clamp end plate (17) of steering unit
(4)
Install cap (5), spring (4), cup (3)
assembly in vise with end cap (20) up and remove
and button (2) on base plate (6).
screws (19).
(5)
Install horn button cover (1) by
(2) Remove end cap (20), rotor (21), plate
pressing down on cover and turning right.
(22) and drive (23) from control assembly housing (48).
5-4. Column a. Removal.
c. Control Spool Rotation Check. Remove control
(1) Refer to paragraph 5-2 for steering gear
assembly (38) from vise and check for free rotation of
assembly removal and installation.
control spool (50) and sleeve (49) using shaft (32) (fig. 5-3
(2) Refer to paragraph 5-3 for steering wheel
3).
and horn button removal.
b. Disassembly.
(1) Remove screws (14, fig. 5-2), brush
assembly (15), and contactor (13) from column (36).
(2) Working through brush plate opening,
disconnect horn wire (33) from contact ring (34).
(3) Remove horn wire (33), ferrule (25), spring
(26), and washer (27) by slowly pulling wire from shaft
(32).
(4) Remove retaining ring (28) from column
(36) and slide shaft and bearing from column (36).
(5) Remove bearing retaining ring (29), press
off bearing (30), and remove other bearing retaining ring
(31) from shaft (32).
(6) Mark two bolt hole locations on column, so
that ports will be correctly referenced when unit is
reassembled.
Figure 5-3. Checking control spool rotation.
(7) Remove column bolts (37) and column
(36) from mounting plate (17).
5-5
|
|
Privacy Statement - Press Release - Copyright Information. - Contact Us |