 |
|||
|
|
|||
|
|
|||
| ||||||||||
|
|
 STEERING
axle and thrust washer. Record this measurement to
B. INSPECTION
determine choice of shims when replacing thrust
washers.
1. Thoroughly wash parts and socket shell with
solvent. Examine parts and ball stud for flats, scoring,
3. Remove front and rear bearing caps. (Fig. 2)
galls and excessive wear. Replace parts as necessary.
4. Raise rear of truck sufficiently to allow sliding
C. ASSEMBLY
bearings and thrust washers from the stub shafts. Block
wheels to prevent them from rolling while axle and truck
Assemble parts in the reverse order of removal. Insert
are separated.
lubricated ball stud into socket opening and tighten
adjusting plug until an abrupt resistance to turning effort
B. INSTALLATION
is felt, then back off to nearest lock point and insert
cotter pin.
1. Place bearings, thrust washers and shims in
position on stub shafts. Adjust clearance as close to
MANUAL STEERING GEAR
zero as possible, without binding.
A. GENERAL
2. Guide axle into position while lowering truck.
This is a recirculating ball type unit. In this steering gear
3. Install caps in proper places as indicated by
the steering wheel control forces are transmitted through
marks previously made.
a recirculating ball worm to a rack. In turn the rack
drives the pitman shaft.
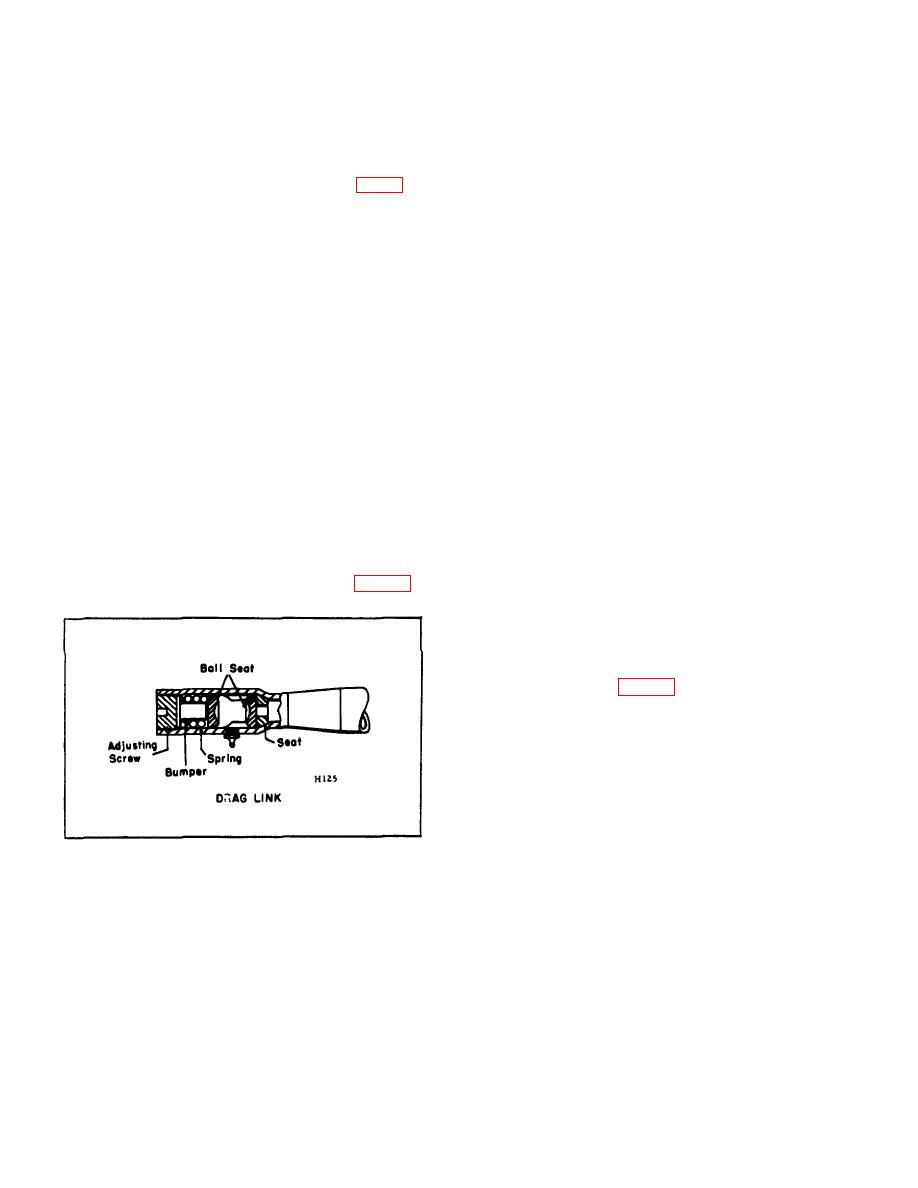
BALL SOCKET AND BALL STUD
B. REMOVAL
A. DISASSEMBLY
1. Match mark the pitman arm and shaft. Remove
Remove cotter pin and unscrew adjusting screw plug,
the pitman arm from the steering gear pitman shaft.
remove ball stud, seats, spring and bumper. (Fig. 12)
2. Release the column support clamp under the
instrument panel. Disconnect the horn wire.
3. Remove the mounting flange bolts.
C. DISASSEMBLY (Fig. 13)
1. Loosen adjusting screw locknut and remove the
housing side cover by unscrewing adjusting screw.
2. Remove adjusting screw from slot in end of
pitman shaft making certain shim found on adjusting
screw is kept with the screw.
Figure 12.
B-164
|
|
Privacy Statement - Press Release - Copyright Information. - Contact Us |