 |
|||
|
|
|||
|
|
|||
| ||||||||||
|
|
 BRAKES
3. Remove mounting screws. Then work boot off
the piston rod and pull master cylinder away from the
rod.
C. DISASSEMBLY (Fig. 8)
1. Thoroughly clean outside
of
the
cylinder
assembly, with denatured alcohol.
2. Remove filler cap and gasket, Empty the
reservoir. Remove boot and brake line fitting.
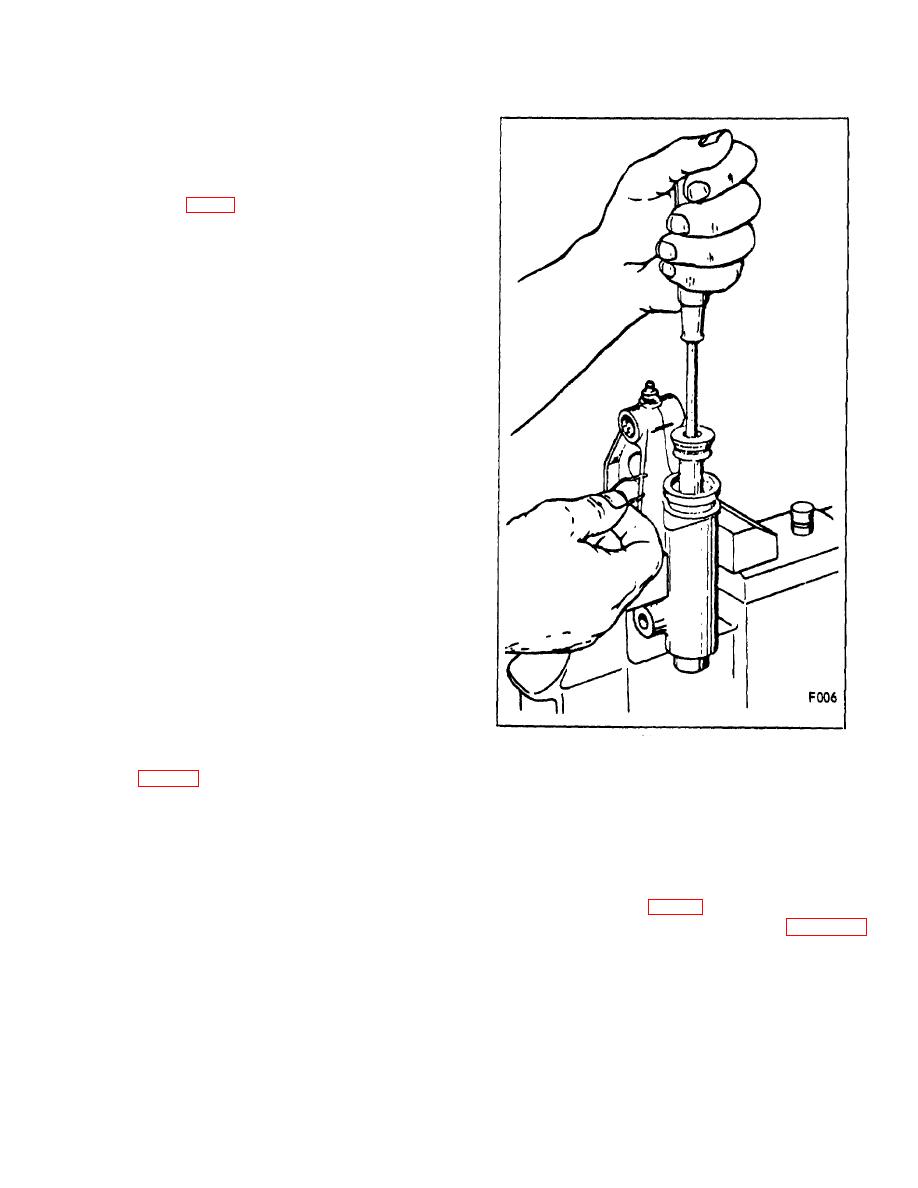
3. Position cylinder in a vise, open end up, so that
the pressure of the vise jaws do not distort the cylinder.
(Note "Caution" below). Using a screwdriver, pry lock
wire from groove in cylinder bore. Internal parts should
then slide from the cylinder in the following order: First
the piston stop followed by the piston cup. Next to be
removed is the piston, followed by the piston spring, and
check valve assembly. The last component to be
removed will be the check valve seat.
The check valve seat is firmly seated into the fitting end
of the cylinder bore and can be extracted either with a
stiff wire hook, or pushed from its seat with stiff wire
inserted into and through the fitting hole.
CAUTION: Internal parts are spring-loaded and may be
released faster than the serviceman's reflexes.
Therefore, personal harm may result from looking
directly into the cylinder bore when removing the lock
wire or attempting to removed a seized component.
Figure 9.
Free one side of stop, then complete removal as
illustrated In Figure 9,
NOTE: Do not use mineral base solvents to clean
cylinder components, as they will attack and
D. CLEANING AND INSPECTION
deteriorate rubber parts.
1. Clean all parts in denatured alcohol making sure
2. Hold cylinder toward a strong light and sight
there is no trace of dirt, sludge, metal particles, or other
through cylinder bore. Inspect wall for pitting and
foreign materials on or in the cylinder components.
scratches. If any of these or other defects are noticed,
hone the cylinder wall. (Fig. 10)
3. Measure cylinder bore diameter. Figure 11
illustrates checking cylinder with a step-gauge. Discard
cylinder if diameter is
B-133
|
|
Privacy Statement - Press Release - Copyright Information. - Contact Us |
