 |
|||
|
|
|||
|
Page Title:
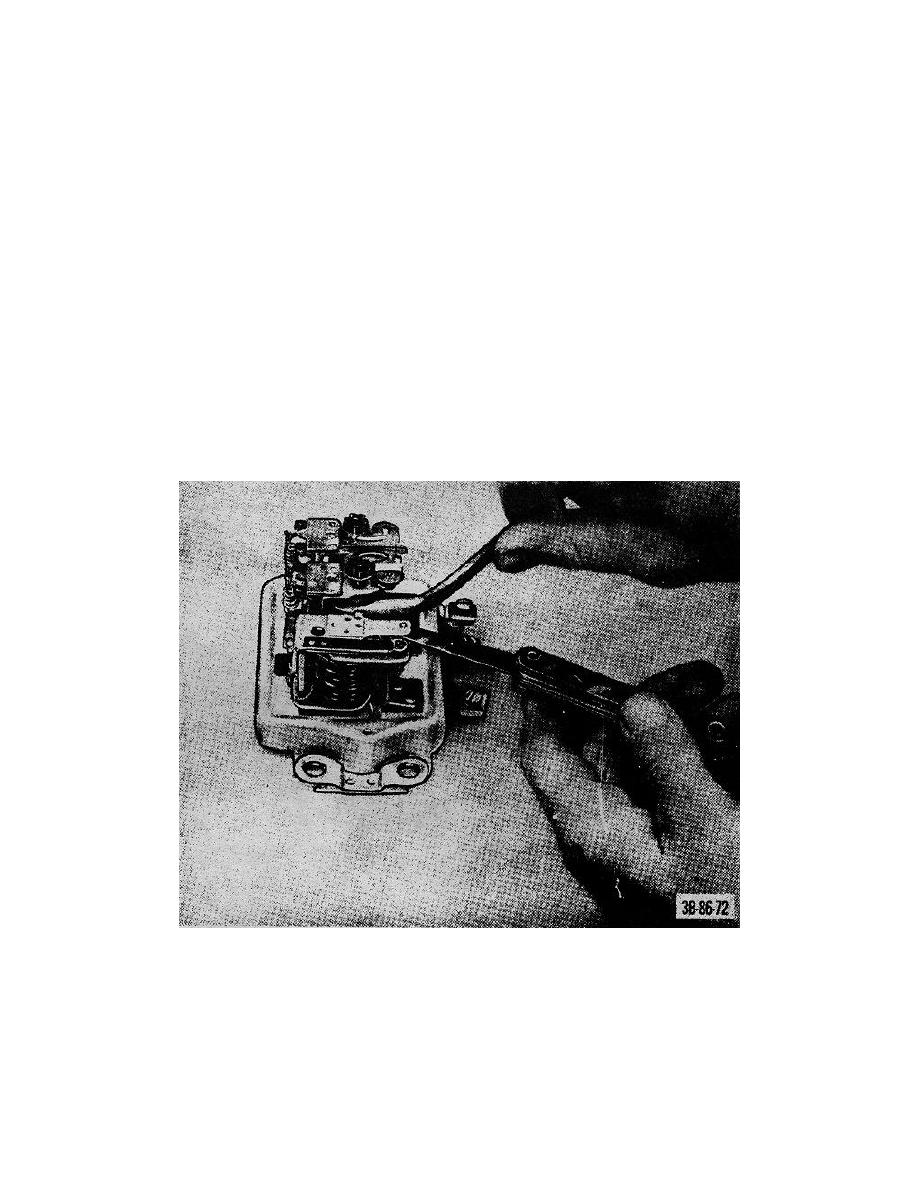
Figure 45. Adjusting cutout relay point opening. |
|
||
| ||||||||||
|
|
 TM 10-3930-222-20
center. The light should flash each time
the 5 before top-dead-enter mark on the
e. Ignition Timing.
crankshaft pulley passes under the pointer
(1) Static method. Chalk the timing marks on
on the timing gear cover.
If an
the crankshaft pulley (fig. 59) and timing
adjustment's necessary to obtain correct
gear cover so that the marks can be seen
timing, turn the distributor on its mounting.
clearly. Check the contact point gap.
Rotate the distributor counterclockwise to
Remove the No. 1 spark plug and place
advance timing; rotate it clockwise to
the thumb over the spark plug hole.
retard timing. Tighten the clamp bolt to
Crank the engine until air escapes around
secure adjustment.
the thumb.
Aline the timing marks.
f. Cap Replacement.
Loosen the distributor clamp assembly
(1) Disconnect the lead assemblies at the
and turn the distributor on its mounting
spark plugs and coil.
until the contact points begin to open.
Tighten the clamp assembly to secure
(2) Remove the cap assembly from the
adjustment.
distributor.
(2) Timing light method. Attach a timing light
(3) Install leads in the new cap and tighten
lead to the No. 1 spark plug. Connect the
the screw pins.
other timing light lead to the battery (fig.
(4) Install the new cap.
60). Run the engine at 500 rpm. The No.
1 plug should fire at 5 before top dead
Figure 45. Adjusting cutout relay point opening.
86
|
|
Privacy Statement - Press Release - Copyright Information. - Contact Us |
