 |
|||
|
|
|||
|
|
|||
| ||||||||||
|
|
 ENGINE
5. Ream new valve stem guides to size given in
the Specification Listing, using a straight reamer ground
to correct size and having a pilot which will properly
locate it and keep it from wandering from the original
reamed hole.
CAUTION:
When replacing with guides that are
ferrox coated, do not ream since
these are all pre-reamed before being
ferrox coated. Further reaming will
remove the coating.
C. VALVE SEAT INSERTS
1. The exhaust valve seat insert is held in place by
a shrink fit. Inspect all exhaust valve seat inserts in the
block and replace any that are loose, cracked or
otherwise damaged. Use a puller for removing a faulty
insert as shown in Figure 12. When replace
Figure 71.
remove the keepers from these valves in the same
manner. Remove all valves and place in correct order
to prevent mixing while handling.
B. VALVE GUIDES
1. Clean the valve stem guides, removing lacquer
or other deposits by running a valve guide cleaner or
wire brush through the guides.
2. Check guides for wear by using a "go and no-
go" plug gauge or a telescope gauge and 1" micrometer.
Replace all guides that are worn bellmouthed and have
increased .0015" in diameter, See Specification Listing
for maximum diameter permissible to determine actual
amount the diameter has increased.
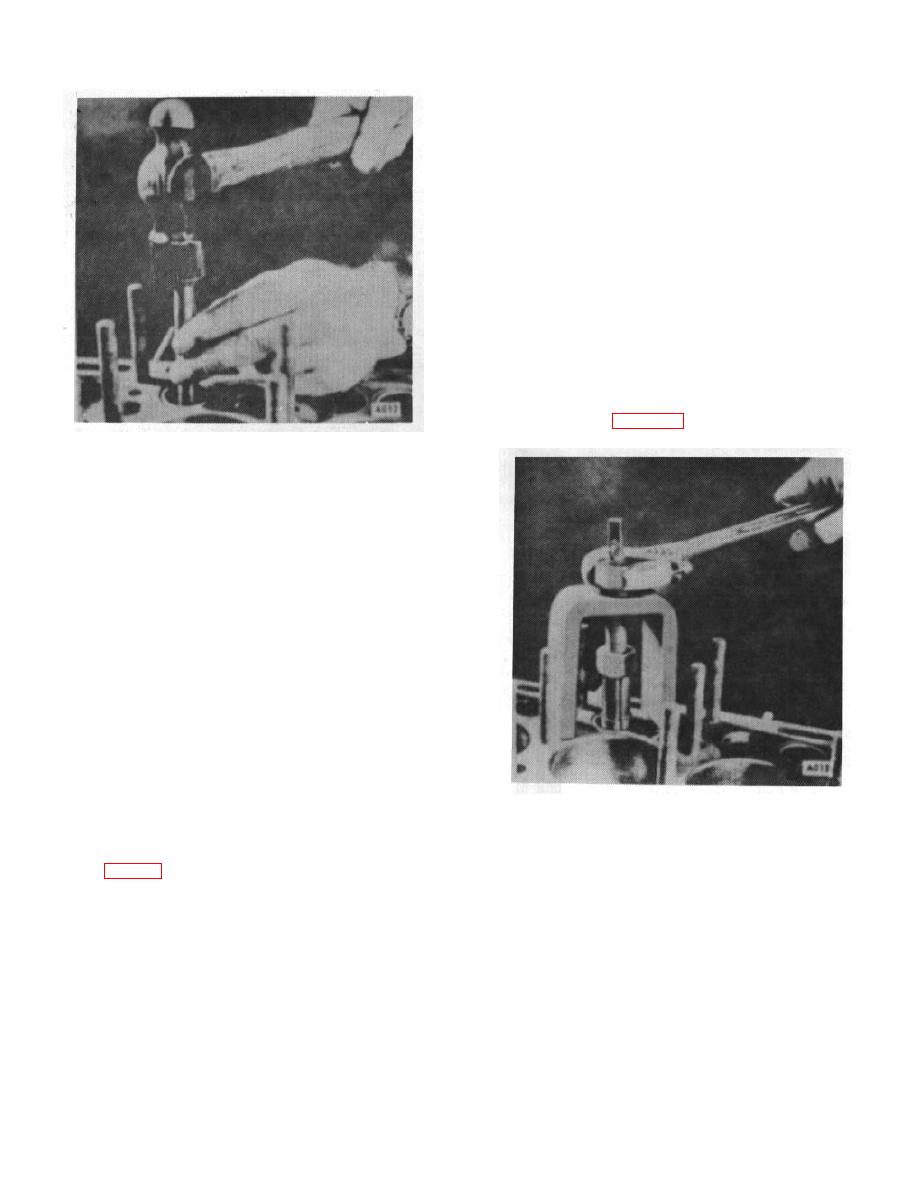
3. Remove all valve guides when necessary by
Figure 12.
driving them out from the combustion chamber side with
a driver slightly smaller than the O.D. of the valve
ment of a new insert is required, clean and counterbore
guide. (Fig. 11)
for .010" larger insert using a counterbore tool with a
correct fitting pilot. When machining the counterbore,
be sure to go deep enough with the tool to clean up the
4. Install new guides as required by driving from
bottom so that the insert will have full contact to carry
the combustion side to the correct depth below the valve
away the heat. Do not install new inserts having the
seat as given in the Specification Listing.
same outside diameter as
B-4
|
|
Privacy Statement - Press Release - Copyright Information. - Contact Us |
