 |
|||
|
|
|||
|
Page Title:
CONNECTING RODS AND BEARINGS REPLACEMENT - continued |
|
||
| ||||||||||
|
|
 TM 10-3930-673-34
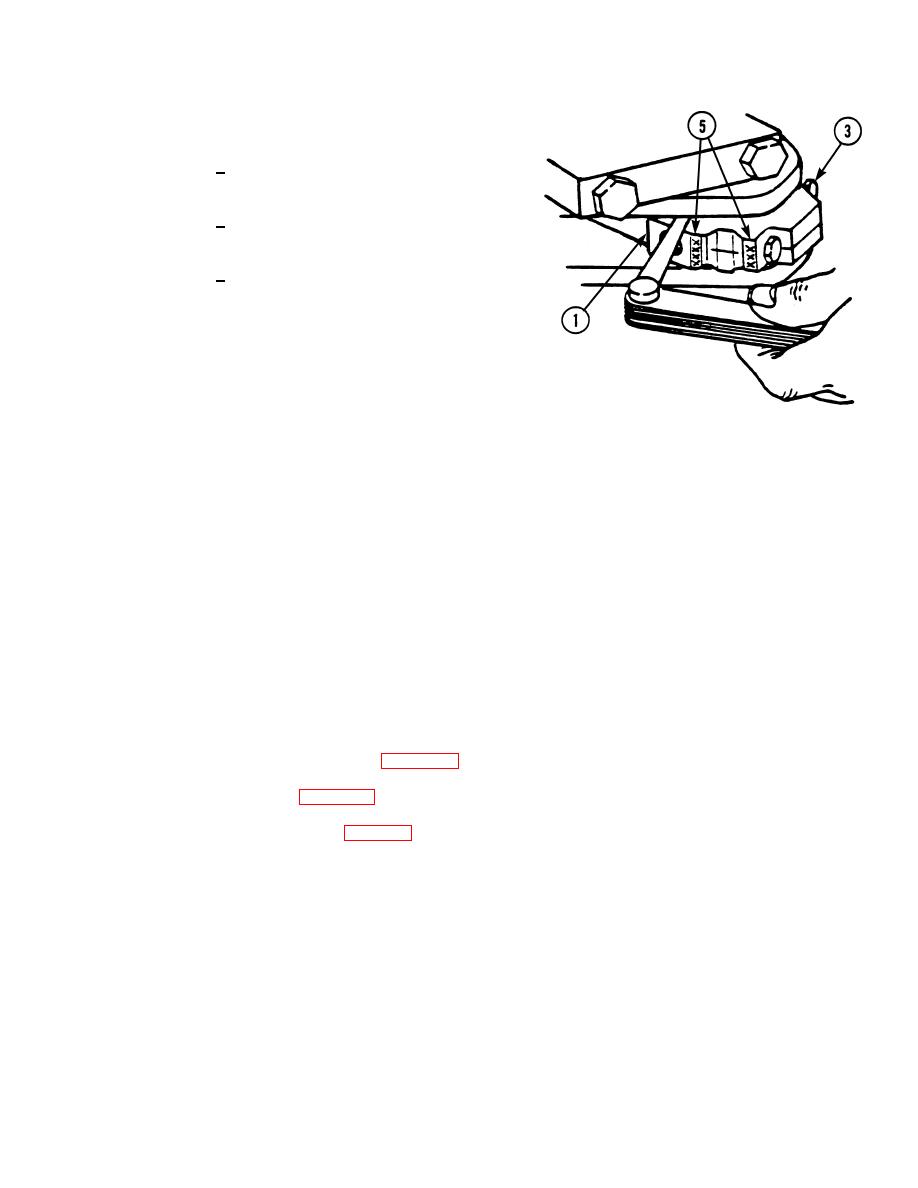
(m) Tighten screws (3) in three
increments.
1
First increment - 26 lb-ft
(35.25 Nm).
2
Second increment - 52 lb-ft
(70.50 Nm).
3
Third increment - 73 lb-ft
(98.97 Nm).
(3)
As bearing caps (1) are installed,
manually rotate crankshaft (9) to
ensure that crankshaft rotates
freely. If crankshaft fails to rotate
freely at some point, check for
installation or incorrect size of rod
TR01639
bearings (4).
(4)
Repeat Steps (2) and (3) for remaining piston (2) and connecting rod assemblies (5) are
installed
(5)
Measure connecting rod (5) side play at each connecting rod (5) assembly.
(a)
Measure connecting rod (5) side play.
(b)
Wear tolerance is 0.012 in (0.30 mm).
(c)
If side play exceeds wear tolerance stated in Step (b), replace connecting rod (5) and bearing
cap (1).
NOTE
Follow-on Maintenance:
Install oil pump inlet tube (Para 3-24).
Install oil pan (Para 3-23).
Install cylinder head (Para 3-7).
END OF TASK
3-117
|
|
Privacy Statement - Press Release - Copyright Information. - Contact Us |