 |
|||
|
|
|||
|
|
|||
| ||||||||||
|
|
 TM 10-3930-644-14&P
8. Turn engine over until timing pointer on flywheel
CAUTION
housing is visible through inspection hole in top
Ensure that transmission mounting
of housing.
area is free and clear of any
obstacles, such as linkage or hoses
9. Lift transmission assembly into position on
to prevent damage.
engine. Align timing decal with timing pointer in
2. Position the converter in the pump at the back of
flywheel housing.
Check marks made on
the transmission, making sure that the converter
flywheel and flex plate during removal to be sure
hub tangs properly engage the pump.
they are aligned.
3. Check timing decal on flex plate. Decal should
10. Pilot on converter must be inserted in mating
be aligned with one of the outer bolt holes.
hole in flywheel. Bolt heads on flex plate will
match with clearance holes in flywheel.
4. Be sure surface of flex plate is clean and dry
and that decal is aligned with outside edge of
11. Secure transmission
housing
to
flywheel
flex plate.
housing with two bolts.
5. With decal facing converter, install flex plate and
12. With inspection hole cover on flywheel removed,
reinforcing ring on converter and secure with
install one place head bolt and special washer at
place head bolts Torque bolts to 43 to 49 lb. ft.
the decal and torque to 20-23 lb. ft. Install and
torque the remaining five bolts by turning
6. Install converter, with flex plate attached, on
flywheel to proper position for each one. Install
transmission input shaft. Check to be sure that
inspection hole cover.
both splines and tangs driving charging pump
are fully engaged.
13. Install remaining transmission housing bolts.
Connect universal point to transmission.
7. Turn converter to position timing decal on top.
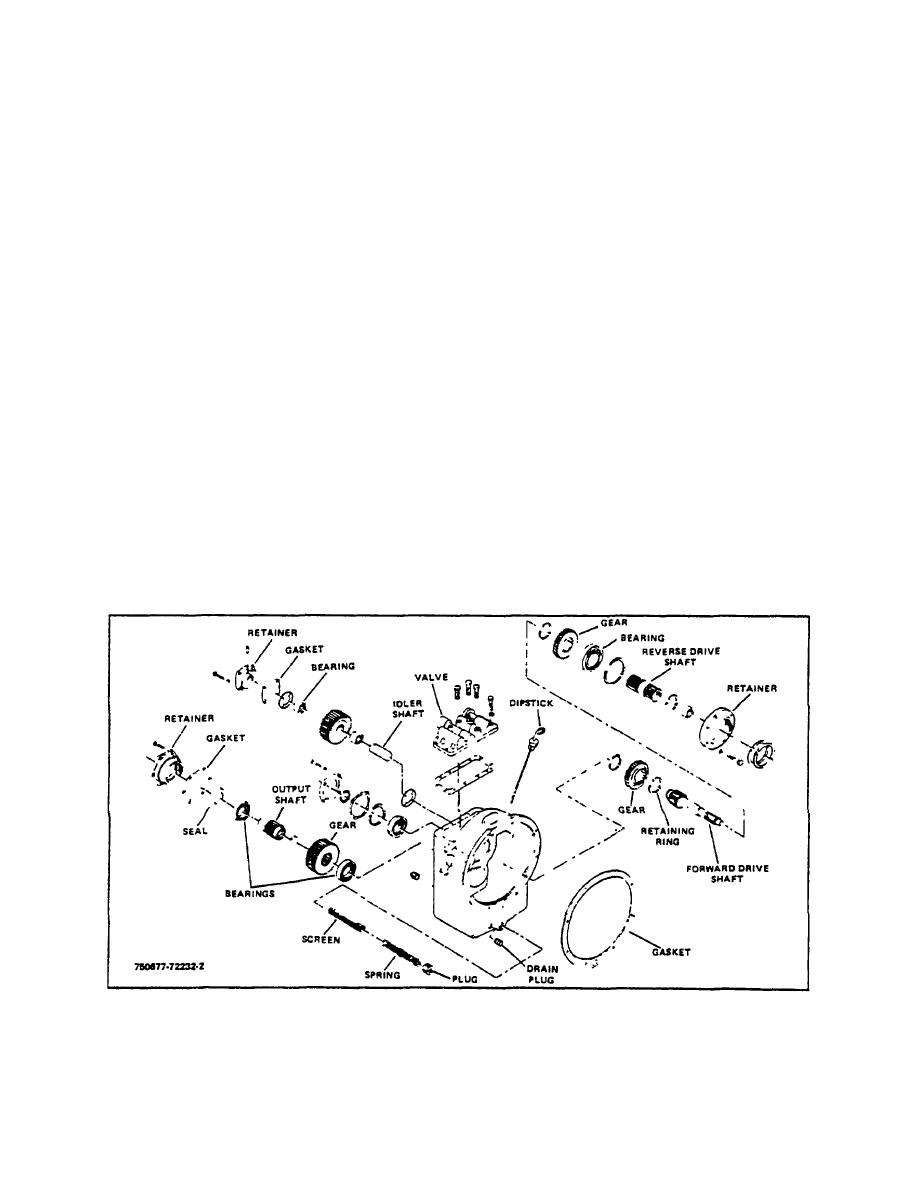
Figure 1-11. Transmission
R-171-1
3-122
|
|
Privacy Statement - Press Release - Copyright Information. - Contact Us |