 |
|||
|
|
|||
|
|
|||
| ||||||||||
|
|
 TM 10-3930-644-14&P
Purge the cooling system from all rust and scale by
running the engine with a cleaning or flushing solution
added to the coolant. The flushing solution is then
drained through the radiator drain cock and the block
drain cock located underneath the alternator. After
draining. it is advisable to reverse flush the radiator first.
CAUTION
Allow engine to cool before reverse
flushing the radiator. Refer to Topic
3 Radiator.
C. WATER PUMP REMOVAL
Proceed as follows:
1. Remove the engine side panels and raise the
operator's seat.
2. Loosen the alternator adjusting bracket
capscrew and the alternator pivot mounting
capscrew and push the alternator towards the
engine until the fan belt tension is relieved.
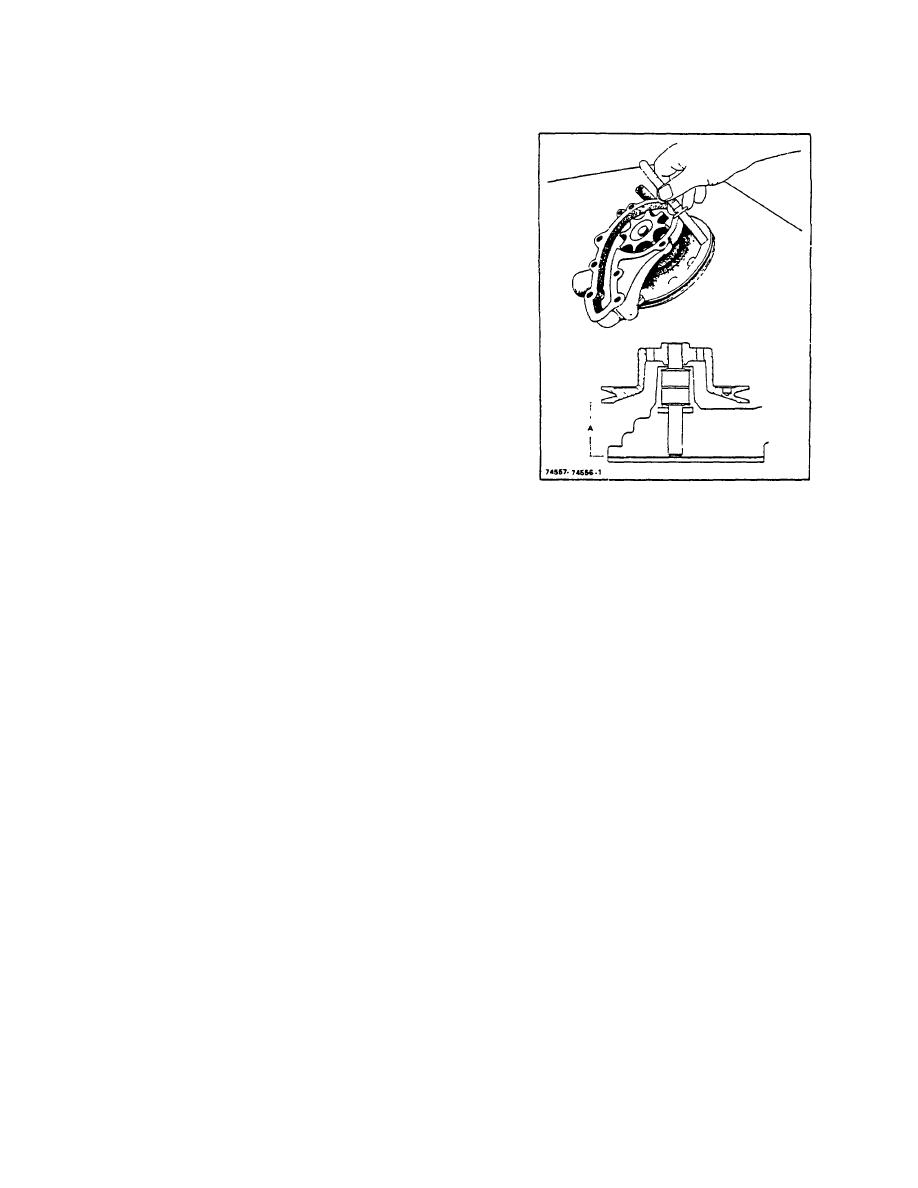
Figure 2-2. Measuring Distance Between Pump Body
Remove the fan belt.
and Rear of Pulley Flange.
3. Remove the fan blade mounting capscrews and
2. Use a puller to remove pulley from shaft, see
lockwashers then remove the fan.
Figure 2-3.
4. Remove the radiator pressure cap, open the
3. Remove the impeller using a puller.
Take
drain rocks located beneath radiator and the
alternator, and drain the cooling system.
precautions to prevent damage to the pump
body.
5. Loosen the hose clamp and remove the bottom
hose leading from radiator.
4. Remove the impeller seal and gasket.
5. Using long-nose pliers, remove the retainer ring
6. Loosen the clamp at each end of the coolant by-
pass hose. and remove the hose.
that holds the bearing and shaft assembly in the
pump body.
7. Remove the capscrews which secure the water
plump to the cylinder block, then remove the
6. Using an arbor press or a lead hammer, force
the bearing and shaft assembly out through the
water pump and the flange gasket.
front.
D. DISASSEMBLY
CAUTION
DO NOT attempt to drive the water
When disassembling the water pump. an arbor press
and suitable pressing blocks are required. Disassembly
pump shaft out through the rear. To
do so, will damage the pump body
must be performed in the following sequence to prevent
beyond repair.
damage to the pump. See Figure 2-1.
E. INSPECTION/REPAIR Repair to the water pump will
1. Remove the back plate from the pump and
consist of replacement of any parts that are worn or
measure the distance from rear of pump body to
rear of pulley flange, see Figure 2-2. This
damaged.
measurement, "A" shown in Figure 2-2, insert, is
1. Clean rust or other deposits from pump parts
used during pump installation.
and inspect for corrosion,
R-155-1
3-106
|
|
Privacy Statement - Press Release - Copyright Information. - Contact Us |
