 |
|||
|
|
|||
|
Page Title:
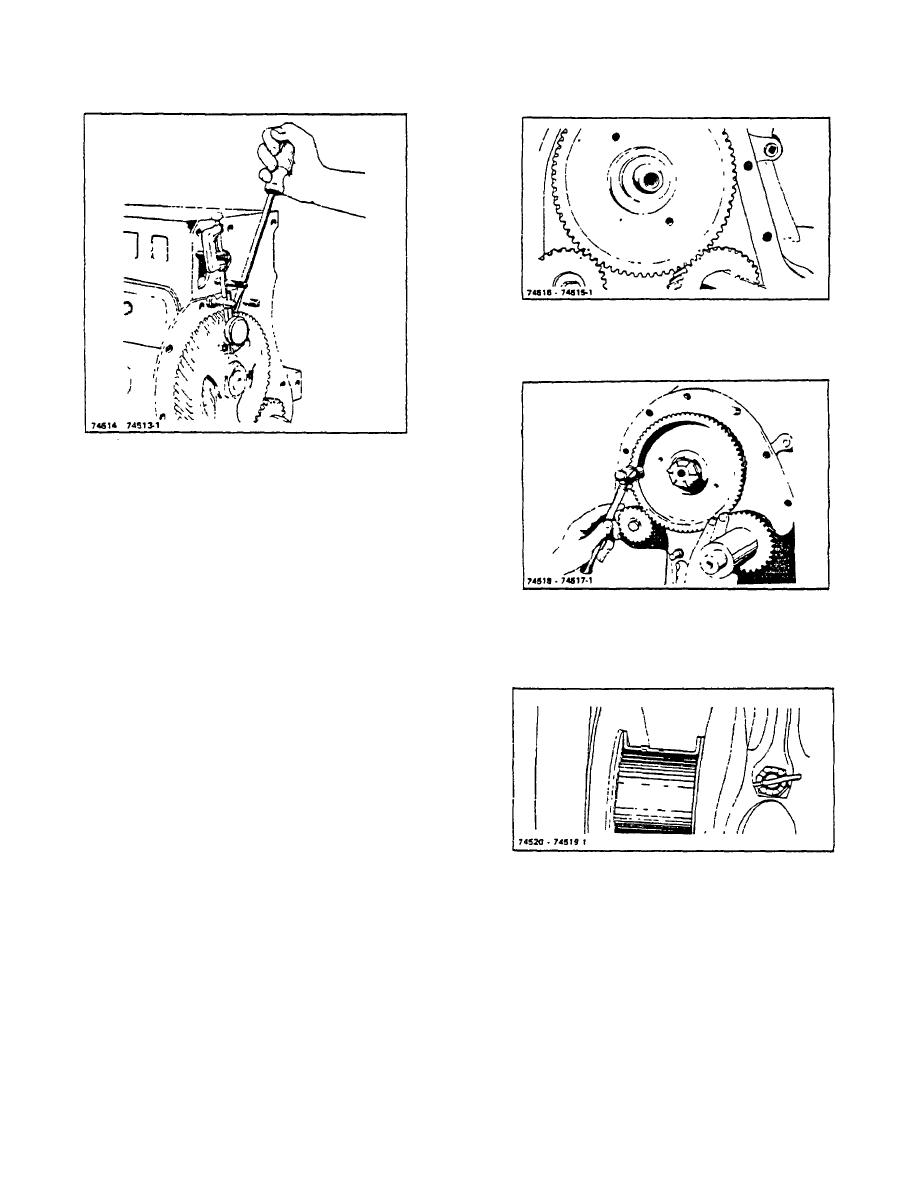
Figure 10-7. Checking Camshaft End Play |
|
||
| ||||||||||
|
|
 TM 10-3930-644-14&P
Figure 10-8. Timing Gears Assembled According to
Timing Marks
Figure 10-7. Checking Camshaft End Play
5. If the crankshaft gear requires replacement then
a suitable puller will be necessary as this gear is
shrink fitted on the shaft.
6. Use a driving sleeve to tap the gear snugly into
place.
Hard driving is not necessary and
indicates that the gear is cocked on the shaft.
Figure 10-9. Checking Gear Fit
7. Drive the crank gear on the shaft making sure
that the marked teeth on the cam gear straddle
should be between the .002" and .006" limits.
the marked tooth on the crank gear (Figure 10-8)
which assures that the crankshaft and camshaft
are in time.
8. To be certain that there is enough clearance,
hold finger at the Junction of the two gears and,
with a light hammer, tap the rim of the cam gear
and note if there is vibration felt at this point
(Figure 10-9).
9. If there is vibration and a .0015" feeler gauge will
not enter the gap between the two gear teeth,
the gear fit is within specifications.
Figure 10-10. Flanged Bearing Controls Crankshaft End
Play.
10. Check the crankshaft end play before replacing
the gear cover.
12. When installing the timing gear cover, the seal
should be replaced. Always replace the gasket
11. Crankshaft thrust is controlled by flanged center
between the cover and the engine.
bearings (Figure 10-10) which require no shims.
If end play exceeds .006" (using a feeler gauge)
13. Refer to TOPIC 18 or 19 and install the governor
replace the flanged bearings. End play.
and gear cover
R-104-1
3-37
|
|
Privacy Statement - Press Release - Copyright Information. - Contact Us |