 |
|||
|
|
|||
|
|
|||
| ||||||||||
|
|
 TM 10-3930-644-14&P
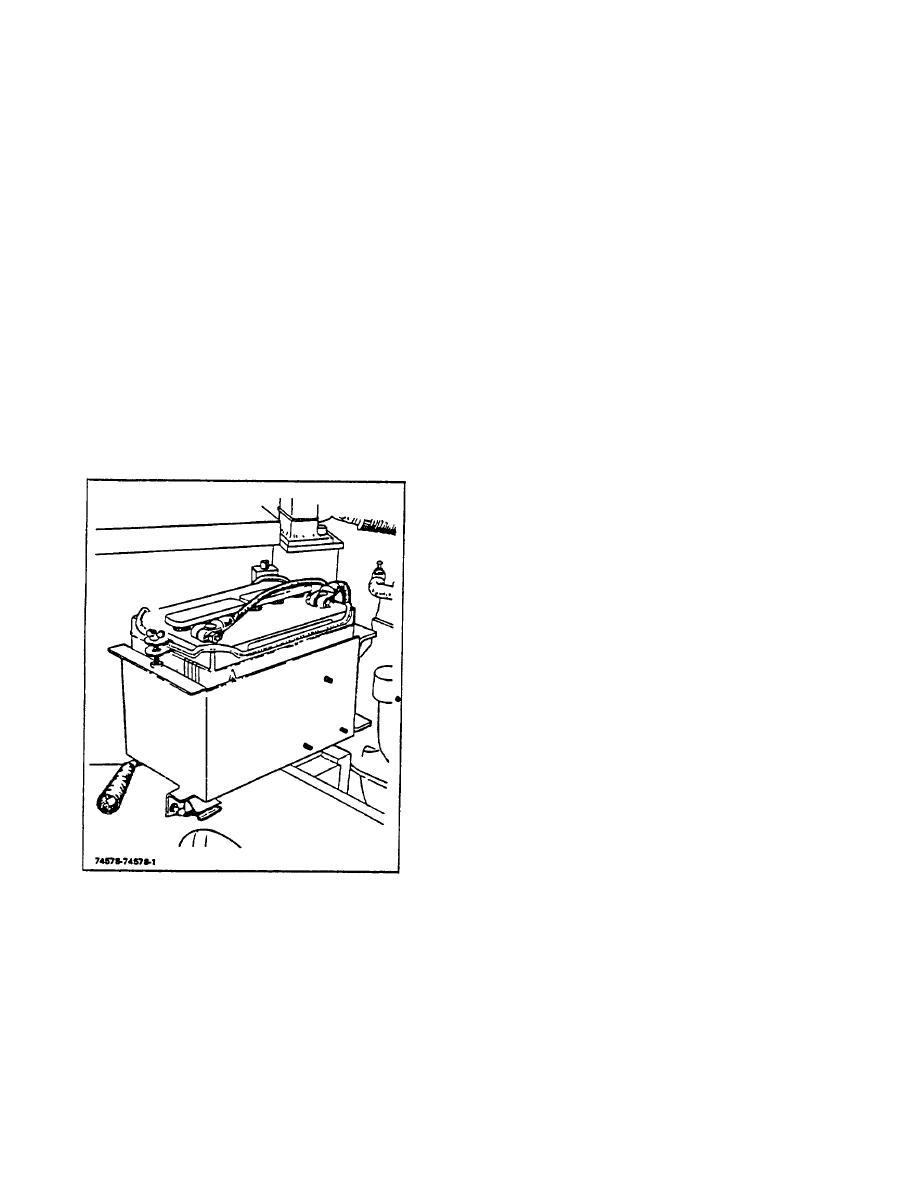
TOPIC 2. BATTERY
A. DESCRIPTION
When connecting a charger to the battery, be sure to
connect the charger positive lead to the battery positive
The storage battery mounted on a swing-out steel tray
lead, and the charger negative lead to the battery
located beneath the operator's seat, is used to store
negative lead.
current for the electrical system. The steel tray is held
securely in place by a neoprene covered hold-down
C. REMOVAL
clamp. Electrical energy drained from the battery,
through the operation of various units in the system, is
1. Lift operator's seat.
restored by the regulated alternator. Refer to Figures 1-
1 and 1-2, wiring diagrams, for proper battery
2. Gain access to the battery by swinging out the
installation.
side panel.
B. SERVICE
3. Disconnect the positive and negative battery
cables from their respective posts.
Use of water with a high mineral content reduces battery
efficiency due to the mineral build-up on the cells as the
4. Remove the wing nuts from the holddown
water evaporates. Be sure the filler plugs are replaced
clamp.
tightly and that plug vent holes are not clogged.
5. Tilt battery towards rear of truck and lift out of
battery tray. Take care not to spill any of the
electrolyte during handling.
D. INSTALLATION
1. Maintain replacement battery in an upright
position, tilting only as required for fit, during
installation.
2. Be certain battery replacement position is the
same as when removed.
3. Make certain battery posts and cable terminals
are clean and that the terminals are connected
to proper posts securely.
4. Expand cable terminals for ease of installation,
and do not hammer onto posts, as this practice
could loosen posts and ruin battery.
5. Be sure the ground polarity of the battery and
ground polarity of alternator are the same.
6. Ensure that electrolyte in each cell is at proper
level.
Figure 2-1. Location of Battery
7. Replace hold-down clamp.
When connecting a booster battery, be sure to connect
the negative battery terminals together and the positive
8. Swing side panel back to normal operation
battery terminals together.
position.
NOTE
Refer to REPAIR MANUAL
for
detailed battery information.
2-24
|
|
Privacy Statement - Press Release - Copyright Information. - Contact Us |