 |
|||
|
|
|||
|
|
|||
| ||||||||||
|
|
 TM 10-3930-644-14&P
cylinder which, in turn, actuates the wheel cylinder and
1. Oil Pressure Gauge
brake shoes.
The oil pressure gauge indicates the pressure of
oil circulating through the engine. A cold engine
CAUTION
will normally have a higher oil pressure than an
Always place the shift lever in neutral
engine that is warm.
and set the parking brake before
leaving the operator's seat.
CAUTION
Always check the oil pressure gauge
G. ACCELERATOR PEDAL
immediately after the engine starts.
The accelerator pedal, located to the right of the brake
pedal, controls engine speed through linkage to the
If the gauge does not register, or if it registers
throttle lever on the carburetor.
slightly (less than 5 psi at idle speed), stop the
engine immediately and check the lubrication
H. INSTRUMENT PANEL
system to determine cause of lack of pressure.
The instrument panel holds various gauges at a
2. Ammeter
glareless, easy-to-read angle (Figure 3-1). The panel
contains:
The ammeter is connected into the main battery
circuit and indicates whether current is flowing
into or out of the battery. A needle deflection to
the CHARGE side indicates that the battery is
being charged by the alternator, and a deflection
to the DISCHARGE side indicates that the
battery is discharging, Normally, the rate will be
high for a short time after starting the engine,
then the indicator will return to a point slightly
above zero after a few minutes operation.
However, if battery is in a rundown condition,
charge rate may be high for some time. If
ammeter indicates DISCHARGE when engine is
operated above idle speed, alternator is not
producing current, or there may be a short in the
wiring system. Investigate and repair at once.
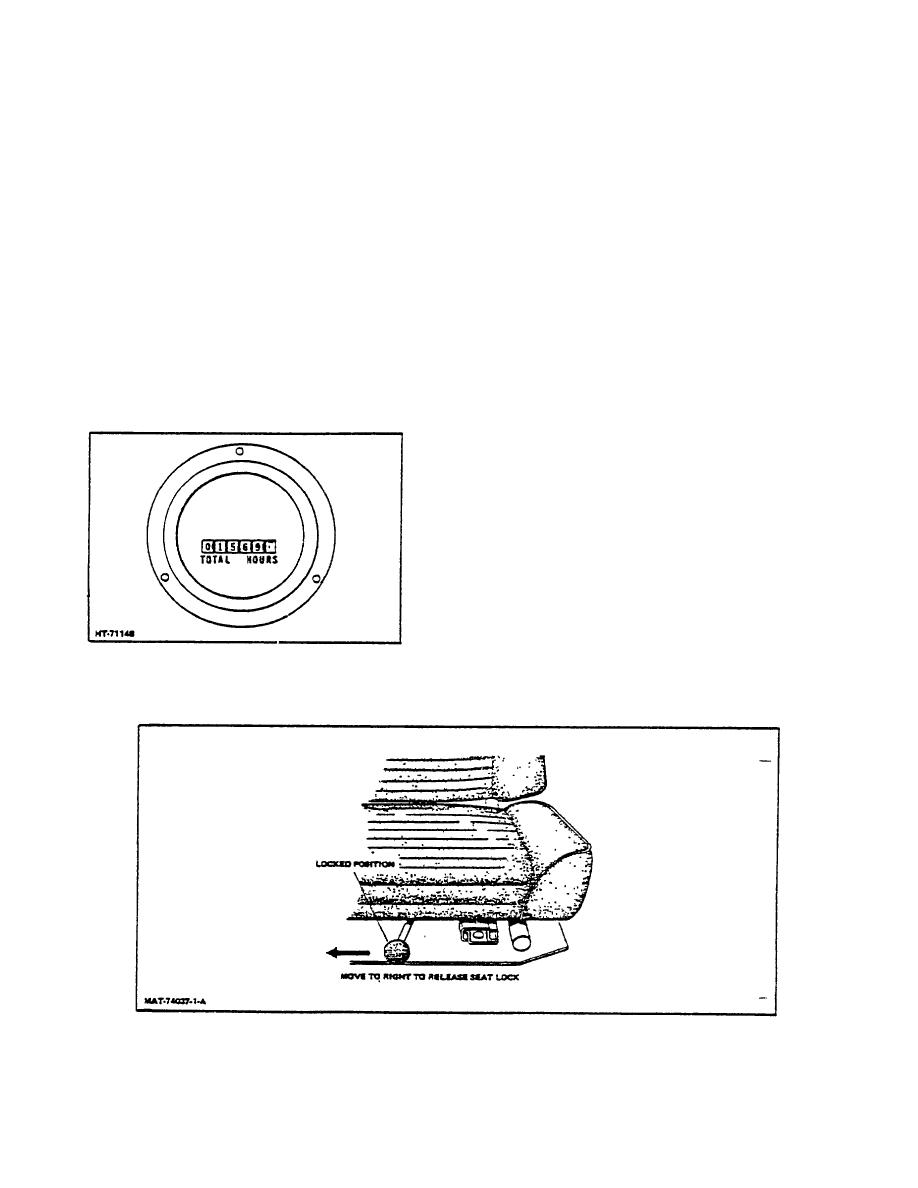
Figure 3-2. Hourmeter
Figure 3-3. Operator's Seat Adjustment
1-5
|
|
Privacy Statement - Press Release - Copyright Information. - Contact Us |
