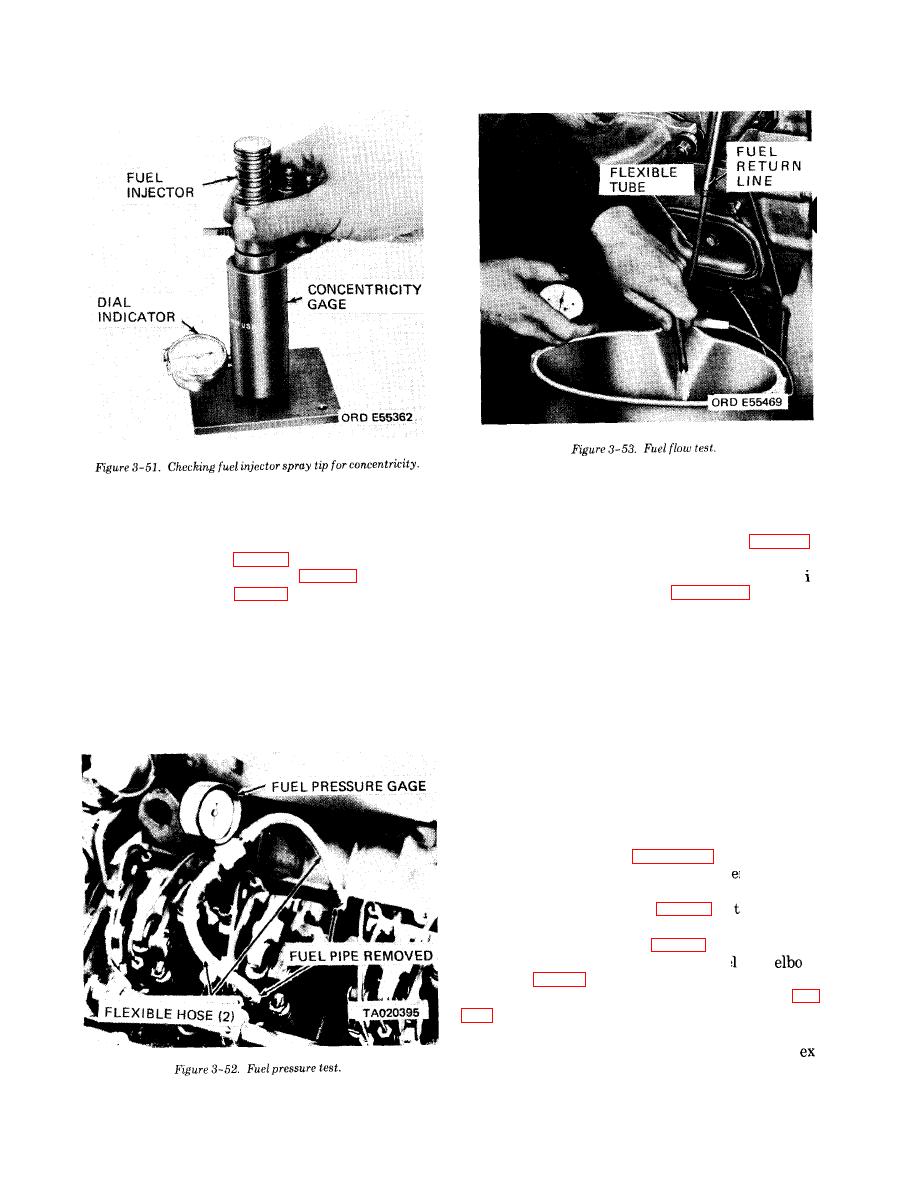
 |
|||
|
|
|||
|
|
|||
| ||||||||||
|
|
 TM 10-3930-634-34
b. Removal.
(6) Remove mounting nuts and screws (fig. 3-60)
securing fuel tank to forklift truck.
(1) Remove toolbox (fig. 3-60).
c. Disassembly. Disassemble the fuel tank
(2) Remove console side panel (fig. 3-60).
numerical sequence as shown in figure 3-61.
(3) Remove plug (10, fig. 3-61) from fuel tank (17)
d. Cleaning and Inspection.
and drain the fuel.
(1) Clean the fuel tank thoroughly. Steam clean-
(4) For easier access to the fuel lines and mount-
ing is the preferred method.
ing hardware, raise extension boom to full up position
and install the extension supports.
WARNING
(5) Remove fuel lines from fuel tank elbows (9 and
Before attempting to weld or braze the fuel
11).
tank, steam clean the tank for a minimum of
eight (8) hours. Remove fuel cap and open the
discharge and return lines during the welding
process. Failure to observe this warning may
result in serious injury or death.
(2) Inspect for cracks, breaks, and dents.
(3) Repair or replace the fuel tank, as necessary.
the fuel tank in reverse of numerical sequ nce.
f. Installation.
(1) Install the plug (10, fig. 3-61 in he fuel tank
(17).
(2) Secure the fuel tank (fig. 3-60).
(3) Connect the fuel lines at the fue tank
(9 and 11, fig. 3-61).
(4) Install the console side panel and toolbox (fig.
(5) Fill the fuel tank (TM 10-3930-634-12).
(6) Lower the extension boom and remove the
tension supports.
|
|
Privacy Statement - Press Release - Copyright Information. - Contact Us |