 |
|||
|
|
|||
|
|
|||
| ||||||||||
|
|
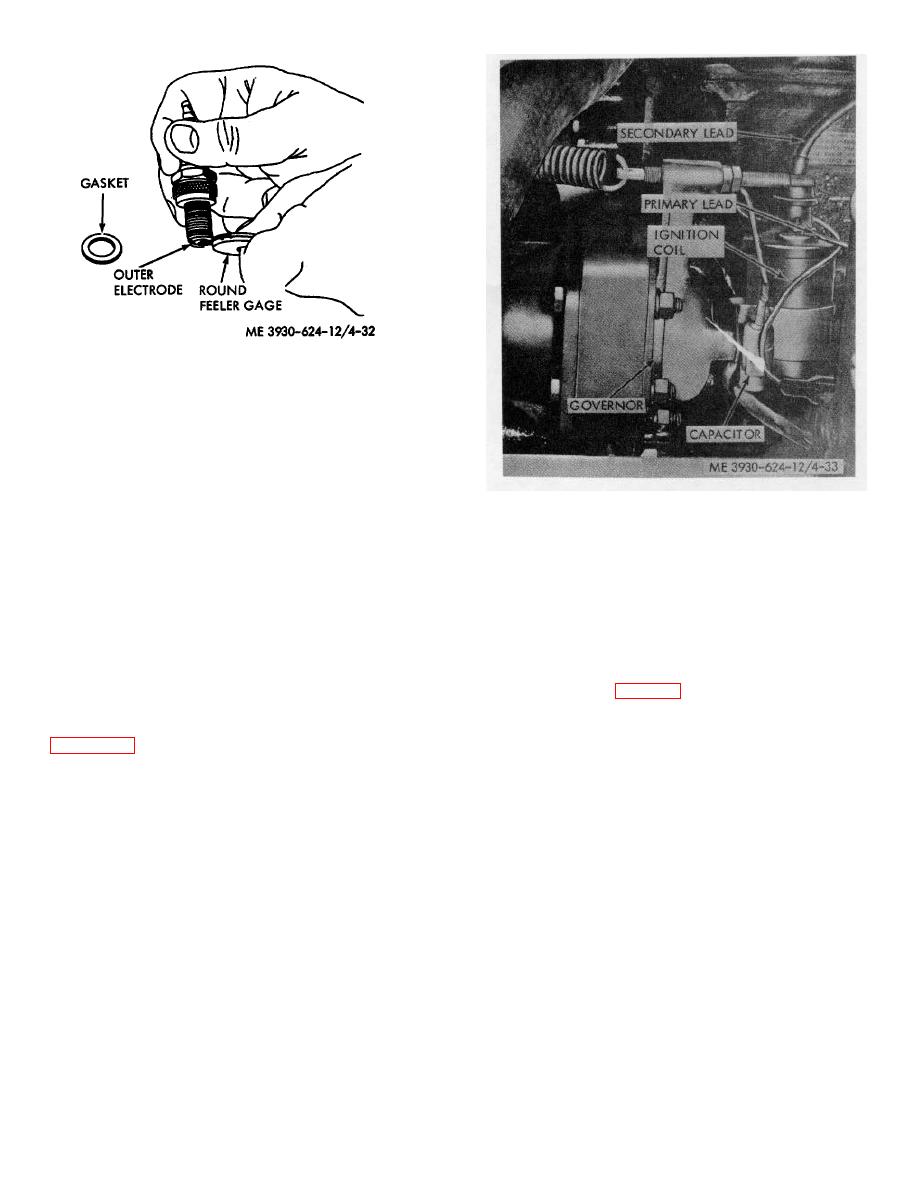
 Figure 4-32. Spark plug gap.
c. Installation. Install the spark plugs using new
gaskets. Tighten to a torque of 25 to 30 ft-lbs Connect
the spark plug leads to the spark plugs.
4-38. Ignition Coil
a. Testing. To test the ignition coil, pull the high
Figure 4-33. Ignition coil.
tension lead from the center contact of the distributor.
Hold the lead by the insulation so that the terminal end
is within 1/4 inch of an unpainted, grounded portion of
c. Installation. Install the ignition coil using the
the engine. Turn the ignition switch to START and push
direct reversal of the removal procedure. Connect all
the starter button. A hot spark should jump from the
electrical leads to the ignition coil.
high tension terminal to ground as the engine is
cranked. If no spark is visible, and all wiring is intact,
4-39. Battery and Cables
replace the coil.
a. Battery Cleaning.
b. Removal
(1) Lift the operator's seat to obtain access to
(1) Tag and disconnect the electrical leads
the storage battery (fig. 4-34).
from the ignition coil.
(2) Remove the two capscrews and
lockwashers securing the coil to the engine as shown in
4-33
|
|
Privacy Statement - Press Release - Copyright Information. - Contact Us |