 |
|||
|
|
|||
|
|
|||
| ||||||||||
|
|
 ENGINE
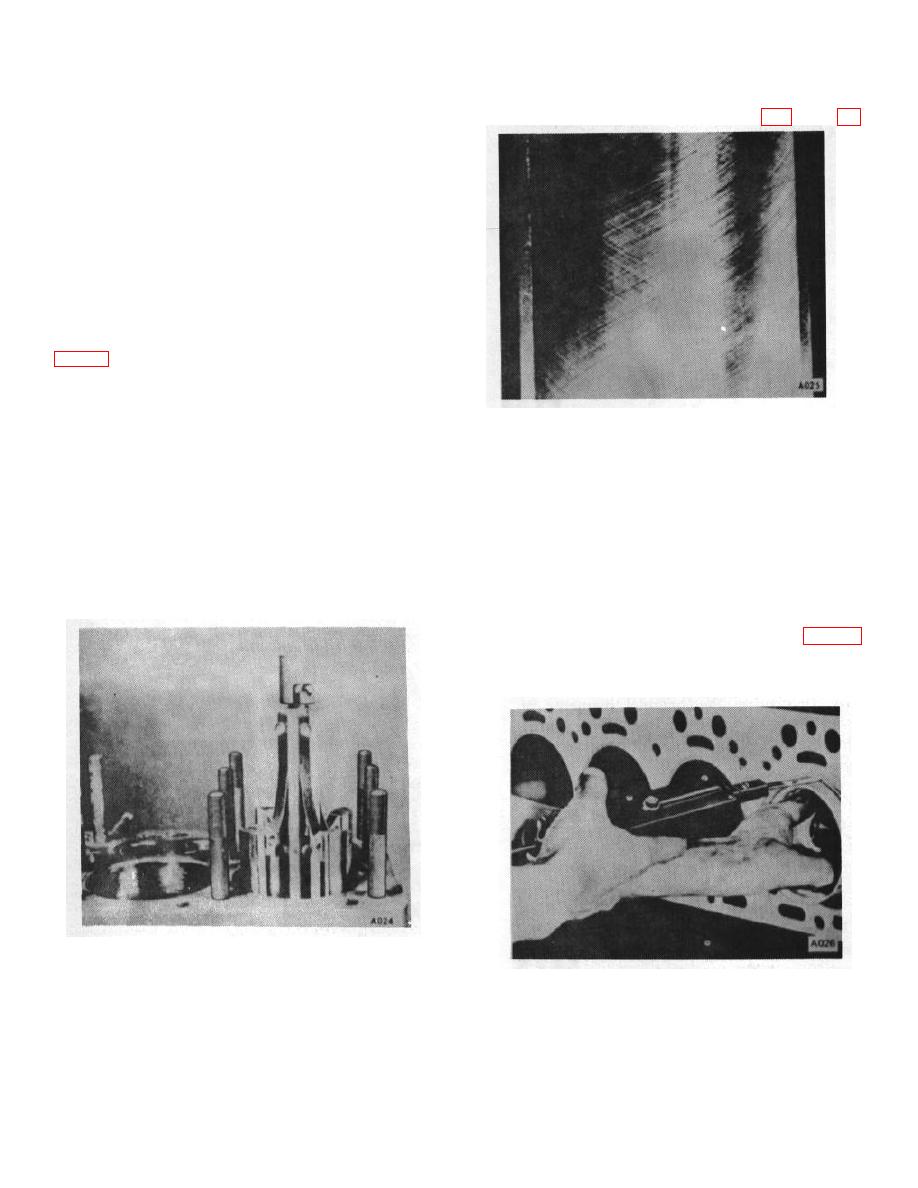
6. Cross hatches should be clearly visible after
2. Drain the crankcase and remove the oil pan.
glaze
breaking
operations.
3. Remove capscrews from the connecting rods,
permitting removal of caps. Keep the caps and bolts in
numerical order so that when the pistons and rods are
removed from the engine, the cap can be reassembled
and kept with its mating part. If not already numbered,
do so at this time.
4. Push the pistons and connecting rods up
through the top of the cylinders.
5. Cut the glaze on the cylinder bores with a de-
glazer to assure quick seating of the new piston rings.
during the deglazing operation.
NOTE:
The de-glazer, fitted with 220 grit
Figure 24.
stones, may be run up and down the
cylinder bore while being turned with
B. PISTON FIT
an electric drill until the shiny
surface (glaze) is removed. These
1. Check the piston fit in the bore using a half-inch
surfaces must then be throughly
wide strip of .003 inch feeler stock attached to a small
cleaned by wiping with a clean, oiled
scale of approximately 15 lbs. capacity.
rag which will pick up the small
particles. of dust that are embedded
2. Insert the feeler between the piston and the
in the pores of the iron.
cylinder, midway between the piston pin bosses. When
the correct fit is obtained, a pull of 5-10 pounds on the
scale will be needed to withdraw the feeler. (Fig. 25)
The pistons must be fitted with the block and pistons at
room temperature (6870 ).
- F
Figure 23.
Figure 25.
B-8
|
|
Privacy Statement - Press Release - Copyright Information. - Contact Us |