 |
|||
|
|
|||
|
Page Title:
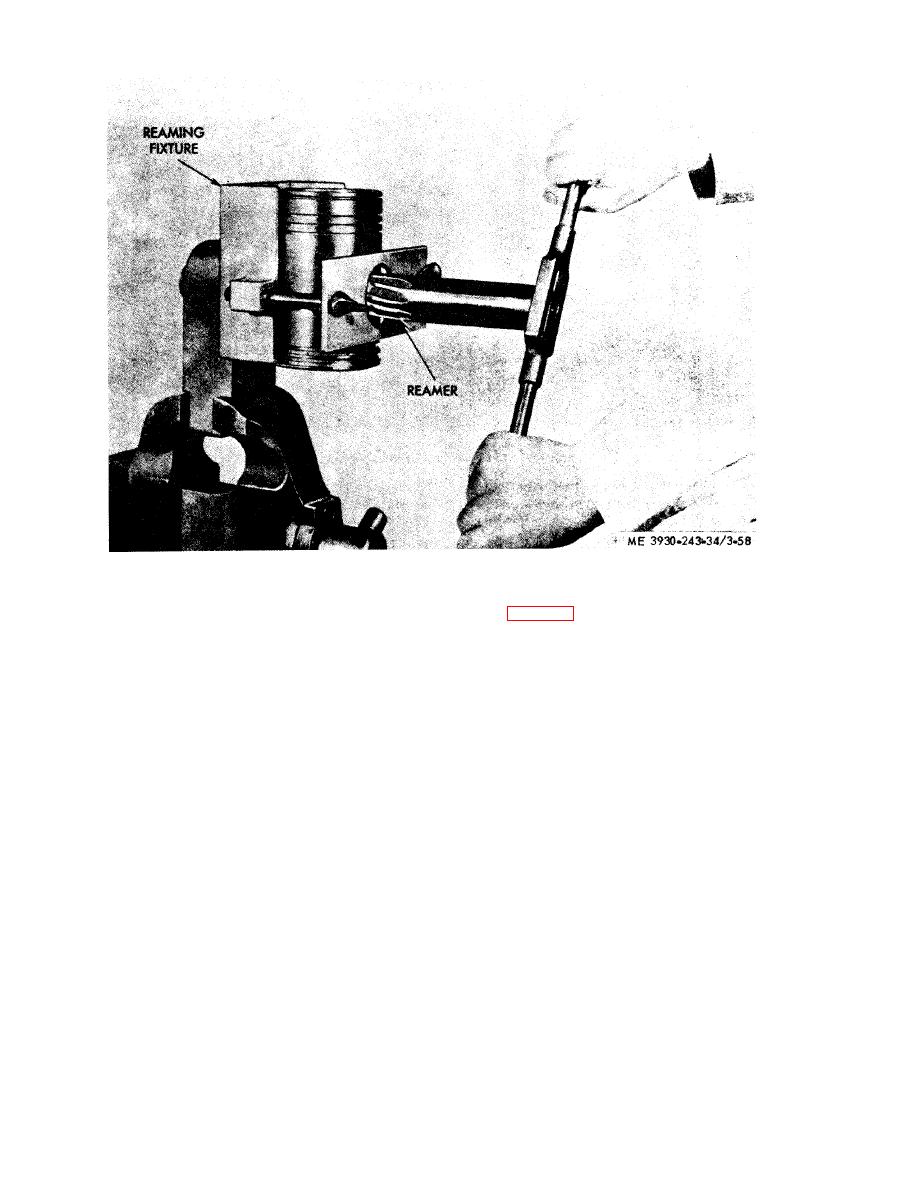
Figure 3-58. Reaming bushing in piston. |
|
||
| ||||||||||
|
|
 liner (fig. 3-59), then withdraw feeler ribbon,
(h) The piston taper must not exceed 0.0005
measuring the force required with a spring scale.
inch from 7/16 inch below the bottom com-
This force should not exceed six pounds. When this
pression ring to the lower end of piston skirt. The
force is approximately 6 pounds, the actual
d i a m e t e r of a new standard piston below the
clearance between the piston and the liner is 0.001
compression ring grooves to bottom of piston skirt
inch greater than the thickness of the feeler ribbon
is 3.8693 to 3.8715 inch.
(i) Check the piston-to-liner clearance while
used. Feeler ribbon used for checking this clearance
the piston is held upside down in the liner. The liner
must be perfectly flat and free from nicks and
should be in place in the cylinder block. This
scratches.
NOTE
clearance should always be checked when installing
If any bind between the piston and liner is detected,
either new or used pistons and liners. The clearance
remove the piston and liner and inspect them for
of a piston in a liner may be checked with liner in
burs. If either part is marred, the parts must be
cylinder block, by inserting a inch wide feeler
cleaned up, using a fine hone on the liner and fine file
ribbon about 15 inches long between the piston and
on the piston before proceeding.
|
|
Privacy Statement - Press Release - Copyright Information. - Contact Us |