 |
|||
|
|
|||
|
|
|||
| ||||||||||
|
|
 TM 10-3930-673-20-2
(3)
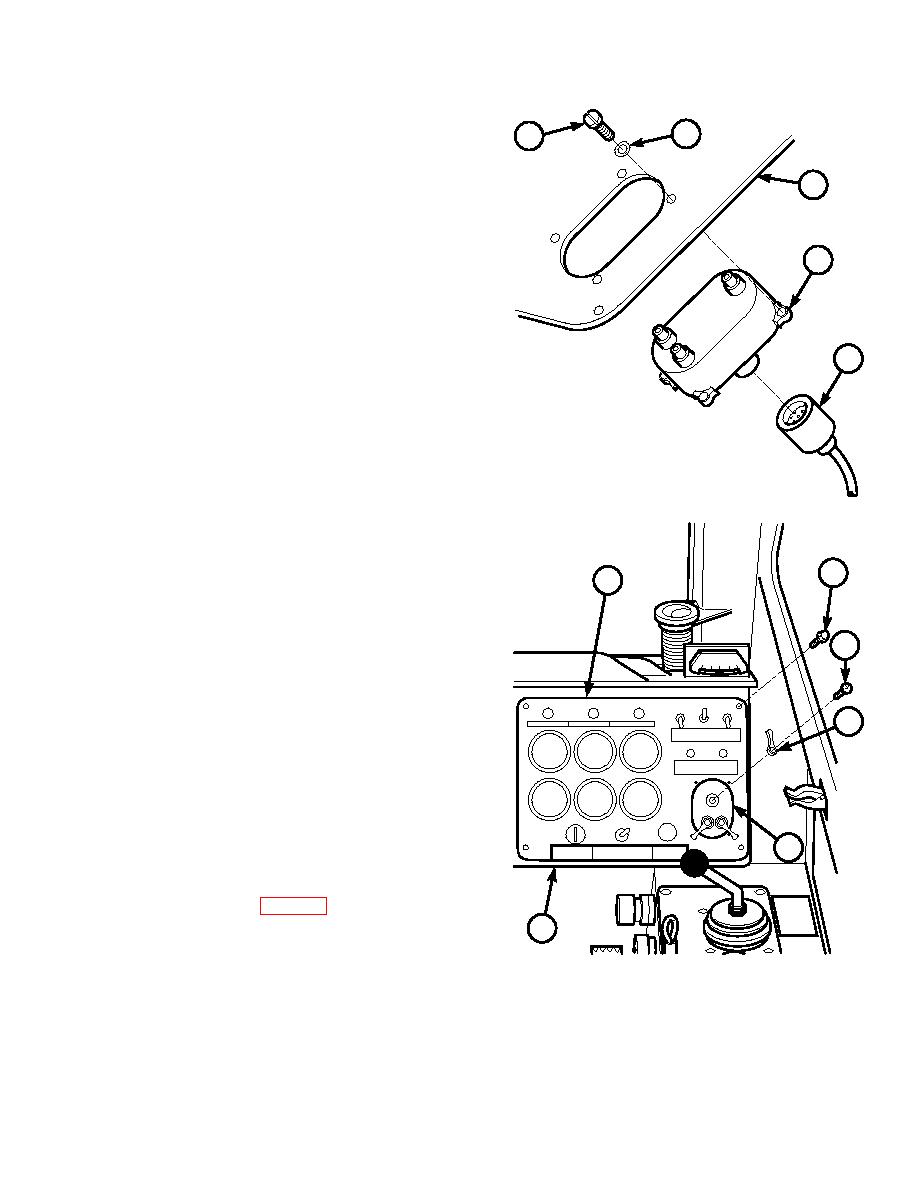
Remove blackout/service light switch (2)
from right hand instrument panel (4).
9
8
(a)
Disconnect harness plug (7) from rear of
4
blackout/service light switch (2).
(b)
Remove four screws (8), lockwashers (9),
and blackout/service light switch (2) from
right hand instrument panel (4). Discard
2
lockwashers.
b. Installation.
(1)
Install blackout/service light switch (2) in
7
right hand instrument panel (4).
(a)
Install blackout/service light switch (2) in
right hand instrument panel (4) with four
lockwashers (9) and screws (8).
(b)
Connect harness plug (7) to rear of
blackout/service light switch (2).
TR00316
(2)
Install right hand instrument panel (4) on
front console (5).
6
4
(a)
Position right hand instrument panel (4)
on front console (5).
(b)
Apply sealing compound to threads of
3
four screws (6).
(c)
Install right hand instrument panel (4) on
front console (5) with four screws (6).
1
(3)
Install three handles (1) on blackout/service
light switch (2).
Install three handles (1) on blackout/service
light switch (2) with three screws (3).
2
NOTE
Follow-on Maintenance: Connect negative
battery cable (Para 8-44).
5
END OF TASK
TR00315
8-37
|
|
Privacy Statement - Press Release - Copyright Information. - Contact Us |
