| |
TM 10-3930-671-24
Oil Piston and Rings
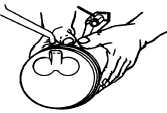
3.To install the balance of the rings, use a ring tool with
recess side up and place the ring in with the bottom
side up. Start with the lowest ring first.
a.
Position ring in the tool so the expanding
fingers will fully engage both ends.
b.
Apply pressure on handles so ring is
completely expanded. Pass the expanded
ring and tool recessed side down over the
piston to the proper groove.
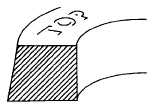
Install Tapered Rings with “Top” Side Up
CAUTION
Some piston rings are taper faced. These are clearly
marked ’TOP" on the side to be up when assembled
on piston, and some rings have the top side marked
with a color band or a PIP mark. The pistons have
offset piston pins. Be sure to Install pistons with
notch or arrow In top toward the front of the engine.
4.When pistons are ready for installation in the cylinders,
oil generously. Compress rings carefully using a good
ring compressor and a light tap on the head of the
piston will allow the assembly to go into the cylinder
very easily. If any difficulty in tapping piston and ring
assembly into the cylinder is encountered, the
compressor should be removed and rings checked for
correct installation in the groove.
CRANKSHAFT & MAIN BEARINGS
1. Using a puller, remove pulley from crankshaft.
2. Remove screws and remove gear cover.
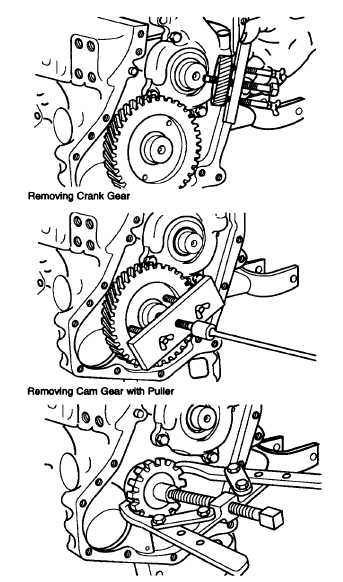
3. Remove the crankshaft gear and woodruff keys.
4. Using a puller, remove cam gear and injection pump
drive gears.
5. Remove the oil pump and key by removing cap
screws holding pump to front of the engine.
Removing Injection Pump Drive Gear
6.Remove each main bearing cap, one at a time, and
inspect the bearing and crankshaft journals. If there is
any indication of flaking out, scoring or actual wear -
they must be replaced.
F-178
|


