| |
TM 10-3930-671-24
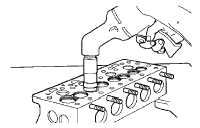
Grinding Valve Seat
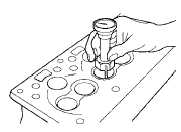
Indicating Valve Seat
VALVES
1.
Inspect valves for condition and replace any that
are "necked", cracked or burned, also any of
which valve stems are bent or worn more than
.002" 0.05mm over the maximum allowable
limits. Reface or replace all valves.
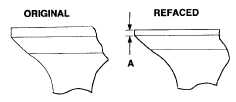
IF AREA "A" IS LESS THAN 50% OF ORIGINAL,
DISCARD VALVE
Allowable Head Thickness of Refaced Valves
2.
All
valves
having
less
than
50%
margin
thickness (outer edge of valve head) after
refacing has been completed must be replaced.
To check this dimension, compare the refaced
valve with a new valve.
Checking Valve Face in "V" Blocks
3.
Check all refaced or new valves in V-blocks with
indicator to determine if the contact face is true
with the stem within .002" (0.05mm). If not,
repeat the refacing operation.
4.
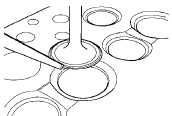
After the valves and seats have been refaced
and reground, coat the seat lightly with Prussian
blue and drop the valve into position, oscillating it
slightly to transfer the blue pattern to the valve
face. This should show a contact width of 1/16’
to 3/32" (1.62 to 3.2mm) and should fall well
within the width of the valve face, leaving at least
1/64" (0.4mm) on either side where the blue
does not show. If the contact is over 3/32"
(3.2mm) wide, the seat in the head may be
narrowed by using a 150 stone to reduce the
outside diameter or using a 6(0 or 750 stone to
increase the inside diameter.
Checking for Proper Valve Seating
Never allow valves to set down Inside the seat.
After
the
narrowed-down
seat
is
brought
within
specifications, the seat should be retouched lightly with
the original stone to remove burrs or feathered edge.
F-171
|


