 |
|||
|
|
|||
|
|
|||
| ||||||||||
|
|
 TM 10-3930-660-24-2
STEERING CONTROL VALVE MAINTENANCE - CONTINUED
0300 00
ASSEMBLY
NOTE
Wipe all sealing surfaces on pump clean and dry. Apply film of clean hydraulic oil to all seals, except quad
ring seal as they are installed.
1.
Install retainer (28), check ball (27), new seal (26), seat (25), new seal (24) and setscrew (23).
2.
Install centering springs (21) in sleeve (20).
3.
Assemble spool (19) and sleeve (20) so that spring slots line up at same end. Rotate spool (19) when sliding parts
together. Spool (19) should rotate smoothly in sleeve (20) with fingertip force applied at spline end.
4.
Install pin (18) through spool (19) and sleeve (20) assembly until it is flush at both sides of sleeve (20).
CAUTION
Use care when installing spool and sleeve assembly to prevent shifting of parts. Failure to follow this pre-
caution will cause part damage.
5.
Position spool (19) and sleeve (20) assembly so that spline end of spool (19) enters valve housing (11) end opposite
steering column side. Push spool (19) and sleeve (20) assembly into valve housing (11) until flush at gerotor housing
end. Do not pull assembly beyond this point to prevent pin (18) from dropping into discharge groove of housing (11).
6.
Check for free rotation of the spool (19) and sleeve (20) assembly by turning with light fingertip force at spline end.
7.
Install two bearing races (16) and thrust bearing (17) over spool (19).
8.
Install new seal (22) into valve housing (11).
NOTE
Do not lubricate quad ring seal.
9.
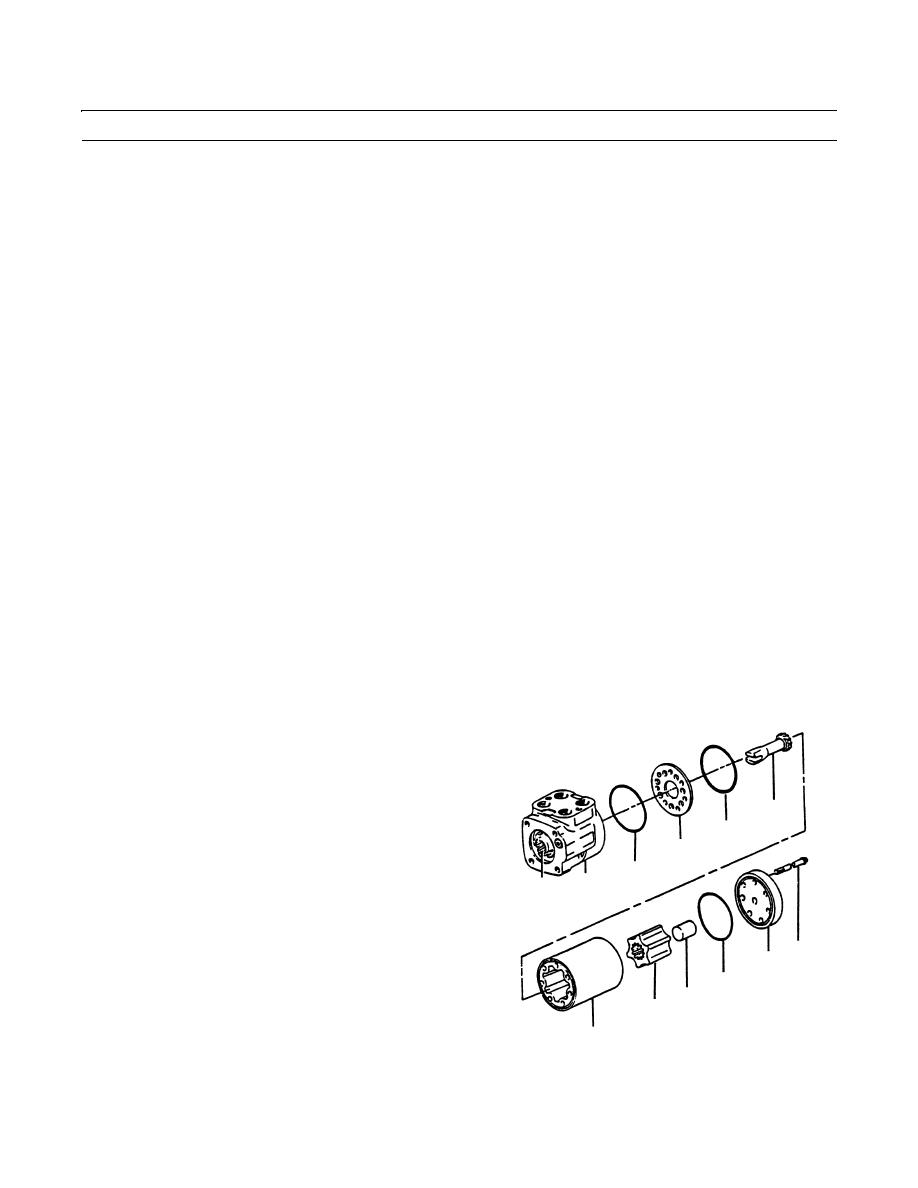
Install new quad ring seals (14 and 15) in seal gland
bushing (13).
10.
Install seal gland bushing (13) over spool (19) in valve
housing (11).
8
11.
Install retaining ring (12).
6
12.
Turn valve housing (11) over.
9
10
13.
Install new seal (10) in valve housing (11).
11
18,19,20
14.
Install space plate (9). Align capscrew holes between
spacer plate (9) and tapped holes in valve housing
(11).
1
2
15.
Rotate spool (19) and sleeve (20) assembly until pin
3
(18) is parallel with port face.
7
5
16.
Install drive (8). Ensure that drive (8) engages pin
4
(18).
409-1337
17.
Install new seal (6) in gerotor housing (4).
0300 00-3
|
|
Privacy Statement - Press Release - Copyright Information. - Contact Us |