 |
|||
|
|
|||
|
|
|||
| ||||||||||
|
|
 TM 10-3930-660-24-1
HYDRAULIC JOYSTICK CONTROL VALVE REPLACEMENT - CONTINUED
0181 00
REMOVAL - CONTINUED
5.
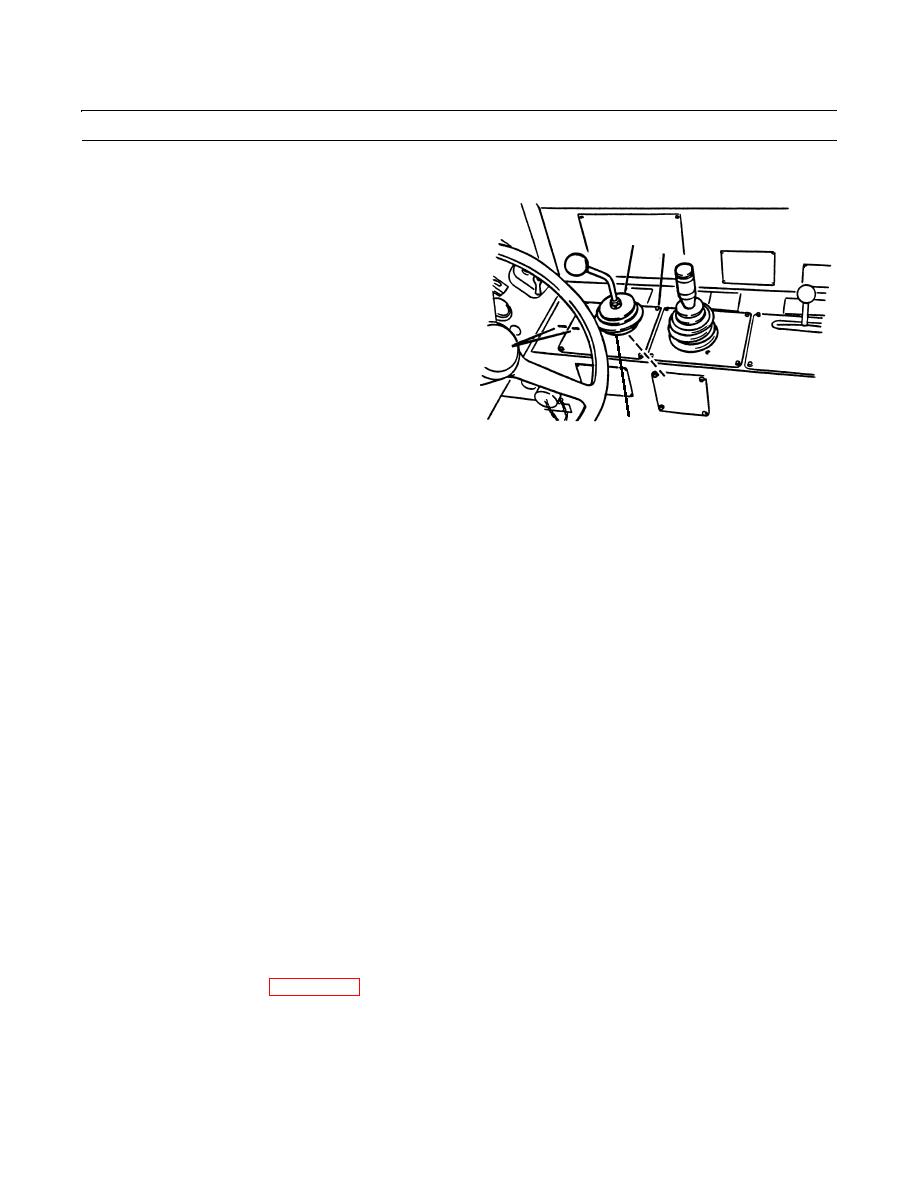
Place marks (6) on joystick mounting plate (7) and on
9
shelf so joystick can be installed in same orientation.
8
6.
Remove four screws (8) attaching mounting plate (7)
to shelf.
7.
Lift mounting plate (7) off of shelf and disconnect six
hydraulic lines from ports on bottom of joystick con-
trol valve (9).
6
8.
Match mark joystick control valve assembly (9) and
mounting plate (7) to ensure proper orientation during
10
installation.
7
409-684
9.
Remove four screws, nuts and lockwashers (10) and separate joystick assembly (9) from mounting plate (7). Discard
lockwashers.
INSTALLATION
NOTE
Remove caps and plugs as hoses are installed. Wipe all sealing surfaces on valve and hoses clean and dry.
1.
Install joystick control valve assembly (9).
2.
Attach joystick control valve assembly (9) to mounting plate (7) using four screws, nuts and new lockwashers (10).
Observe match marks made in step 8 of Removal.
3.
Connect six hydraulic lines to ports on bottom of joystick control valve assembly (9).
4.
Position joystick assembly (9) and mounting plate (7) on shelf, using marks (6) for orientation.
NOTE
Apply loctite to threads of screws.
5.
Install and tighten four screws (8).
6.
Connect line (4) to emergency steering pump tee fitting (5).
7.
Connect line (2) to shuttle valve (3).
8.
Connect four pilot lines (1) to main control valve ports, as tagged during removal.
9.
Install transmission cover (WP 0150 00).
10.
Start engine, check for proper operation and leaks (TM 10-3930-660-10).
END OF WORK PACKAGE
0181 00-3
|
|
Privacy Statement - Press Release - Copyright Information. - Contact Us |