 |
|||
|
|
|||
|
|
|||
| ||||||||||
|
|
 TM 10-3930-660-24-1
CAB SKYLIGHT GUARD AND WINDOW REPLACEMENT - CONTINUED
0158 00
REMOVAL - CONTINUED
6.
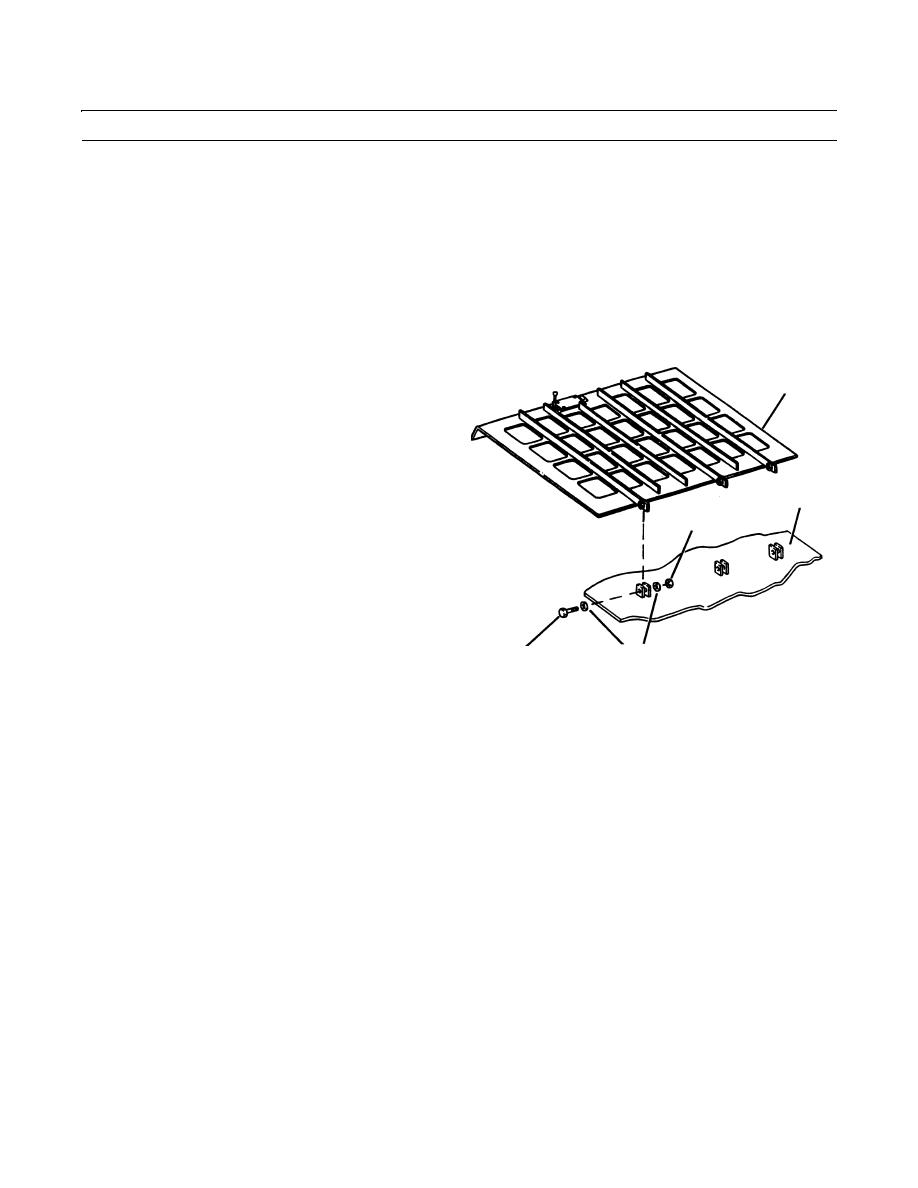
Remove three capscrews (9), six flatwashers (10) and three nuts (11) securing guard (1) to cab (3).
7.
Remove guard (1) from cab (3).
INSTALLATION
NOTE
Perform steps 3 thru 11 for skylight window installation. Perform step 2 for skylight window guard installa-
tion.
1.
If removed, place guard (1) over skylight window
1
opening.
2.
Secure skylight window guard (1) to cab (3) with three
nuts (11), six flatwashers (10) and three capscrews (9).
3.
Clean and prepare surface of cab (3) and skylight win-
dow (2).
4.
If necessary, remove pieces of old tape seal (8) from
3
surface of cab (3) around skylight window opening.
11
Be sure surface is clean and dry.
5.
Apply metal primer with brush to surface around sky-
light window opening of cab. Allow ten minutes for
primer to dry.
6.
Thoroughly clean skylight window (2) with ammonia.
10
9
409-585
7.
Apply ribbon sealer to skylight window (2) even with the outside edge of glass.
8.
Place new tape seal (8) around skylight window opening of cab (3).
9.
Place skylight window (2) on new tape seal (8).
CAUTION
To avoid breakage of skylight window, do not over-tighten capscrews.
10.
Install four window frames (7), four new lockwashers (6), four new sealing washers (5) and four capscrews (4) to secure
skylight window (2) to cab (3).
11.
Apply clear silicone caulk around capscrews (4) and around perimeter of skylight window (2).
12.
Place skylight window guard over skylight window (2) and lock guard in place.
13.
Check skylight window for leaks (TM 10-3930-660-10).
END OF WORK PACKAGE
0158 00-3
|
|
Privacy Statement - Press Release - Copyright Information. - Contact Us |