 |
|||
|
|
|||
|
|
|||
| ||||||||||
|
|
 TM 10-3930-660-24-1
RADIATOR MAINTENANCE - CONTINUED
0053 00
REMOVAL - CONTINUED
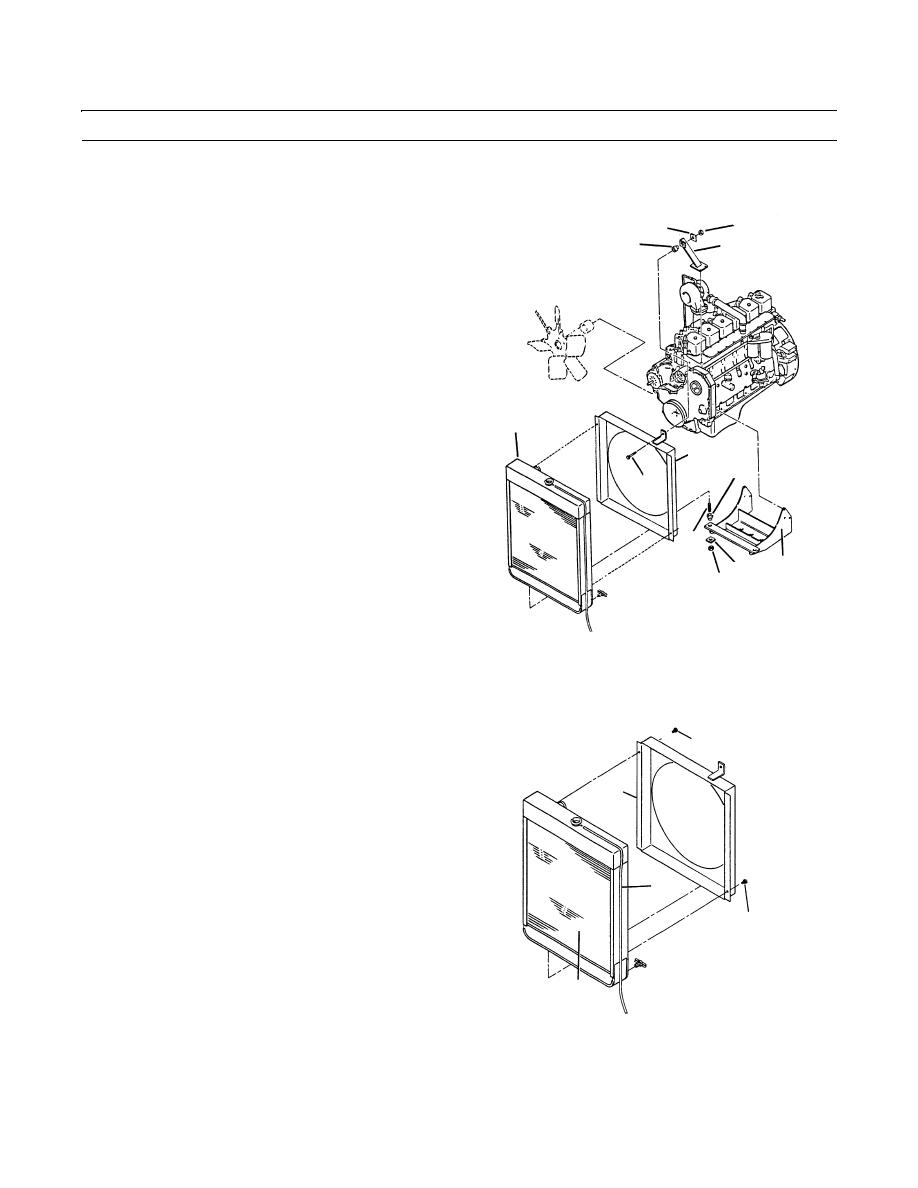
15.
Remove capscrew (38), washer (39), and locknut (40)
39
40
securing bracket (41) to radiator shroud (28). Leave
41
42
rubber bushing (42) installed to bracket (41). Discard
locknut.
16.
Have an assistant support the radiator (4).
NOTE
Studs (43) may unscrew from radiator as nuts
are removed.
4
17.
Remove two locknuts (44) and two rebound washers
(45) securing radiator (4) to radiator support (46). Dis-
28
card locknuts.
47
38
18.
Remove radiator (4) from engine compartment.
19.
Remove two rubber mounts (47) from radiator (4).
43
20.
Remove radiator shroud (28) from radiator (4).
46
45
21.
Remove eight capscrews (48), securing radiator
44
shroud (28) to radiator (4).
22.
Remove shroud (28) from radiator (4).
409-229
23.
Remove overflow hose (8) from radiator (4).
INSTALLATION
1.
Install overflow hose (8) to radiator (4).
48
2.
Install radiator shroud (28) to radiator (4).
28
3.
(28) on radiator (4).
4.
Secure shroud (28) to radiator (4) with eight cap-
screws (48).
8
5.
If removed, install studs (43) to radiator (4).
6.
Install two rubber mounts (47) to radiator (4).
48
7.
Position radiator (4) on radiator support (46).
8.
Install radiator (4) to radiator support (46) with two
4
rebound support washers (45) and two new locknuts
409-230
(44).
9.
Install bracket (41) to radiator shroud (28) with cap-
screw (38), washer (39) and new locknut (40).
0053 00-6
|
|
Privacy Statement - Press Release - Copyright Information. - Contact Us |