| |
TM 10-3930-659-34
2-24. BEARING CLEARANCE GAGE.
a. A soft plastic bearing clearance gage (Items 29, 30, and 31, Appendix B) (plastigage)
squeezed between parts such as a crankshaft journal and a connecting rod or main bearing may be
used to measure clearance.
b. The bearing clearance gage is a specially molded plastic "wire" and is available in three
measuring ranges and colors (see Table 2-1).
Table 2-1. Bearing Clearance Gage.
Color
(CAGE) Part Number
Measuring Range
Reference
Green
(77220) PG-1
0.001-0.003 in. (0.0254-0.0762
mm)
(Item 29, Appendix B)
Red
(77220)
PLASTIGAGEPR1
0.002-0.006 in. (0.0508-0.1524
mm)
(Item 30, Appendix B)
Blue
(77220)
PLASTIGAGEPB1
0.004-0.009 in. (0.1016-0.2286
mm)
(Item 31, Appendix B)
c. Check clearance as follows:
(1)
Remove bearing cap and wipe oil from bearing shell and crankshaft journal.
NOTE
When checking main bearing clearance with engine in position and main bearing caps
supporting weight of crankshaft and flywheel, an incorrect reading may result due to
weight of crankshaft and flywheel. Avoid an incorrect reading by placing a jack under
the counterweight next to the bearing being checked.
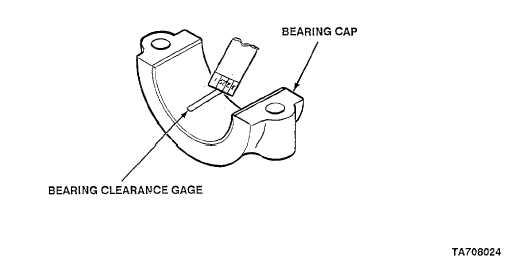
(2)
Place bearing clearance gage in the center of the bearing cap and across three-quarters
of the width of the bearing.
2-14
|

