| |
TM 10-3930-653-14&P
(4)
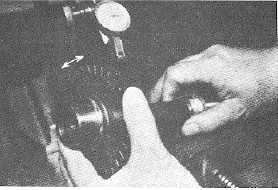
Check output shaft splines for wear or damage.
If any defect is found, replace shaft.
Unit: mm(in)
Checking Item
Standard Value
Service Limit
Clearance between output
0.008-0.076
shaft and output gear
(0.0003-0.003)
spines in rotational direction.
Fig. 4-313.
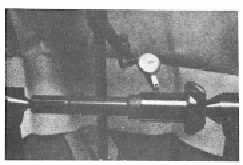
(5) Using a suitable dial gauge, check output shaft for deflection. If excessively deflected, shaft should be
replaced.
Note : Set a suitable dial gauge at midway of shaft and read gauge, rotating shaft slowly.
Unit: mm(in)
Checking Item
Standard Value
Service Limit
Below 0.05
Over 0.05
Output shaft deflection
(0.002)
(0.002)
(6)
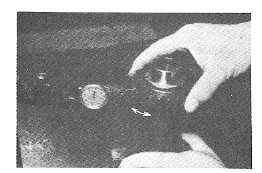
Check idle gear shaft splines for wear or
damage. If unsatisfactory, replace shaft.
Unit: mm(in)
Checking Item
Standard Value
Service Limit
Clearance between idle gear
0.1-0.2
shaft and reverse idle gear (0.004-0.008)
--
splines in rotational direction
Fig. 4-314. Checking Output Shaft Deflection
Fig. 4-315.
4-169
|
