| |
TM 10-3930-653-14&P
Centrifugal advance mechanical parts
When cause of engine trouble is traced to centrigual
advance mechanical part. use distributor tester to check
its characteristics.
When nothing is wrong with its characteristics,
conceivable causes are faultiness or abnormal wear of
driving part or other part.
Do not disassemble it. In case of improper
characteristics, remove on-off switch part and check cam
assembly closely. governor weights. shaft and governor
springs, etc.
When centrifugal advance mechanical parts are
good, be sure to check advance characteristics with a
distributor tester.
4-7-7-3. DISASSEMBLY AND ASSEMBLY
(1) DISASSEMBLY
To disassemble, follow the procedure below.
(1) Take off cap and disconnect rotor head.
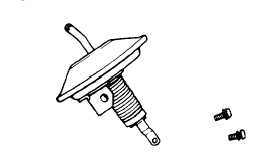
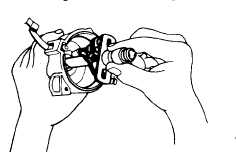
(2) Remove vacuum controller.
Fig. 4-210. Disassembling Vacuum Controller
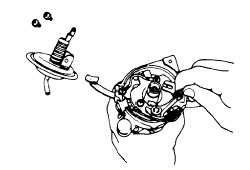
(3) Remove contact breaker.
Fig. 4-211. Removing Contact Set
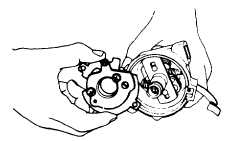
(4) When contact breaker is disassembled, be careful
not to lose steel balls between breaker spring and
breaker plate.
Fig. 4-212. Removing Contract Breaker
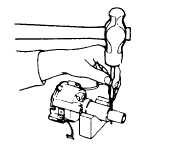
(5) Pull knock pin out and disconnect collar to remove
the entire rotating parts.
Fig. 4-213. Removing Knock Pin
Fig. 4-214. Removing Rotation Parts
(6) When cam is to be removed, first remove set screw
since shaft head is fastened by the screw to hold cam
down. Put match mark across cam and shaft so that
original combination can be restored at assembly.
(7) When
governor
weights
and
springs
are
disconnected, be careful not to stretch or deform
governor springs.
After disassembling. apply grease to governor
weights.
4-117
|
