 |
|||
|
|
|||
|
Page Title:
Figure 10. Checking Control Spool Rotation |
|
||
| ||||||||||
|
|
 TM 10-3930-644-14&P
Figure 10. Checking Control Spool Rotation
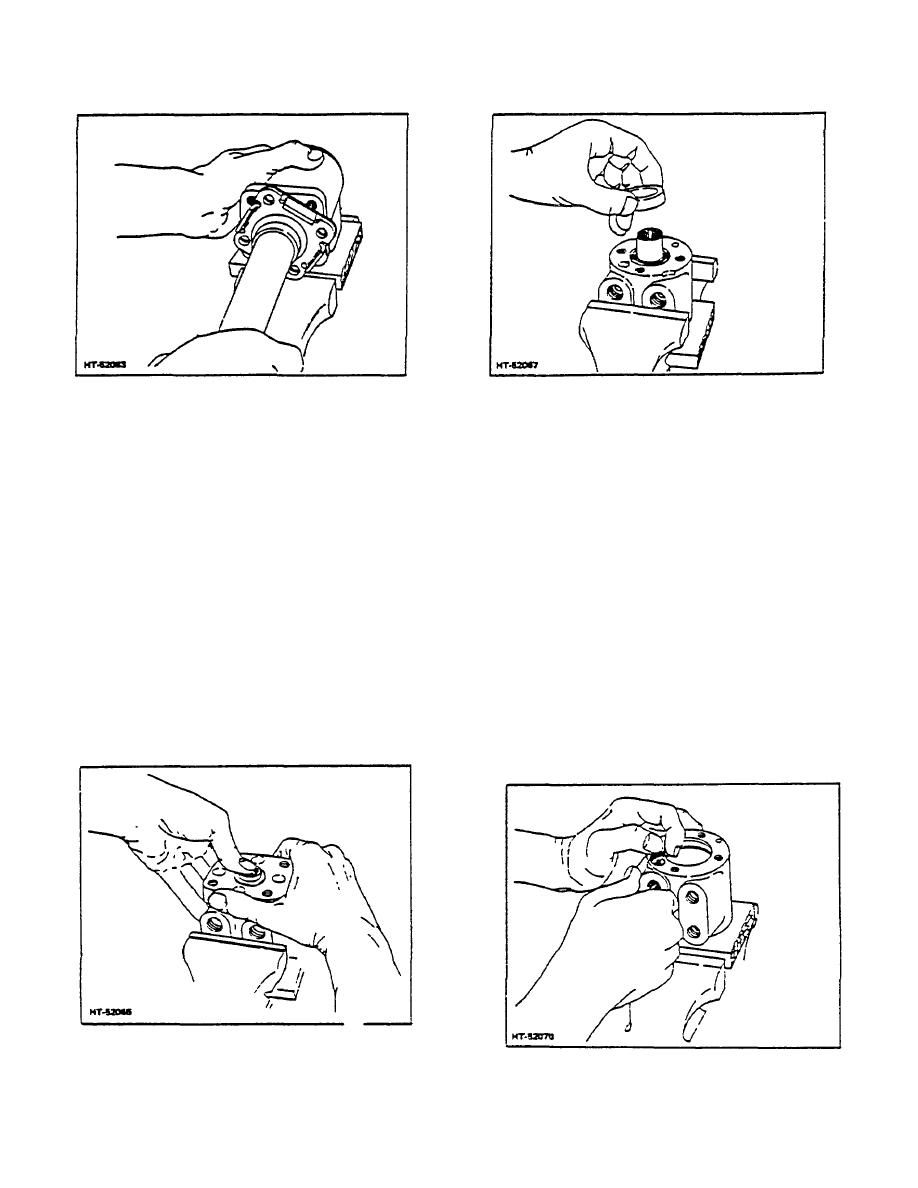
Figure 12. Removing Cap Locator Bushing
hole toward lowest corner, remove check valve
for scoring and other damage. Slightly scored
seat. ball, and spring.
parts can be cleaned up by hand rubbing with
600-grit abrasive paper.
Smooth burnished
17. Holding the spool assembly, push the cross pin
areas are normal in many areas. DO NOT
to loosen it from the spool-sleeve assembly
attempt to clean up these areas, nor mistake
(Fig. 15). Remove the cross pin and set it aside.
them for excessive wear.
18. Push inside lower edge of spool so the spool
3. Replace any parts found to be defective or badly
moves toward the splined end, and remove
worn. All seals must be replaced with new parts
spool carefully from .the sleeve (Fig. 16).
when unit is reassembled.
19. Push the centering spring set out of the spool
4. Place a piece of 500-grit abrasive paper face up
(Fig. 17).
on a piece of plate glass or similar smooth, flat
surface.
C. CLEANING AND INSPECTION
5. Clean the ends of the meter section star gear by
1. Carefully rinse each part with suitable solvent
stroking it across the abrasive. This will also
and allow parts to air dry. Parts should be set to
remove any sharp grit which could scratch other
dry on clean paper towels.
meter section components.
2. Inspect the surfaces of all moving parts
6. Lightly clean up both sides of the ring gear, both
sides of the plate, the 14-
Figure 11. Removing End Cap
Figure 13. Removing Check Valve Seal Plug
3-165
|
|
Privacy Statement - Press Release - Copyright Information. - Contact Us |