 |
|||
|
|
|||
|
Page Title:
PREPARING CYLINDER WALLS FOR RE-RINGING OR RE-BORING. |
|
||
| ||||||||||
|
|
 TM 10-3930-644-14&P
11. Check in same manner the top of the ring travel
area, approximately 1/4" below the shoulder.
12. The maximum difference in checks 10 and 11
indicates the amount of cylinder bore wear. If
this difference is less than .008", re-ringing will
be suitable, and if over .008" re-boring is
recommended.
D. PREPARING CYLINDER WALLS FOR RE-RINGING
OR RE-BORING.
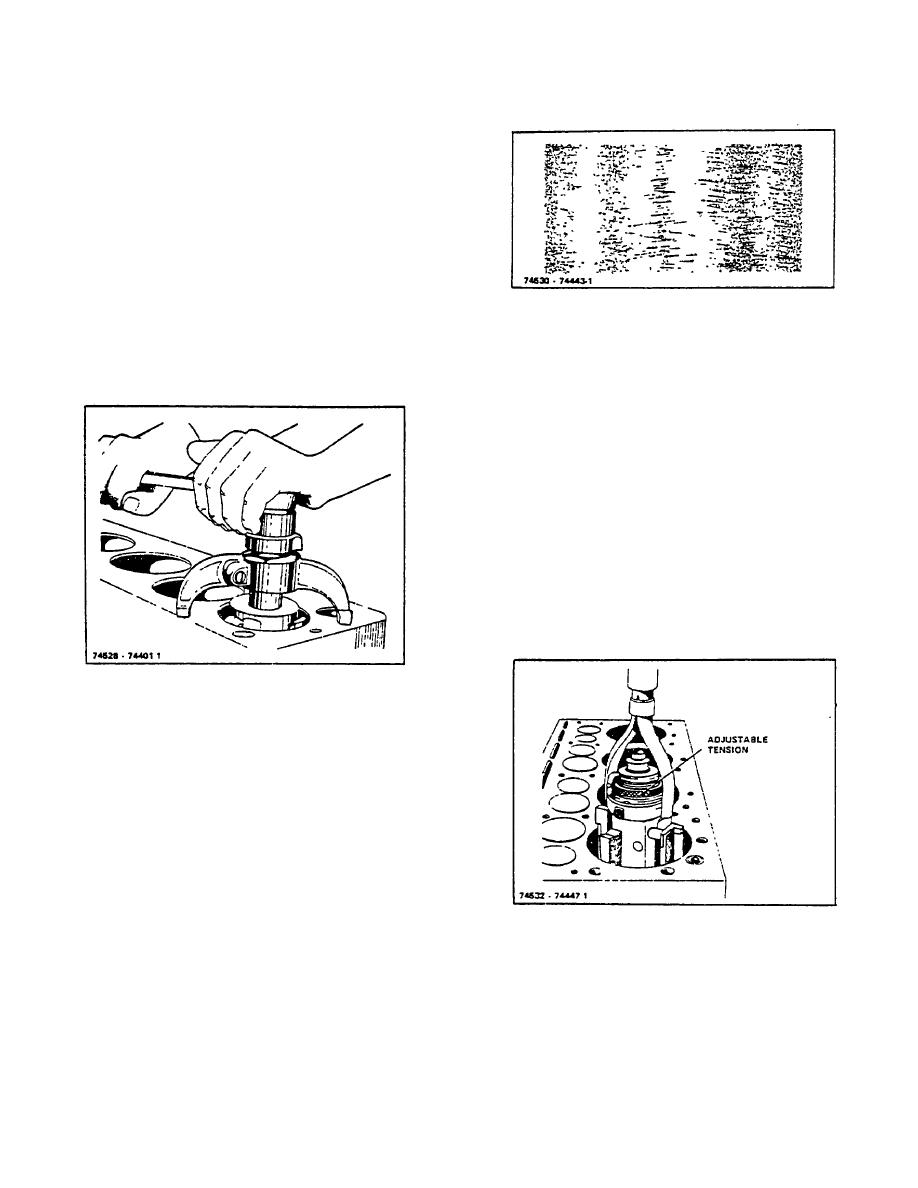
Figure 11-4. Desirable Cross Hatch Pattern After
1. Ridge ream the cylinders to remove the unworn
Cylinder Hone.
area at the top so that new rings, when
assembled, will not bump and distort both
E. GLAZE BREAKING OPERATION
themselves and the piston lands (Figure 11-3).
It is important to remove the glaze on the cylinder bores
by using a cylinder hone which has an adjustable stone
tension (Figure 11-5). Glaze breaking assures quick
seating of new piston rings. If the cylinder glaze is not
removed, there will be no assurance as to when the
rings will begin to function properly and control the oil;
this is especially true when chrome rings are used.
The following step by step procedure is recommended:
1. When the crankshaft has not been removed,
cover the entire crankshaft with a clean, slightly
oily cloth to prevent abrasives and dirt from
getting on the crankshaft.
Figure 11-3. Ridge Reaming Top of Cylinder Bore
Several good makes of ridge reamers are
available which will ream the top of the bore in
direct relation to the worn area so that should
the worn area be off center slightly there will be
no partial ridge remaining.
2. When re-boring the cylinders allow .002" for
finishing by honing.
3. To get the correct cross hatch pattern (Figure 11-4)
with a cylinder hone, use a top quality electric drill
with a speed of 500 RPM or less.
Figure 11-5. Honing Cylinders
R-104-1
3-41
|
|
Privacy Statement - Press Release - Copyright Information. - Contact Us |