| |
TM 10-3930-671-24
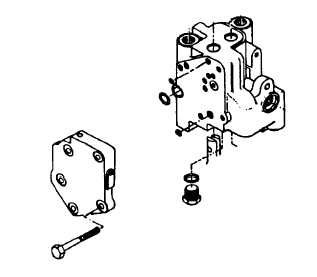
12.
Remove the end cover only if there is need for
further inspection and cleaning of contaminants
in the valve. To remove, loosen and remove the
fasteners and lift the end cover off the valve
body. Remove the O-ring seals.
Cleaning, Inspection and Repair
1.
Discard all old seals. Wash all parts in a clean
mineral oil solvent and place them on a clean
surface for inspection.
2.
Carefully remove any burrs by light stoning or
lapping. Be sure there is no paint or burrs on
mating surfaces of valve bodies.
3.
Inspect valve spools and bores for burrs and
scoring. If scoring is not deep enough to cause
objectionable leakage, the surfaces can be
stoned or polished with crocus cloth. If scoring is
excessive, valve body and spool must be
replaced. Check each valve spool for free
movement in its bore.
4.
Inspect the relief valve for damage. Check the
relief valve for smooth free movement in its bore.
The valve poppet should move easily from only
the force of its own weight.
5.
Inspect the valve body to make sure it has not
been physically damaged. Examine all threads to
be sure they are clean and not damaged or
burred. Inspect all bores and poppet seats.
6.
All springs should be free of corrosion and not
broken or bent.
7.
If parts must be left unassembled for a period of
time or overnight, cover with a lint-free clean
material.
F-469
|