 |
|||
|
|
|||
|
|
|||
| ||||||||||
|
|
 TM 10-3930-660-24-2
FRONT DIFFERENTIAL CARRIER ASSEMBLY MAINTENANCE - CONTINUED
0296 00
ASSEMBLY - CONTINUED
52.
Apply thin bead of loctite to bearing bores of differential carrier (8) legs and bearing caps (2).
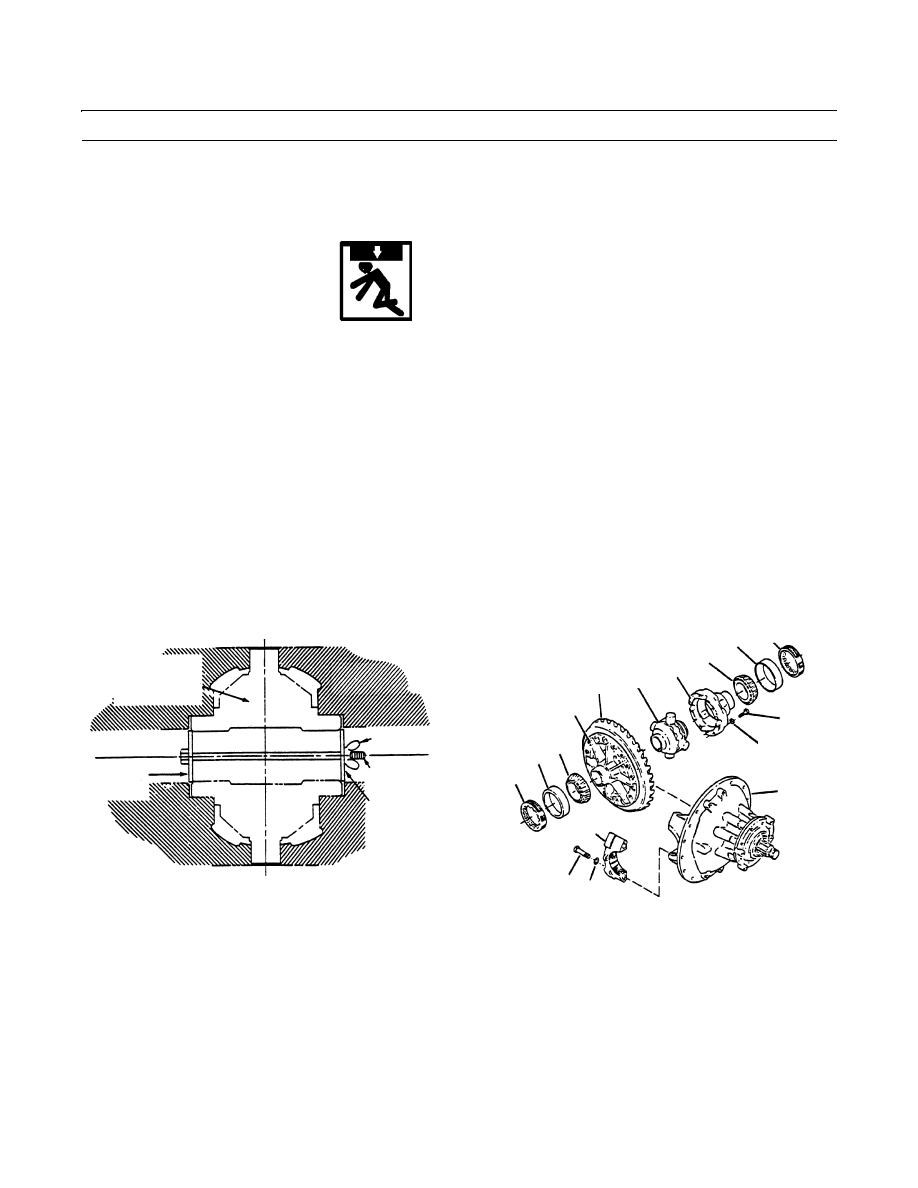
53.
Install two bearing cups (9) over bearing cones (10 and 11) on case halves (16 and 17).
WARNING
Use caution when handling heavy parts. Provide adequate support and use assistance during procedure.
Ensure that any lifting device used is in good condition and of suitable load capacity. Keep clear of heavy
parts supported only by lifting device. Failure to follow this warning may cause injury or death.
54.
Use a sling and hoist to lift differential and ring gear (9 thru 17) as an assembly and install into differential carrier (8).
Bearing cups (9) must be flat against bores between differential carrier (8) legs.
55.
Install both bearing adjusting rings (4) into position between differential carrier (8) legs. Turn each adjusting ring (4)
hand tight against bearing cup (9).
56.
Install bearing caps (2) over the assembled bearing cups (9) and bearing cones (10 and 11), and adjusting rings (4). Use
match marks made during disassembly to match original location of bearing caps.
57.
Use a plastic or leather mallet to fit each bearing cap (2) tightly against the bearing cups (9), adjusting rings (4) and dif-
ferential carrier (8) legs. If bearing caps (2) do not fit correctly, check alignment of match marks between bearing caps
(2) and differential carrier (8) leg. If necessary, repeat steps 55 thru 56.
58.
Install two capscrews (6) and two flatwashers (7) that hold bearing caps (2) to differential carrier (8) legs. Tighten cap-
screws (6) by hand four to six turns, then torque to 110-145 lb-ft (149-197 Nm).
4
9
11
NO SPIN
16
12
DIFFERENTIAL
13
ASSEMBLY
17
14
WINGNUT
10
15
9
RETAINING
4
RETAINING
BOLT
8
WASHER
RETAINING
WASHER
2
409-1239
67
409-1249
0296 00-11
|
|
Privacy Statement - Press Release - Copyright Information. - Contact Us |
