 |
|||
|
|
|||
|
|
|||
| ||||||||||
|
|
 TM 10-3930-660-24-2
CONNECTING RODS AND BEARINGS MAINTENANCE - CONTINUED
0277 00
INSTALLATION - CONTINUED
17.
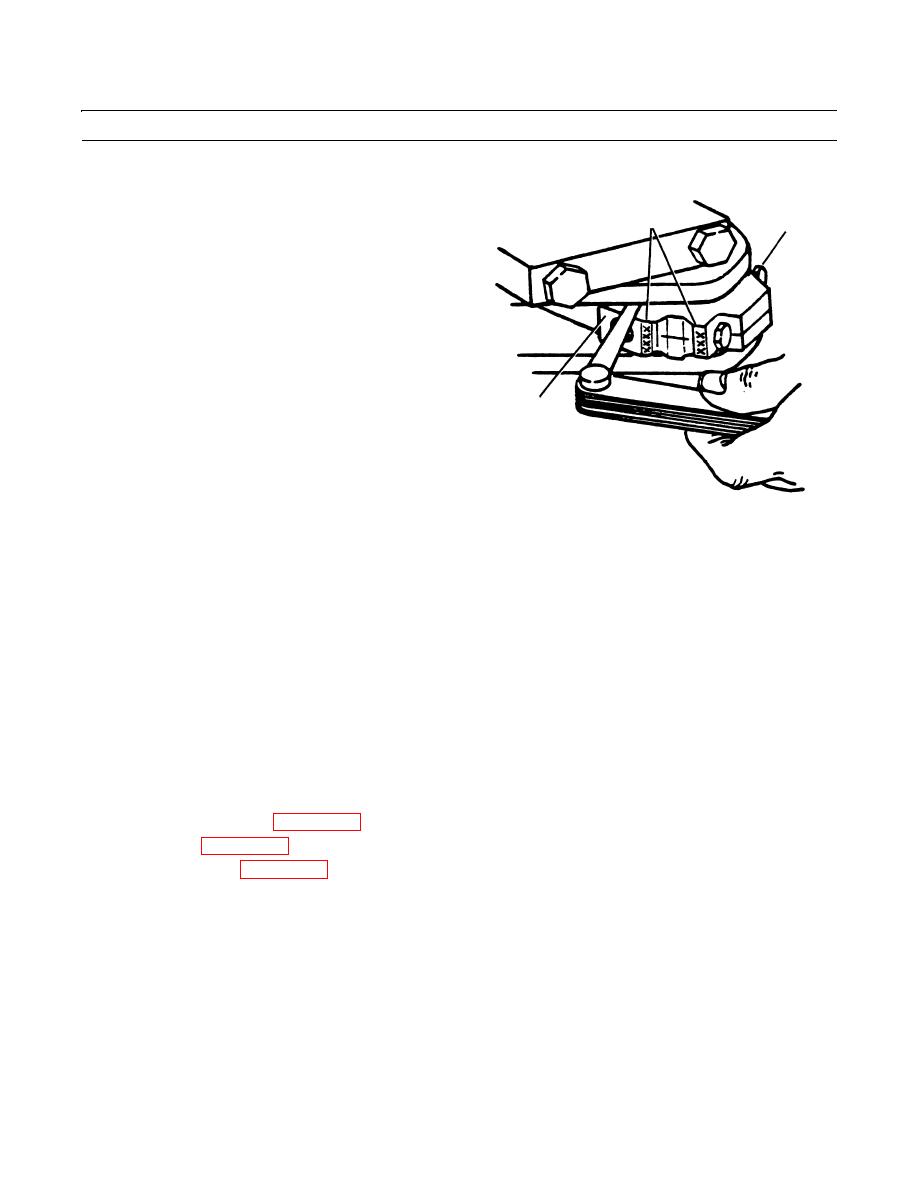
Install bearing caps (2) with four-digit no. (12)
stamped on bearing caps (2) and on connecting rods
12
4
(6), at parting line, towards oil cooler side of engine.
18.
Apply clean lubricating oil to threads and under heads
of capscrews (4).
2
409-1006
NOTE
As bearing caps are installed, manually rotate crankshaft to ensure that crankshaft rotates freely. If crank-
shaft fails to rotate freely at some point, check for incorrect installation or incorrect size of rod bearings.
19.
Torque capscrews (4) in three increments:
a.
First increment - 26 lb-ft (35 Nm).
b.
Second increment - 52 lb-ft (71 Nm).
c.
Third increment - 73 lb-ft (99 Nm).
20.
Repeat until all six piston and connecting rod assemblies are installed.
21.
Measure connecting rod side play at each connecting rod assembly. Wear tolerance is 0.012 in. (0.304 mm) maximum.
22.
If side play exceeds wear tolerance, stated in step 21, replace connecting rod and connecting rod cap.
23.
Install oil pump inlet tube (WP 0220 00).
24.
Install oil pan (WP 0219 00).
25.
Install cylinder head (WP 0213 00).
26.
Run engine and check for proper operation (TM 10-3930-660-10).
END OF WORK PACKAGE
0277 00-7/(-8 Blank)
|
|
Privacy Statement - Press Release - Copyright Information. - Contact Us |
