 |
|||
|
|
|||
|
|
|||
| ||||||||||
|
|
 TM 10-3930-660-24-2
CRANKSHAFT FRONT SEAL REPLACEMENT - CONTINUED
0273 00
WARNING
Eye protection must be worn when performing maintenance where components or particles could fly out
during procedure. Failure to take precautions could cause injury to personnel.
Some components are under spring tension. Wear eye protection and use caution when disassembling them,
to avoid injury.
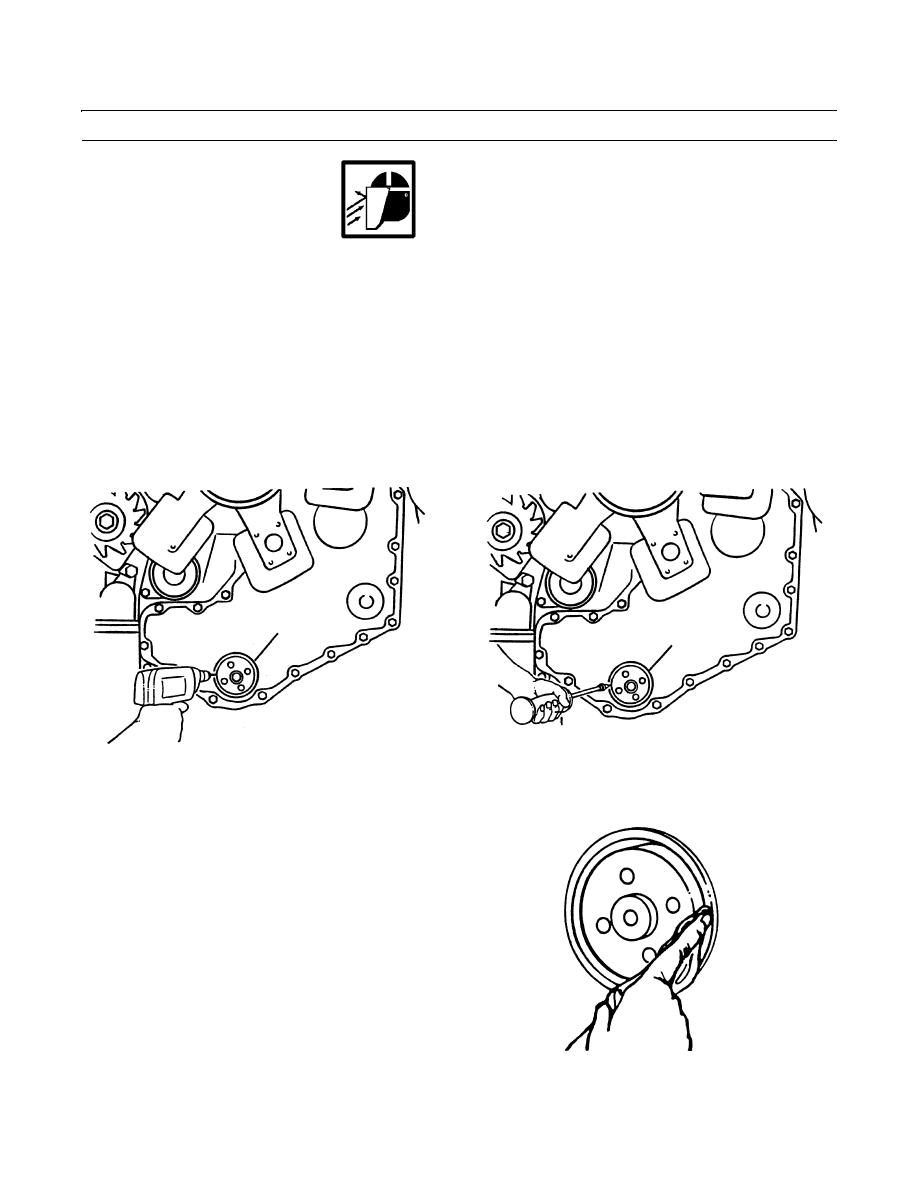
REMOVAL
1.
Drill two 1/8 in. (3.175 mm) holes 180 degrees apart in seal carrier.
2.
Remove front seal (1) with slide hammer puller.
3.
Insert a no. 10 sheet metal screw into end of slide hammer puller.
4.
Alternately put slide hammer puller into the two 1/8 in. (3.175 mm) drilled holes and pull until front seal (1) is removed.
Discard front seal.
1
1
409-951
409-950
INSTALLATION
CAUTION
The seal lip and sealing surface on crank-
shaft must be clean to help prevent an oil
leak around the seal.
1.
Clean seal lip and sealing surface on crankshaft with
clean wiping rags.
409-952
0273 00-2
|
|
Privacy Statement - Press Release - Copyright Information. - Contact Us |
