 |
|||
|
|
|||
|
|
|||
| ||||||||||
|
|
 TM 10-3930-660-24-2
ENGINE ASSEMBLY REPLACEMENT (152 HP) - CONTINUED
0209 00
INSTALLATION - CONTINUED
13.
With assistance, attach lifting chains to lifting device.
Slowly lift and install engine through the back of the
engine compartment. Lift engine high enough to clear
rear frame support bar.
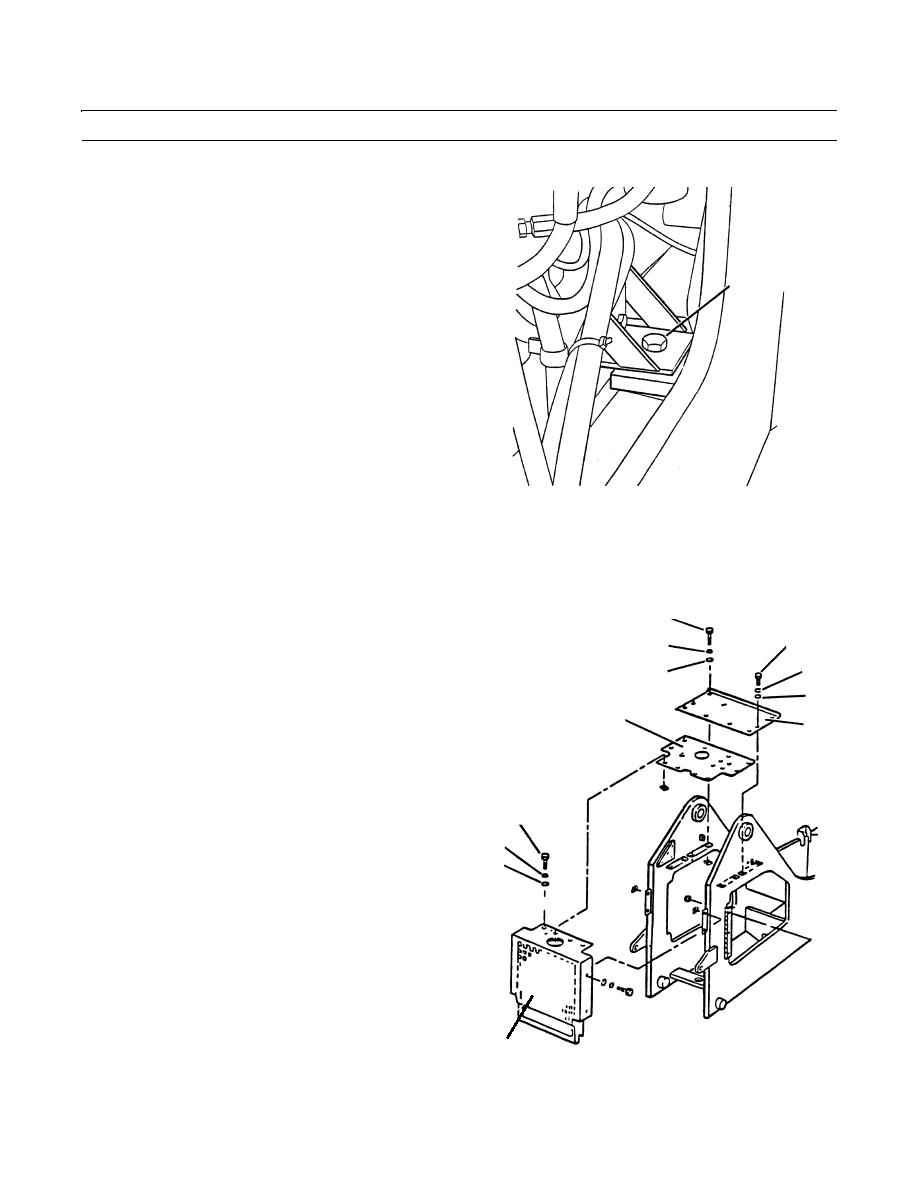
14.
Slowly lower engine into position over new rubber
64,65,66
mounts. Install capscrews (66 and 70), rebound wash-
ers (65 and 60) and new locknuts (64 and 73), to rear
engine mount (71). Torque locknuts to 307 lb-ft (139
kg).
409-824
NOTE
There are two locknuts, rebound washers, and capscrews attaching the front two engine mounts to the vehi-
cle frame.
15.
Remove lifting chains. Remove lifting device from the
56
vehicle area.
59
57
16.
Install fan (WP 0059 00).
60
17.
Install front engine cover (55) by going up and over
58
61
rear frame and setting in mounting position.
63
18.
Install rear engine cover (63) with air cleaner assem-
55
bly still attached by going up and over rear frame and
under front engine cover.
NOTE
59
Bolts (56) are longer than other bolts used
to secure left-hand side of front engine
60
cover.
61
19.
Secure front and rear engine covers (55 and 63) with
bolts (56 and 59), lockwashers (57 and 60), and flat
washers (58 and 61).
20.
Install two nuts (53) and two lockwashers (54) secur-
ing tube (51) to underside of front engine cover (55).
409-165
62
0209 00-15
|
|
Privacy Statement - Press Release - Copyright Information. - Contact Us |
