 |
|||
|
|
|||
|
|
|||
| ||||||||||
|
|
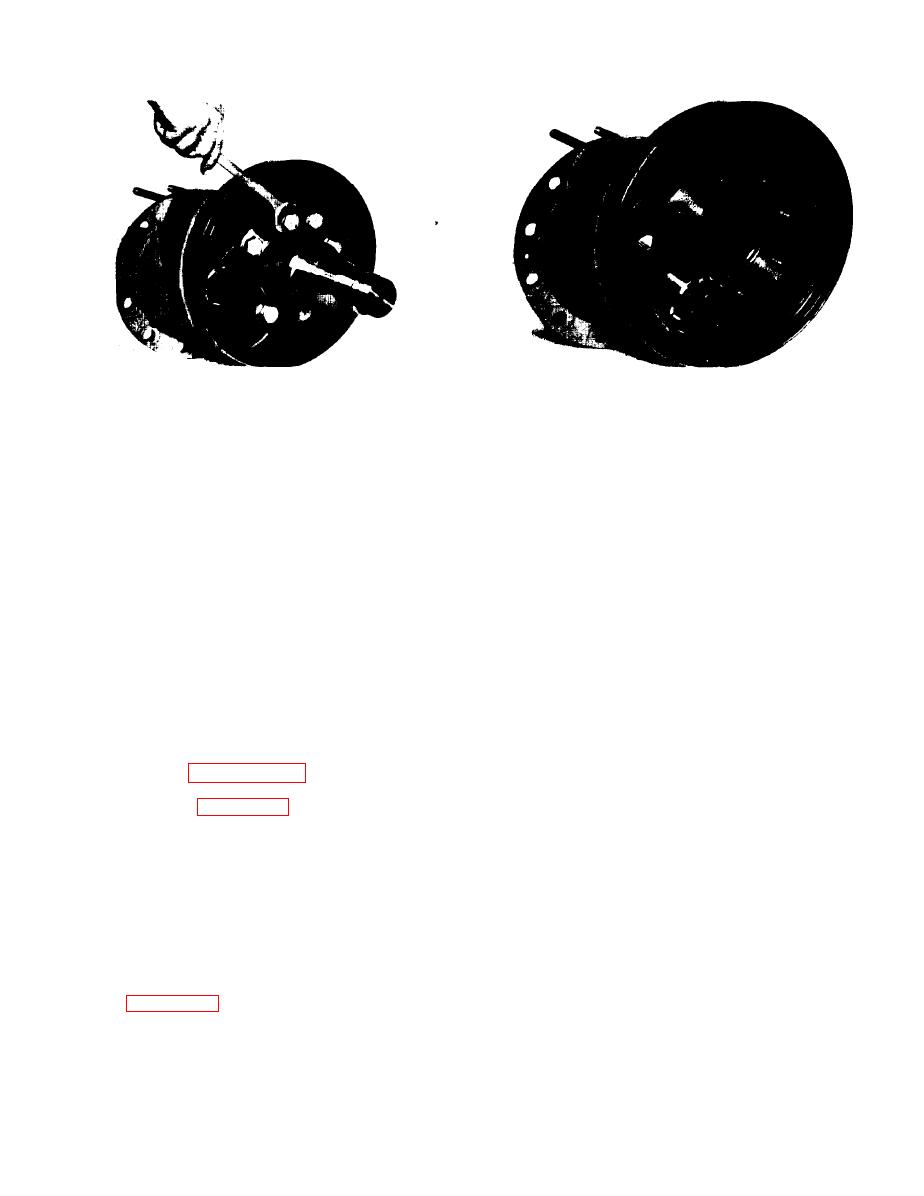 Figure 5-90. Drive Axle Shaft Removal
Figure 5-89. Drive Axle Spindle Removal
h. Carefully install drive hub assembly on axle
d. Remove the bearing carrier stud nuts and
washers from each side of the axle adapter.
spindle, making sure inner bearing is seated on
bearing race and drive axle is in mesh with inner
e. Removal of bearing carriers will free the
ring in hub assembly.
differential assembly for removal
i. Install outer bearing on spindle, making sure
bearing is well seated.
Note
A number of shims (item 10) may be
j. Install washer, bearing retainer, lock washer
installed under the bearing carriers. Keep
a n d locking retainer. R e f e r t o S e c t i o n I V f o r
these
shim
packs
intact
for
later
bearing adjustment procedure.
installation.
5 - 8 8 . AXLE ADAPTER AND DIFFERENTIAL.
disassembly is
accomplished
f . Further
according to the exploded view illustration.
5 - 8 9 . REMOVAL AND DISASSEMBLY.
5 - 9 0 . CLEANING, INSPECTION AND REPAIR.
a. Remove both wheel end assemblies as
outlined in paragraph 5-86.
a. Immerse all parts, except bearings, in a
Stoddard type cleaning solvent until all parts are
b . Refer to figure 5-91 for parts identification
and proceed as follows:
thoroughly cleaned.
b. Dip bearings in a Stoddard type cleaning
c. Remove the capscrews securing the axle
solvent, and slosh up and down until bearings are
adapter to the rear of the transmission, and
c l e a n . Remove bearings from solvent and strike
separate the two units.
large side of cone flat against a block of wood to
dislodge solidified particles of lubricant. Repeat
Note
above operation until bearings are cleaned
thoroughly. Do not spin bearings dry with
A number of shims are installed between
c o m p r e s s e d air. Allow to drip dry. Bearing may
the axle adapter and transmission (17,
be slowly rotated by hand to facilitate drying
procedure. Clean interior of housing thoroughly.
for reinstallation.
5-63
|
|
Privacy Statement - Press Release - Copyright Information. - Contact Us |
