 |
|||
|
|
|||
|
Page Title:
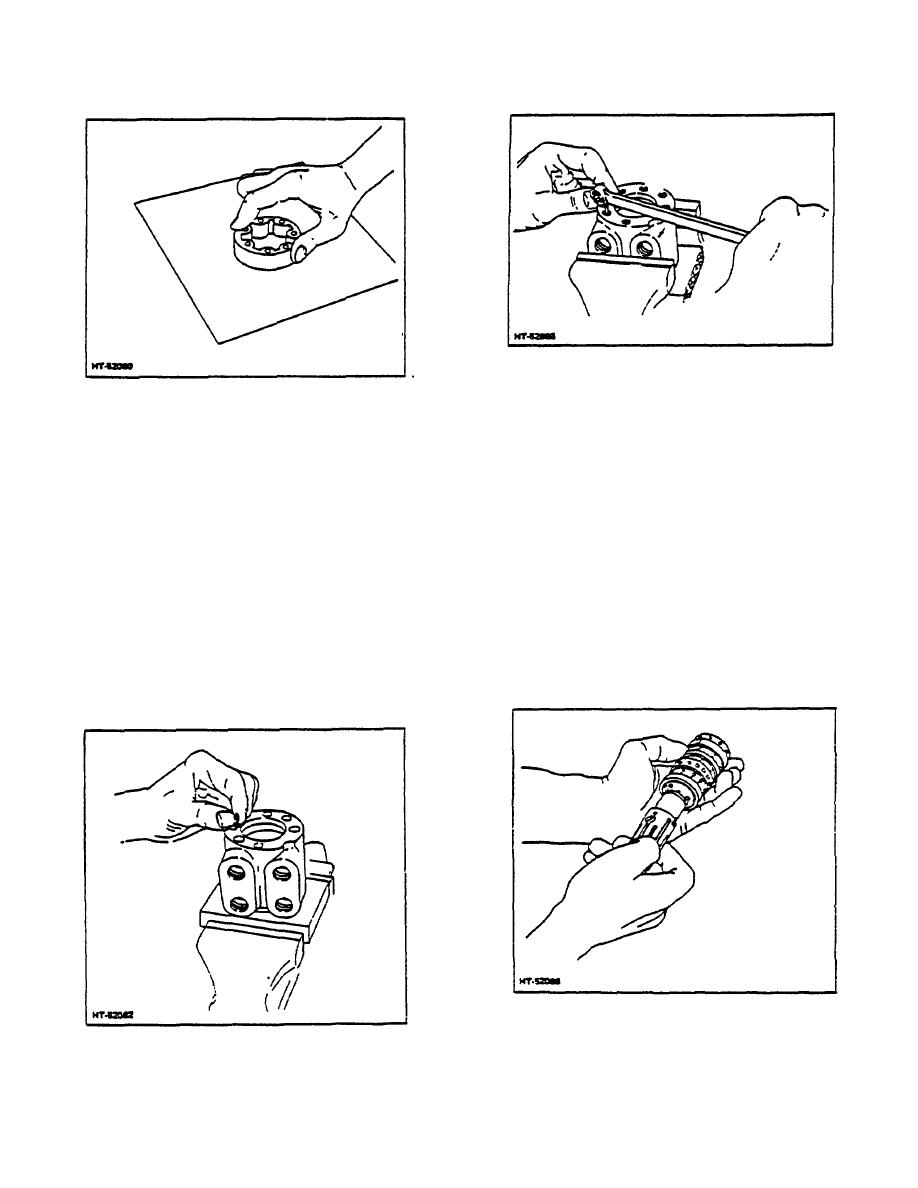
Figure 18. Polishing the Ring Gear |
|
||
| ||||||||||
|
|
 TM 10-3930-644-14&P
Figure 20. Tightening Check Valve Seat
Figure 18. Polishing the Ring Gear
NOTE
Tool is available as part number
Rotate spool carefully while
sliding
parts
600057 from Char-Lynn Company,
together. Test for free rotation.
15151 Highway S, Eden Prairie,
Minnesota, 55343.
CAUTION
Spool must rotate smoothly in sleeve
7. Compress extended end of centering spring set
with finger tip force applied at the
and push it into spool-sleeve assembly,
splined end.
withdrawing installation tool at the same time.
8e sure the spring set is centered in the parts so
6. With spring slots of the spool and sleeve in line,
they can be pushed down evenly and flush with
stand parts on end and insert spring installation
the upper surface of the spool and sleeve.
tool through slots in both parts (Fig. 22).
Position 3 pairs of centering springs (or 2 sets of
8. Install the cross pin through the spool assembly
three each) on bench so that extended edge is
and push into place until cross pin is flush or
down and arched center section is together. In
slightly below the sleeve
this position, enter one end of entire spring set
into spring Installation tool.
Figure 21. Installing Spool in Sleeve
Figure 19. Installing Check Valve Spring
3-167
|
|
Privacy Statement - Press Release - Copyright Information. - Contact Us |
