 |
|||
|
|
|||
|
Page Title:
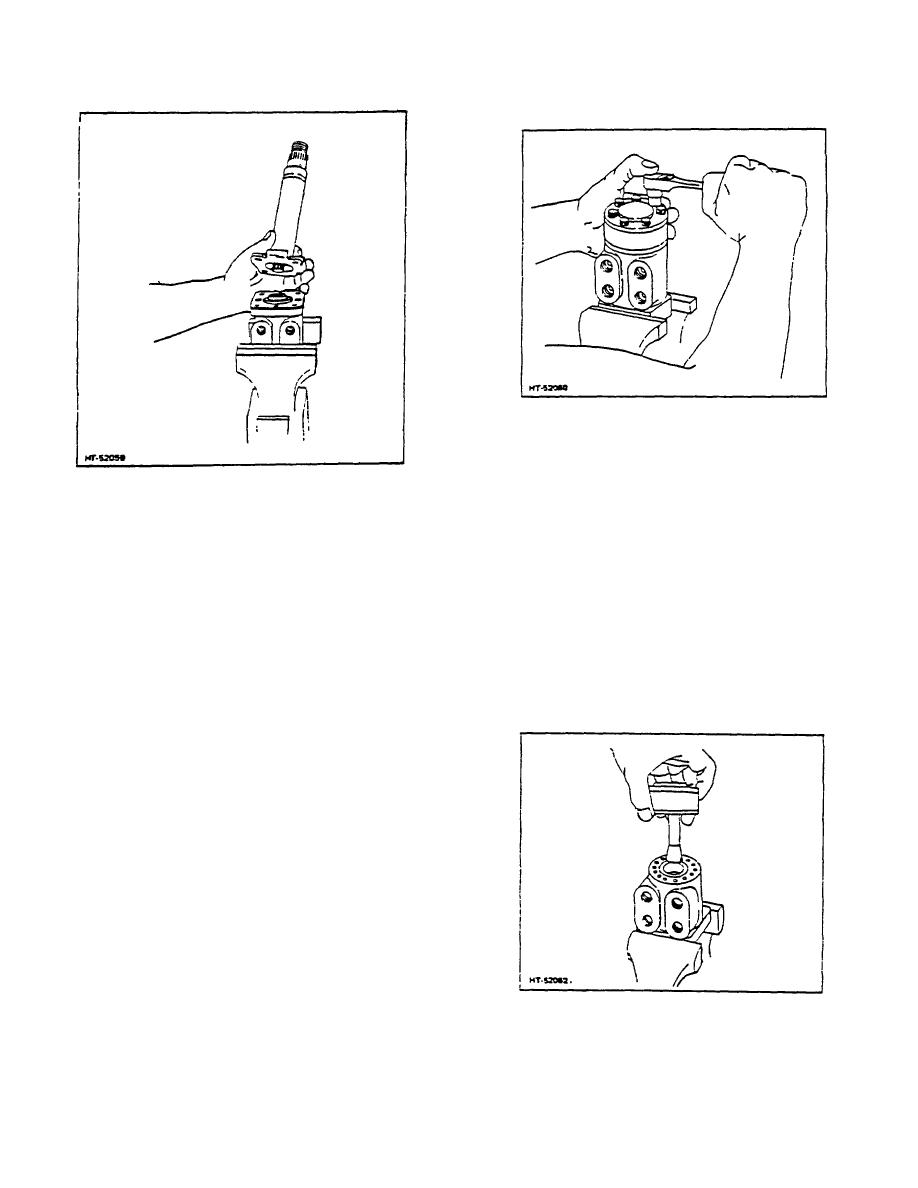
Figure 7. Removing Column From Housing |
|
||
| ||||||||||
|
|
 TM 10-3930-644-14&P
Figure 8. Removing End Plate Capscrews
sleeve assembly from the 14-hole end of the
housing.
Figure 7. Removing Column From Housing
CAUTION
Use extreme care when removing
CAUTION
these parts, because they are very
Do not use a hammer to free the
closely fitted and must be rotated
shaft. Upper shaft bearing may be
slightly as they are withdrawn.
damaged.
14. With a small bent tool or wire, remove check
6. Remove the two capscrews that secure the
valve zeal plug from housing (Fig. 13). Do not
column to the lower unit. Match mark the
pry against edge of hole in housing bore.
capscrew holes so the ports will be in the proper
15. With housing installed in vise, control end up,
direction when reassembled.
Remove the
remove check valve seat with 3/16 hex wrench
column from the lower unit (Fig. 7).
(Fig. 14).
7. Clamp the unit in the vise with the meter end up
16. Turn the housing over and tap lightly with palm
and remove the seven capscrews (Fig. 7).
of hand. With check valve
Remove the three-section cap, gear, and plate
as a unit, and set to one side on the bench
(Fig. 8).
8. Remove control assembly from vise, and check
for free rotation of the control spool and sleeve
parts with the column shaft (Fig. 10).
9. Place a clean wooden block across the vise
throat to support spool parts. Clamp unit across
port face with control end up and remove the
four capscrews.
10. Hold the spool assembly down against the
wooden block, and remove the end cap
(Fig 11 ).
11. Inspect mating surfaces for obvious leakage,
path wear, and seal condition.
12. Remove cam locator bushing (Fig 12.).
13. Place port face of housing securely on a solid
surface and remove the spool
Figure 9. Removing End Plate Assembly
3-164
|
|
Privacy Statement - Press Release - Copyright Information. - Contact Us |
