 |
|||
|
|
|||
|
|
|||
| ||||||||||
|
|
 TM 10-3930-644-14&P
TOPIC 3. WATER PUMP
A. DESCRIPTION
Liquid coolant is circulated through the engine and the
radiator by a centrifugal water pump. The pump is
enclosed in a sealed, cast metal housing and is flange
mounted to the front of the cylinder block. The pump
impeller is pressed on one end of the pump steel shaft
and the fan mounting hub is pressed on the other end.
The shaft is supported at the drive end by a sealed,
double row ball bearing, and is prevented from moving
endwise by a shoulder in the pump housing and a snap
ring on the outside.
The construction of the water pump is conducive to long
life with minimum attention if clean coolant is used in the
system. Water containing scale forming elements is
especially harmful to the pump parts due to corrosion.
The water pump requires no attention other than bearing
replacement when bearings show excessive looseness,
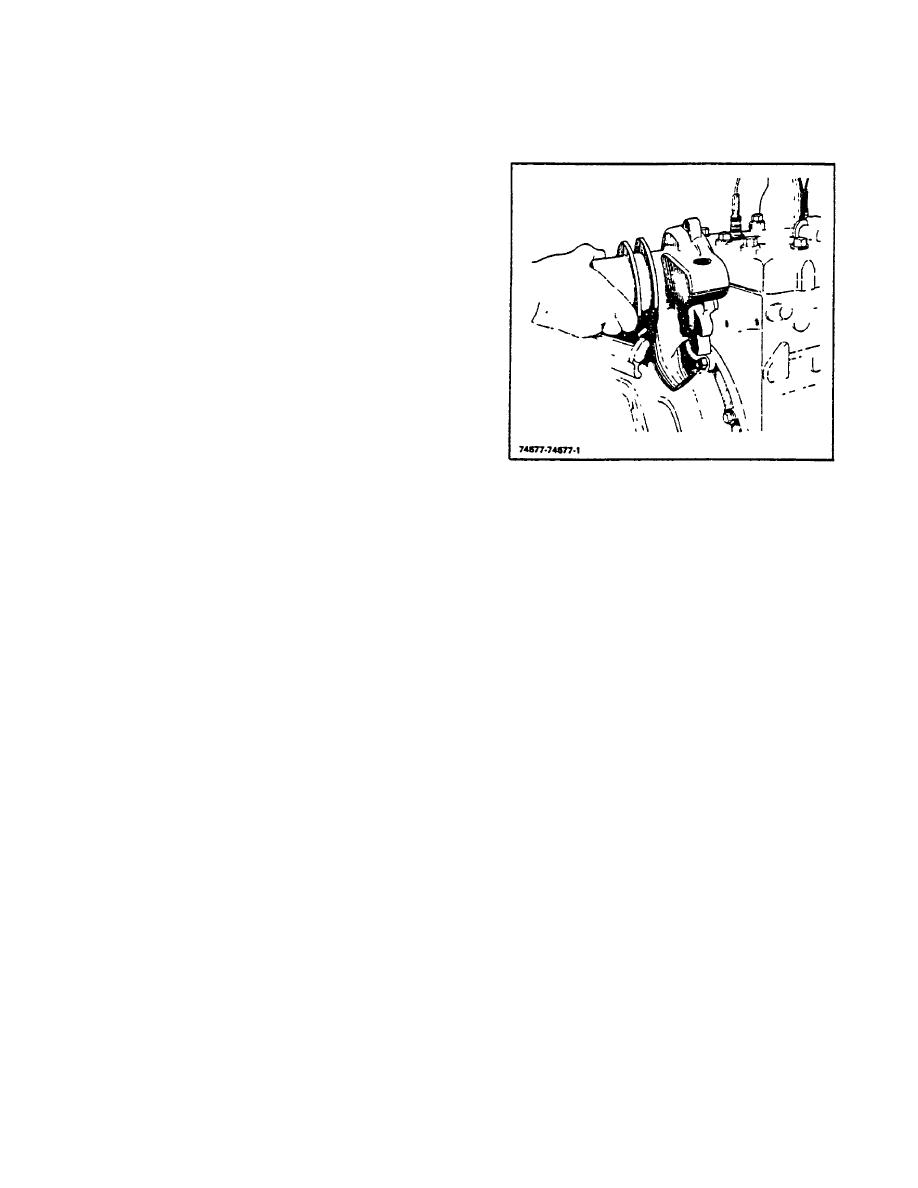
Figure 3-1. Removing Water Pump
or if a water leak develops, which shows a damaged or
badly worn seal that needs replacement.
2. Mount and secure
the
water
pump
with
mounting capscrews.
B. REMOVAL
3. Replace the coolant bypass hose and tighten
When it becomes necessary to remove the water pump
the clamps.
for service or replacement, the following removal
procedure is recommended (Figure 3-1)
CAUTION
Do not overtighten clamps as this
1. Open water drain (Figure 2-2).
could cause bypass hose to fracture
or split.
2. Disconnect by-pass hose and pump inlet hose.
4. Replace the coolant inlet line at the water pump,
3. Remove fan by taking out four capscrews.
and secure with clamp.
4. Loosen generator so that fan belt can be
5. Install the fan pulley, the fan blade and the
slacked off enough to slide over pulley.
mounting capscrews.
Tighten capscrews
securely.
5. Remove nuts and lockwashers holding the pump
body to the front of the block and remove the
6. Properly aign fan belt at fan drive pulley, fan
l
pump assembly.
pulley and alternator pulley.
NOTE
7. Force the alternator away from the engine with a
Refer to REPAIR MANUAL for WATER
long-handled screwdriver or pry bar, until the fan
PUMP DISASSEMBLY INSPECTION,
belt has approximately 1/2" to 3/4" deflection at
REPAIR and REASSEMBLY.
a point halfway between the fan pulley and the
alternator pulley, with about 10 lbs. applied
C. INSTALLATION
force. (Refer to Fan Belt Adjustment.) After
proper adjustment, secure alternator capscrews.
1. Clean the gasket mounting surfaces on water
pump flange and on cylinder block and install
8. Close water drains.
new gasket. Use approved sealing compound
as required.
9. Fill the cooling system to the recommended
capacity with proper coolant and replace radiator
pressure cap.
M-155-1
2-43
|
|
Privacy Statement - Press Release - Copyright Information. - Contact Us |
